

| Select PCB Width: | 10mm (0.39in) (Base), 12mm (0.47in) (Base) |
|---|---|
| Availability | In Stock |
| Condition | Brand New |
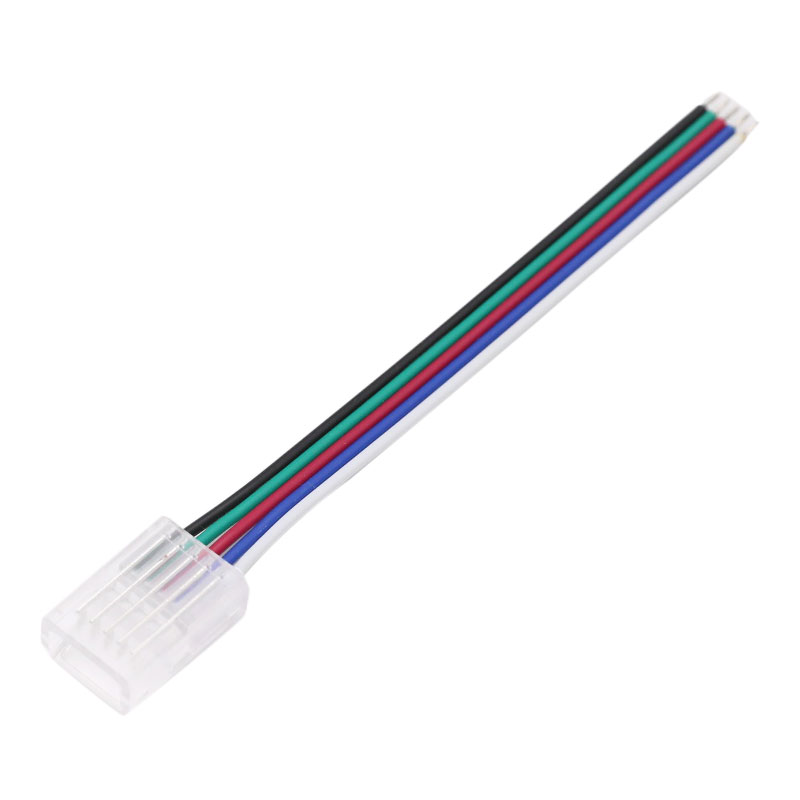
This 5 pin LED strip connector is a multifunctional connection solution designed to connect and control RGBW led strips conveniently and quickly. It has a clear housing that ensures light shines through and shows up transparently, providing excellent light transmission. Whether it is used for indoor (IP20) or outdoor (IP65) light strips, it has good compatibility.
This connector is suitable for 10mm or 12mm wide RGBW strips, with one end connected to the RGBW tape, and the other end being a 5P bare wire, which is convenient for connecting the cut RGBW strip to the control system or drive system.
This 5P connector adopts a clamp-in design, which can easily clamp and fix the light strip to ensure a stable connection. Its unique design also makes it reusable.
Strip to wire type
For 10mm/12mm SMD RGBW led strips like 5050
120mm/4.7 long
Compatible with IP20 and IP65 ratings
Reusable
How to Use
1. Unroll the ribbon and cut it to the desired length, cutting it from the cutting lines.
2. Open the lower cover of the connector to 45 degrees (for IP65 tape, it should be opened to 75 degrees) and insert the tape into place.
3. Insert the strip, pay attention to let the pad in the lower part of the copper stabbing needle, the bead face back towards the direction of the flip cover, close the transparent lower cover completely with both sides of the seat lock. (The operation of the IP65 strip can be used with the help of electrical pliers). This connector is a live buckle, and can be recycled many times.
4. Install the wire without stripping the wire insulation, directly into the wire slot (please note that the positive and negative poles correspond to the color). With the help of electrician's pliers can close the lower cover so that both sides are completely locked.
5. When connecting the light strip, pay attention to the positive and negative poles of the strip to correspond. (The positive pole corresponds to the positive pole).
6. complete the installation.

Abnormal causes troubleshooting
1. Please check whether the wire is standard.
2. Whether there is a mistake in the positive and negative poles of the wire-ribbon.
3. Whether the pad distance is too large offset from the hardware contact piece.
4. Check if the strip is intact.
