

Building your own custom neon-style light is one of the most rewarding LED projects you can tackle. You get the exact shape, color, and size you want. But when you start, you’re often looking at a collection of parts: a roll of LED strip, a coiled silicone tube, end caps, wires, and glue. It can be a little intimidating.
Whether you have an LED strip and need the right neon sleeve, or you’ve found the perfect sleeve and need to pick a strip to go inside, this guide is for you. We’ve manufactured and assembled thousands of these, and we’ll walk you through the critical choices that make the difference between a professional-looking sign and a frustrating mess.
Outdoor Neon: Should I Use a Waterproof LED Strip?
This is probably the most common question we get, and the answer surprises people. For a standard, fully-enclosed silicone neon tube, do you need a waterproof LED strip inside for outdoor use? No, you don’t. In fact, we strongly recommend you use a standard, non-waterproof IP20 bare board strip light.
Think of the silicone sleeve as a perfect raincoat. It completely seals the LED strip from the elements. Using a waterproof (IP65 or IP67) LED strip inside is like wearing a second raincoat underneath—it’s redundant, traps heat, and the thick coating makes it much harder to slide the strip into the sleeve. The key to weatherproofing is not the strip itself, but correctly sealing the end caps with a good quality silicone glue to create a watertight seal.
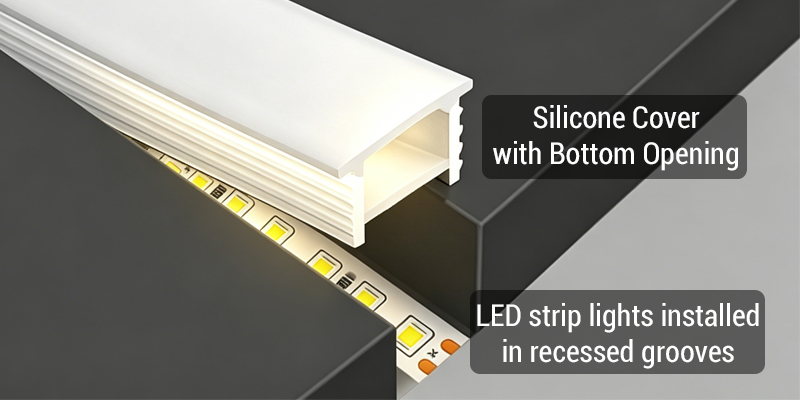
The only time you would need a waterproof LED strip light is if you’re not using a fully enclosed tube. Some silicone diffuser cover designs feature an open bottom to house light strips mounted in fixed aluminum channels. Since this doesn’t create a perfect seal around the strip, the strip itself needs to be IP67 or IP68 rated to protect it from moisture.
Can Neon Silicone Tube Be Cut?
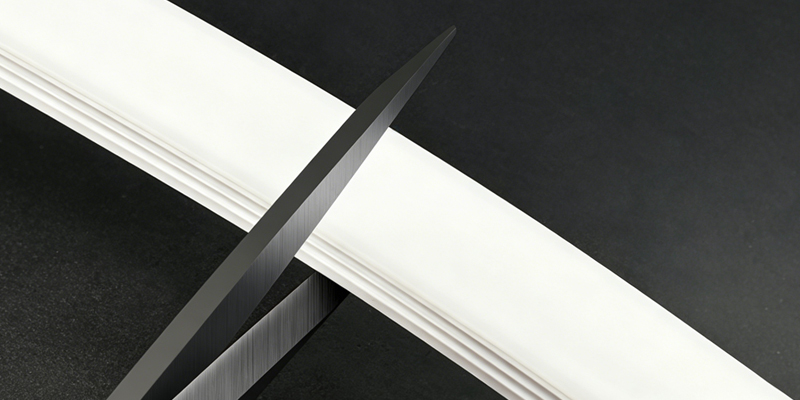
Absolutely. The empty silicone sleeve itself is very flexible and easy to cut. You can use a sharp utility knife or a sturdy pair of scissors to get a clean edge. The correct workflow for a DIY project is to first measure and cut your silicone tube to the final desired length.
Once the tube is cut, you can thread your LED strip through it. For indoor, dry locations, you can often just pop the end caps on without any sealant. However, for any outdoor or damp application (like a bathroom or under a soffit), sealing is non-negotiable. You’ll need to apply silicone glue inside the end cap before pushing it on, and for maximum protection, add a piece of heat-shrink tubing over the joint where the wire exits the cap.
Can DIY Neon LED Strips Be Cut After Assembly?
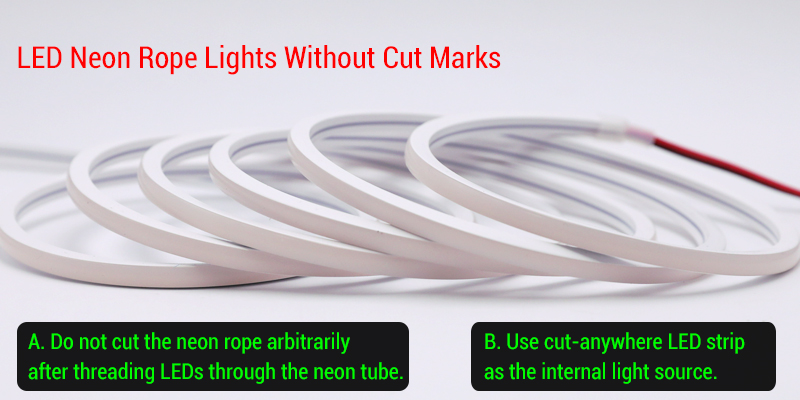
This is where DIY gets tricky. The black cut lines you see printed on our finished LED neon rope lights are a special customization. An empty silicone tube has no such markings. Once you slide the LED strip inside, its own cut marks are completely hidden by the thick, diffusing silicone.

We generally advise customers not to cut their assembled neon lights. It’s very easy to miss the correct cut point and accidentally slice through a component, which will kill an entire section of the light. You are far better off cutting the strip and the tube to length separately *before* final assembly.
That said, if you absolutely need a light that can be trimmed down on-site, the solution is to choose the right light source from the start. By building your neon light with a ‘cut-anywhere’ COB or high-density SMD strip, you can cut through the entire assembly at nearly any point without damaging a segment.
Does Neon Tube Size Affect LED Strip Selection?
Of course. This is the heart of getting a good result. The internal dimensions of the sleeve dictate what size PCB (the strip’s circuit board) you can use. But don’t assume that the biggest outer dimension always means the widest inner channel. The internal design matters immensely.
For example, our T10030 tube is a massive 100mm wide, but it’s designed with two separate channels to hold two 20mm wide strips side-by-side. In contrast, our T7030 tube is narrower overall at 70mm, but it has a single, massive channel designed to hold one super-wide 30mm PCB. Always check the product specifications for the ‘Compatible PCB Width’ before you buy.

Why a Loose Fit is a Bad Idea
So, can you just put a much smaller strip inside a larger tube to be safe? While it might seem like a good idea, it causes significant problems in practice. If you put a 5mm strip inside a sleeve designed for a 10mm PCB, you’re asking for trouble.
The primary issue is rotation. In a top-bending or side-bending sleeve, a loose strip will stay put. But in a 360-degree round tube, the strip is free to twist and turn inside the sleeve as you handle and install it. The result is a splotchy, uneven light where some sections are bright and others are dim because the LEDs are pointing sideways or even backward.
The second problem is brightness. A larger diffuser needs more light to illuminate it properly. A tiny strip simply won’t have the lumen output to create that saturated, intense neon glow, leaving you with a dim and disappointing effect. A snug fit is always best.
| Item | Specification | Design Notes & Key Takeaways |
|---|---|---|
| LED Strip PCB Width | 2mm – 30mm | Covers standard strip specifications from ultra-narrow to ultra-wide. |
| LED Strip IP Rating | IP20 | Bare non-waterproof strips, ideal and standard for threading DIY. |
| Neon Sleeve Internal Width | PCB Width + 2mm – 3mm | The Golden Rule: Reserving 2-3mm of inner space drastically reduces friction, preventing the strip from tearing during installation. |
| Finished Neon IP Rating | IP67 | Achieves high-level dust and water resistance once both end caps are properly sealed with silicone glue. |
| Item | Specification | Design Notes & Key Takeaways |
|---|---|---|
| LED Strip Overall Width | 4mm – 24mm | Since the strip already includes a waterproof layer, the total width usually starts from 4mm. |
| Original LED Strip IP Rating | IP67 / IP68 | Strips that are pre-waterproofed via silicone injection, extrusion, or casing. |
| Neon Cap Internal Width | Strip Width + 2mm – 3mm | Ensures the waterproofed LED strip can smoothly snap or press into the U-shaped channel. |
| Finished Neon IP Rating | IP67 / IP68 | Maintains the strip’s native high-level waterproofing, adding an extra layer of premium neon diffusion. |
Beyond PCB Width: Will Any Strip *Type* Fit?
Here’s a more advanced detail that can save you a headache. Once you’ve matched the PCB width, you also have to consider the height of the components on the strip, especially for very slim profiles.
Some tiny 3-4mm neon diffusers have very little internal vertical clearance. A strip using low-profile SMD 2835 chips or a completely flat COB strip might slide in perfectly. But a strip with the same PCB width that uses taller, bulkier SMD 5050 chips could scrape along the top, get stuck, or not fit at all. For most common sizes, like our popular 10mm neon diffusers, this is rarely an issue, but it’s something to keep in mind for ultra-compact designs.
Final Thoughts
Building your own LED neon light is a fantastic project that offers unlimited creativity. The key is simply matching the parts correctly from the start. Pay close attention to the inner dimensions of your sleeve and the PCB width of your strip, and you’ll be well on your way. If you run into any other questions during your DIY neon build, feel free to ask in the comments below!
FAQ
What’s the best way to pull a long LED strip through a neon tube?
Does the color of the silicone diffuser affect the final light color?
How sharply can I bend a DIY neon light without damaging it?
Related LED strip articles
 How to Make LED Neon Lights with Silicone LED Diffuser and LED Strip Light?
 What Are LED Neon Lights?
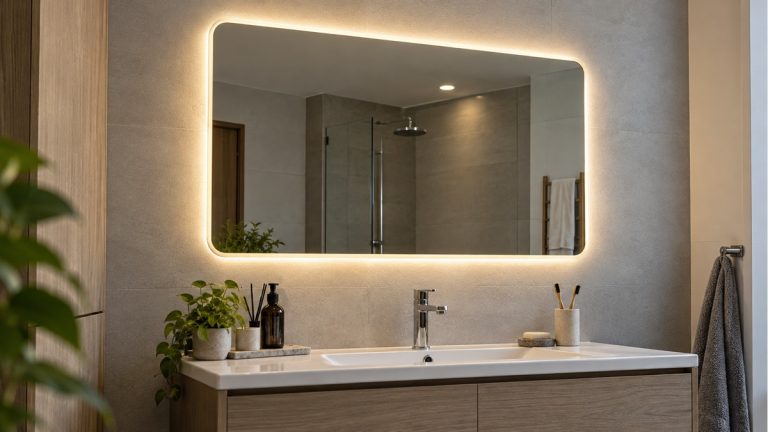 DIY Vanity Mirror and Bathroom Mirror with LED Lights
 Why LED Neon Sign Lights Use Silicone Material to Diffuse Light?
 How To Build Your Own LED Neon Signs Lights?
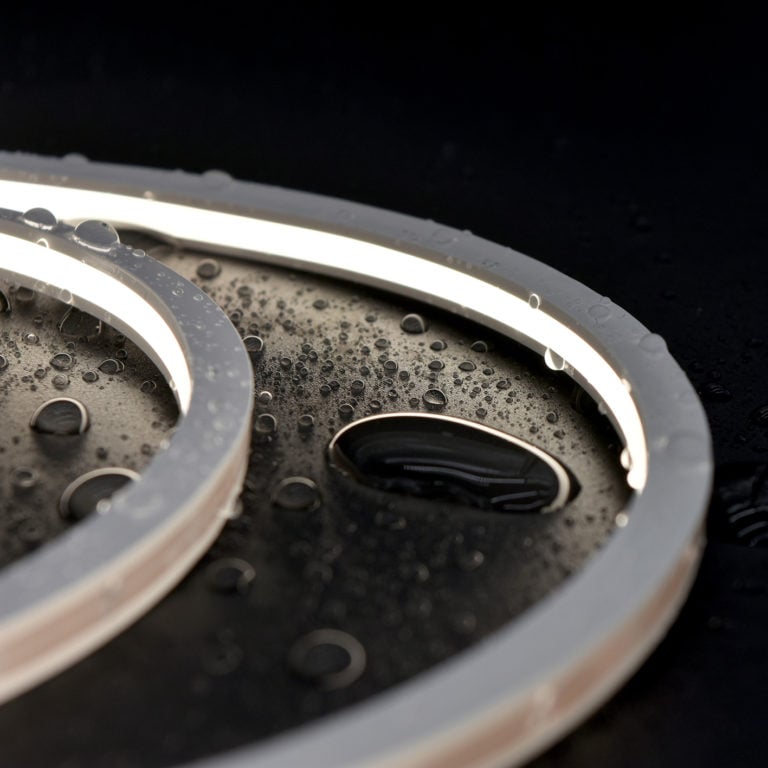 Best Guide To Know Silicone LED Diffuser