
How the LED Strips in Our Warehouse Are Made
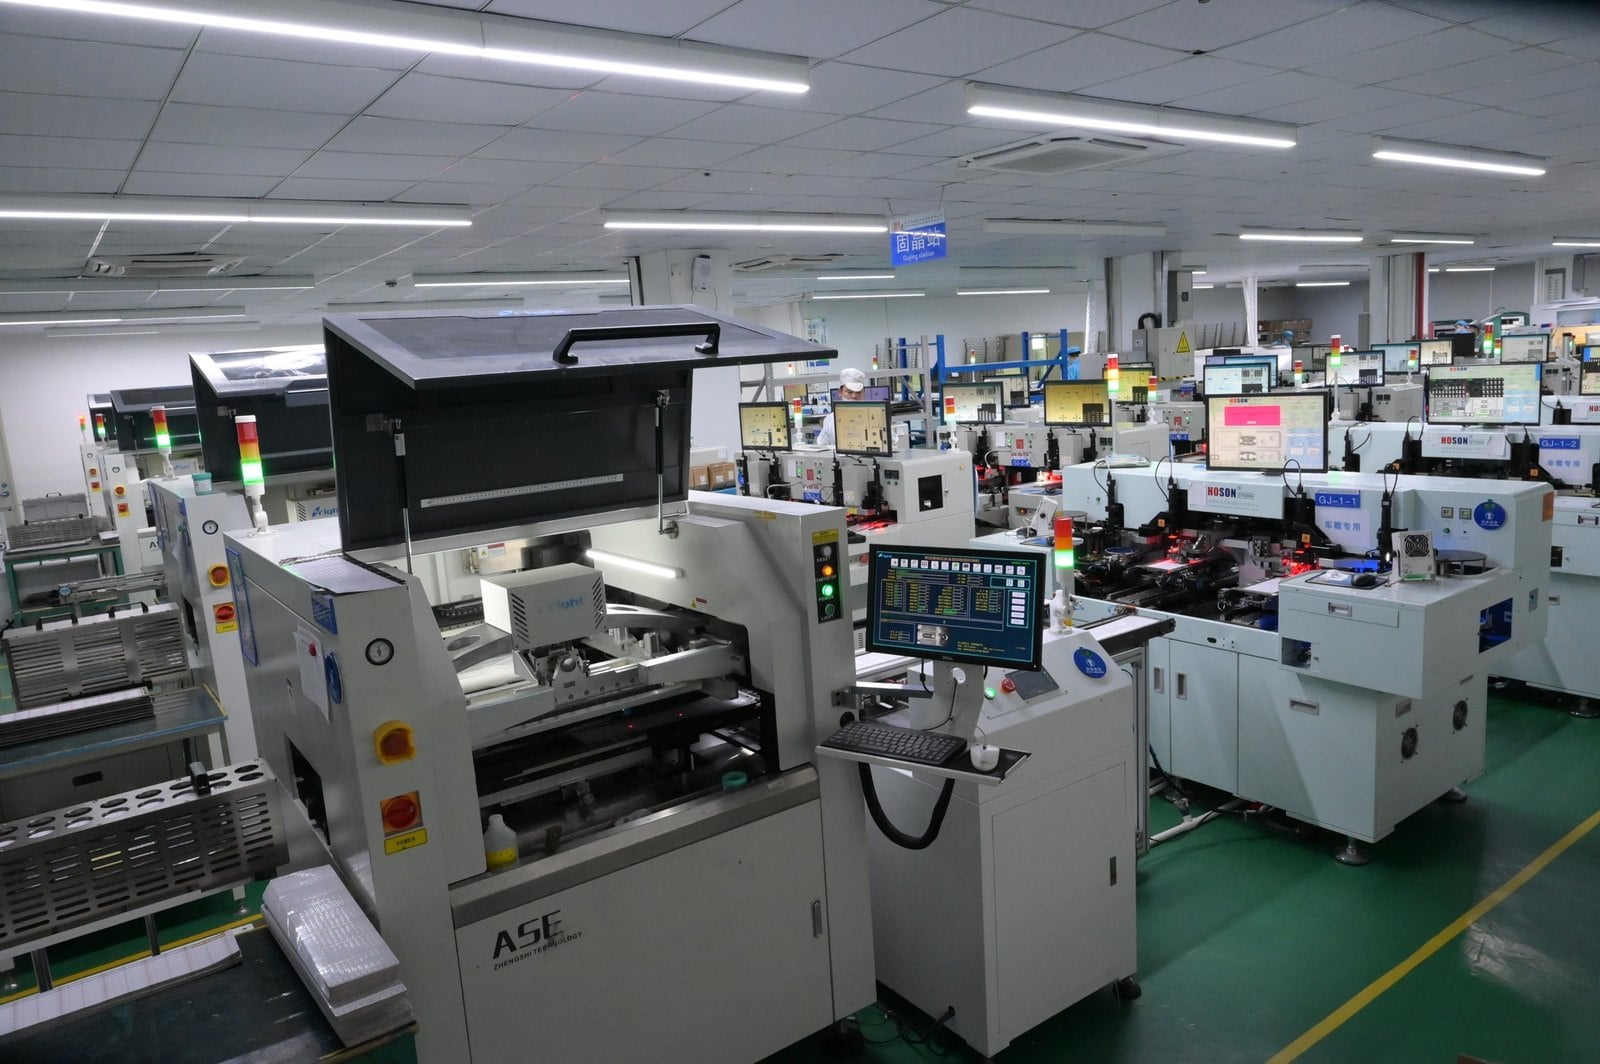
Everything sold on this site ships from stock, and almost all of it comes off our own production line in Shenzhen — from packaging the LED itself to the aging rack the finished reel sits on before it is boxed. This page walks the line in order, one stage at a time, and says what each stage does for the strip you receive. It is also where to start if you need something we do not keep on the shelf: a different length, colour temperature, IC or connector is a change to a stage on this page, not a new supplier.
Two questions every LED strip buyer has
People who order LED strip for the first time usually want to know two things: will the reel I get match the one in the photo, and if I need something slightly different, can you actually make it? Both answers live on the production floor, so rather than repeat marketing claims we would rather show you the stages.
Will it match?
Colour temperature, brightness and cut length are set at fixed points on the line and checked by instruments, not by eye. The stages below are where that happens.
Can you change it?
Yes for most things. Length, wire and connector, colour temperature, IC type, voltage and waterproof grade are all decided at a specific stage; changing one does not disturb the rest. Details and how to ask are in custom lighting services.
What if I just want a reel?
Then none of this needs your attention: pick the product, pay, and it ships from stock within 1–2 business days. Start with single colour LED strip, COB LED strip or addressable LED strip.
LED strip production stages 1–4: packaging and measuring the light source
Most strip makers buy finished LEDs. We package a large share of ours, which is why the colour and brightness of a batch are decided in our building, on our instruments.
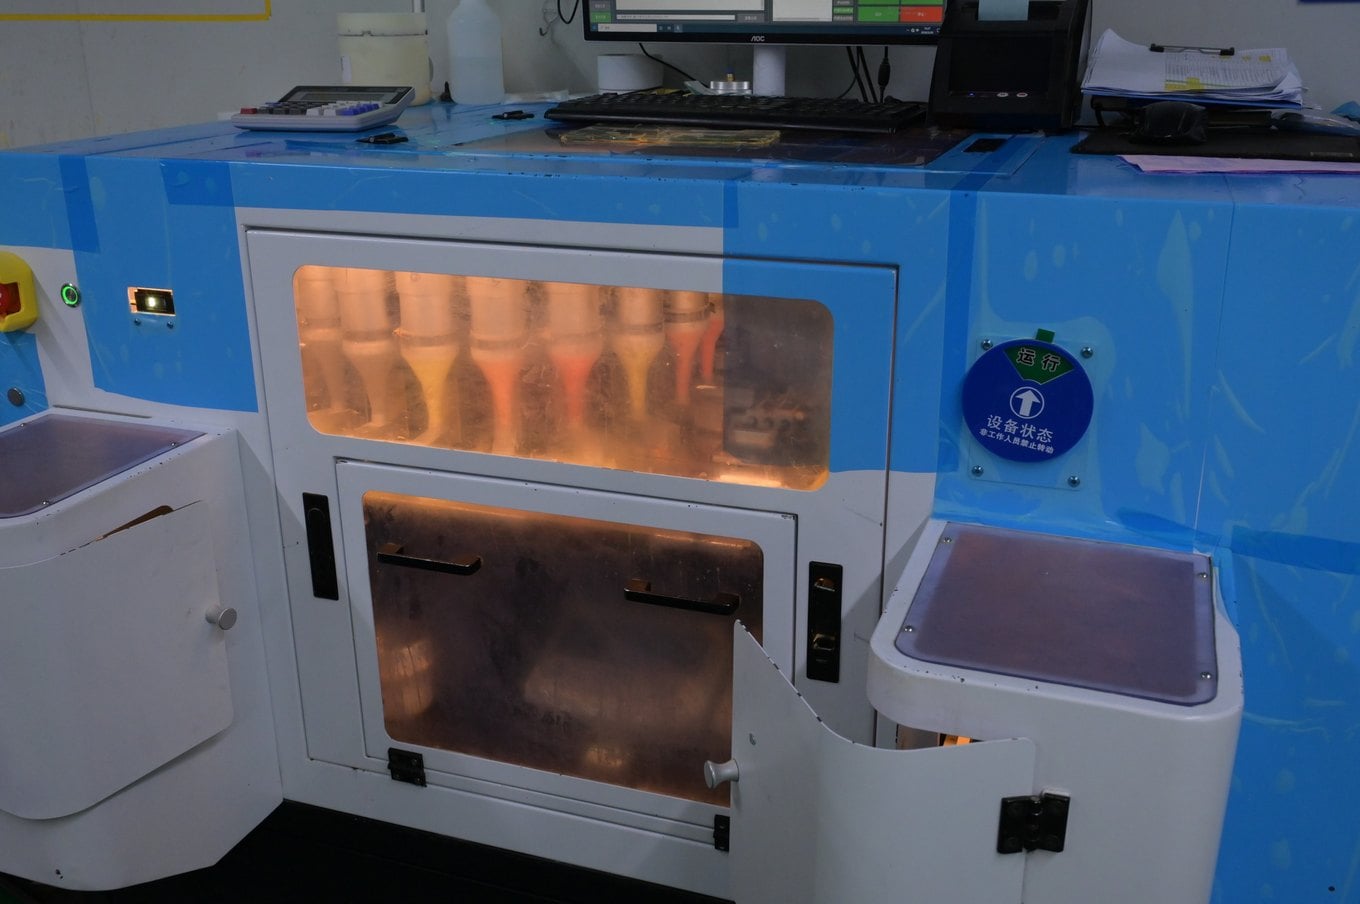
Phosphor mixing and storage
The phosphor powder that turns a blue chip into warm or cool white is weighed, mixed with silicone and kept in a temperature-controlled dispenser. The recipe fixes the colour temperature and colour rendering of everything that follows.
What it means for you: A 3000 K reel is 3000 K because of a formula written down here, not because someone picked the closest bin from a supplier. Reorders match.
Die bonding
Automatic die bonders pick each LED chip from the wafer and place it on the lead frame, then the phosphor mix is dispensed over it. Several machines run in parallel on different chip sizes.
What it means for you: Chip size and phosphor are matched to the strip they are destined for: a high-CRI 2835 and a 5 mm COB chip do not come off the same reel of bought-in parts.
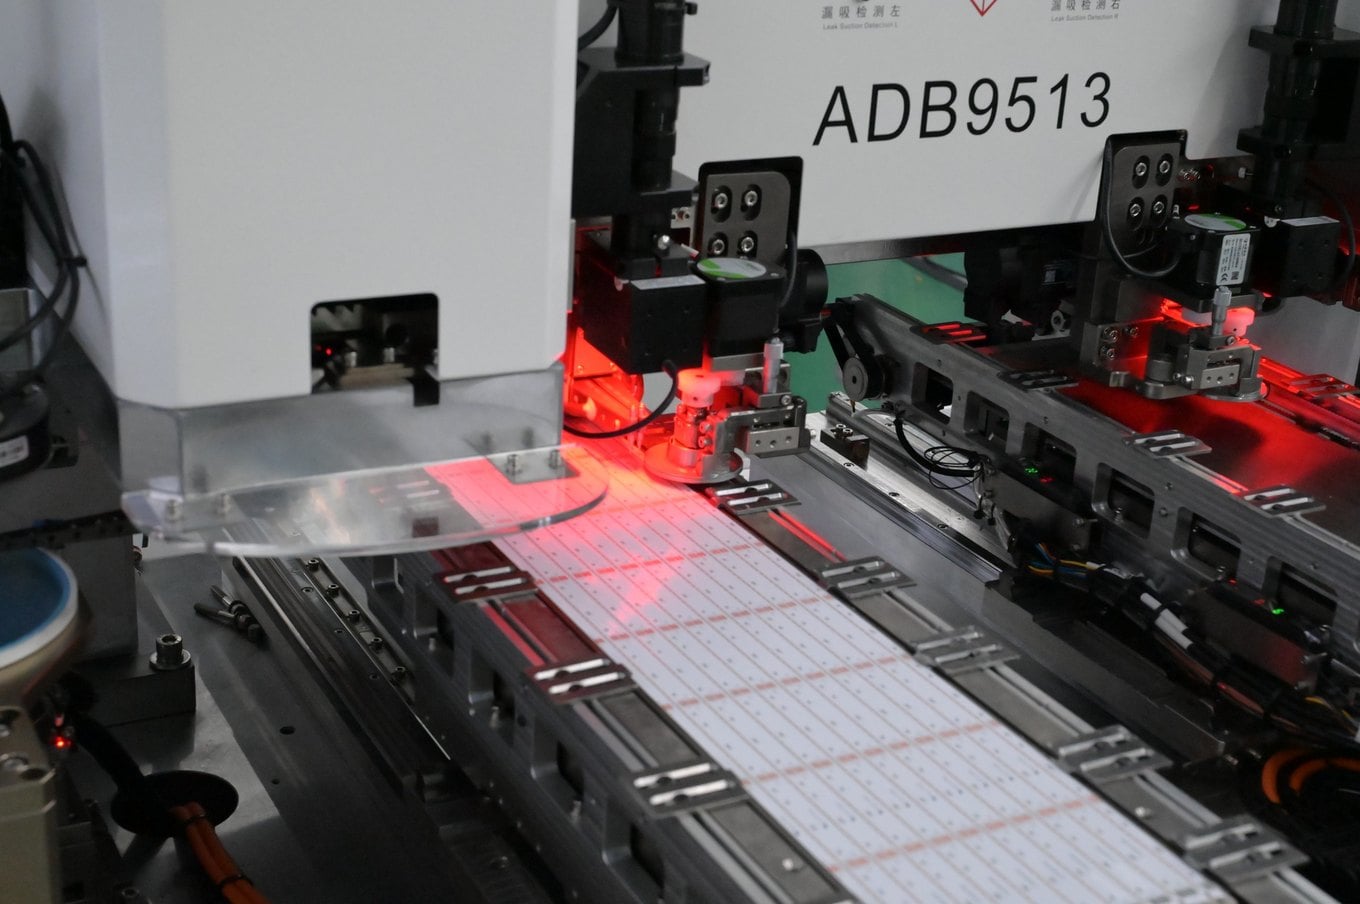
Curing ovens
Bonded frames go through a row of ovens that cure the die-attach glue and the phosphor silicone at a fixed temperature profile. Under-cured phosphor yellows and shifts colour in service.
What it means for you: This is one reason the strip does not drift towards green or yellow after a few thousand hours.
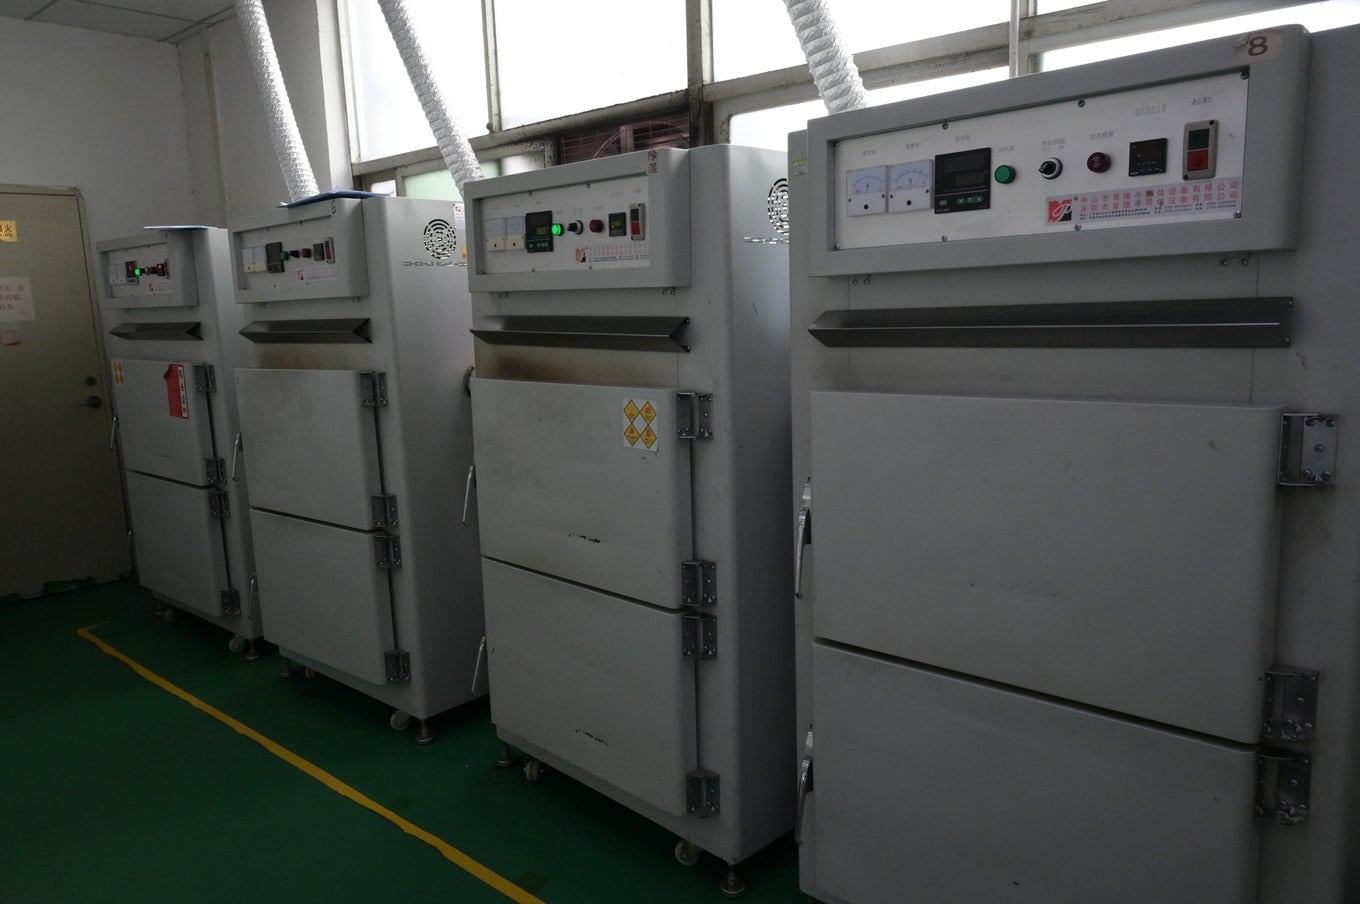
Photometric measurement
Samples from every batch go into the integrating sphere. It reports lumen output, colour temperature, colour coordinates and CRI, and the batch is binned from those numbers.
What it means for you: The values printed on the product page are measured on this instrument, so two reels from one order sit in the same bin.
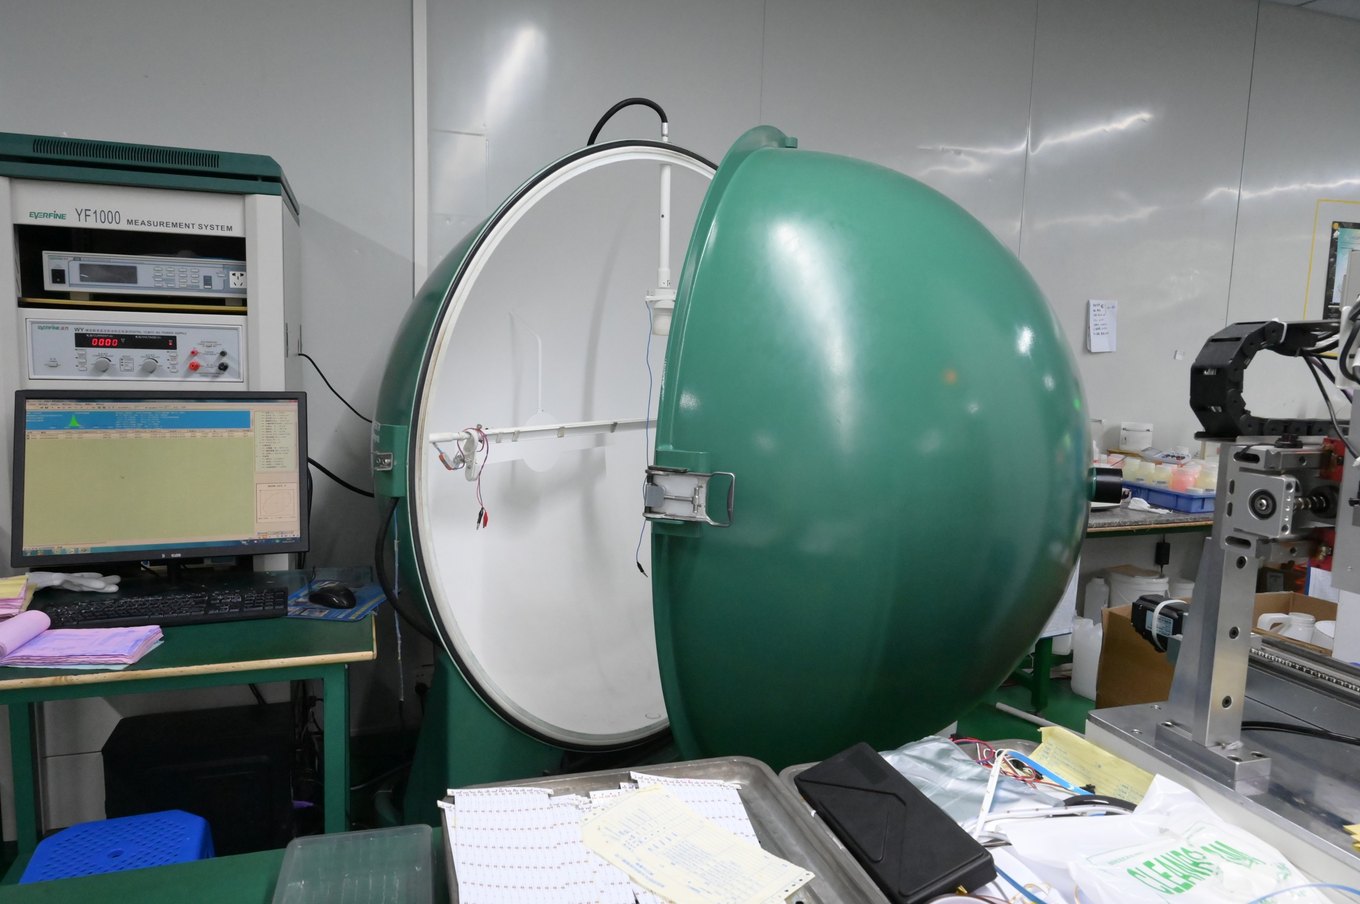
Stages 5–8: putting the LEDs on the flexible board
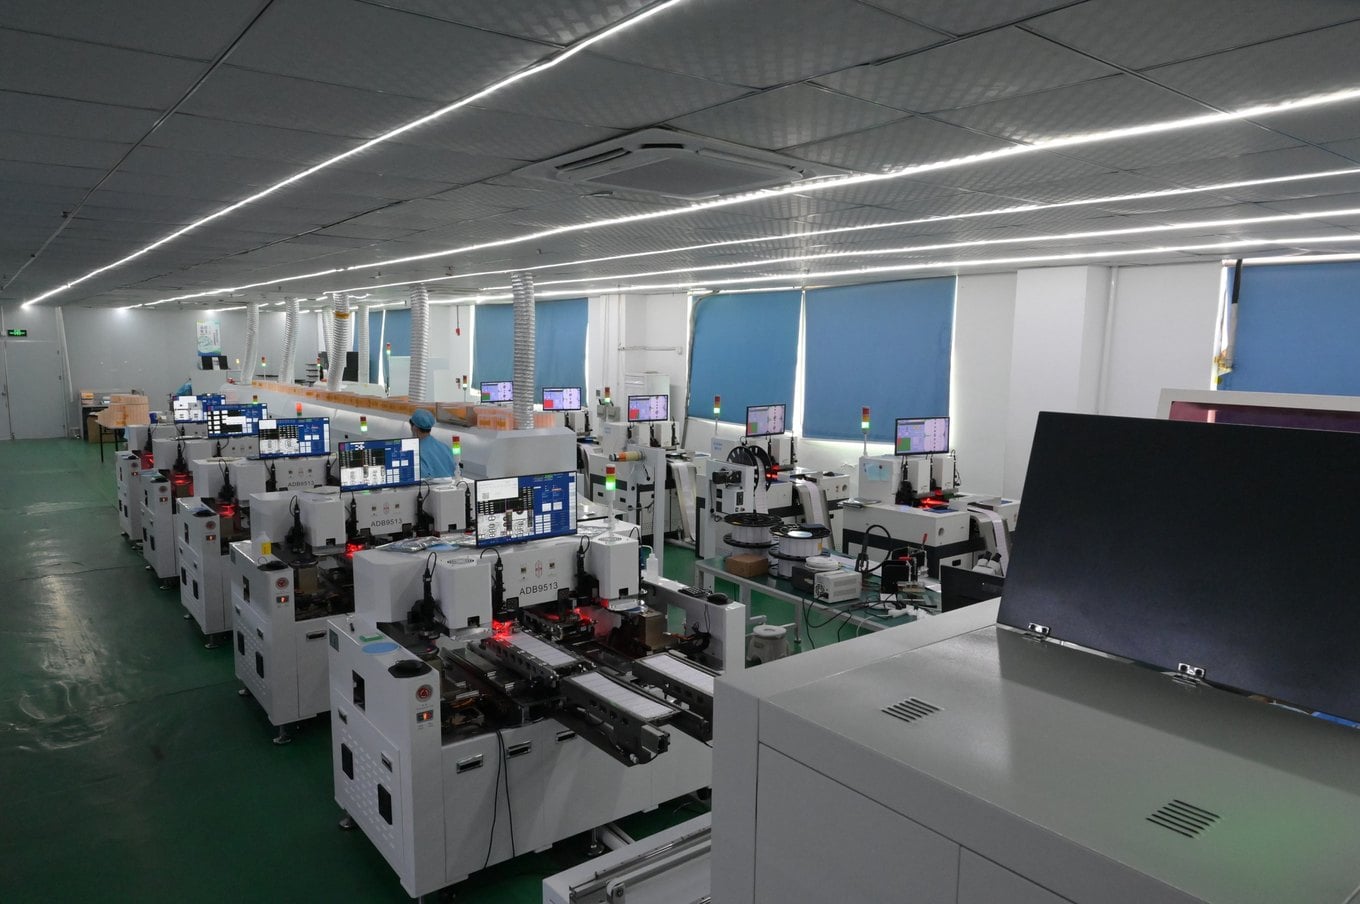
This is the surface-mount part of the line: the same process as any electronics factory, tuned for long, flexible, narrow boards.
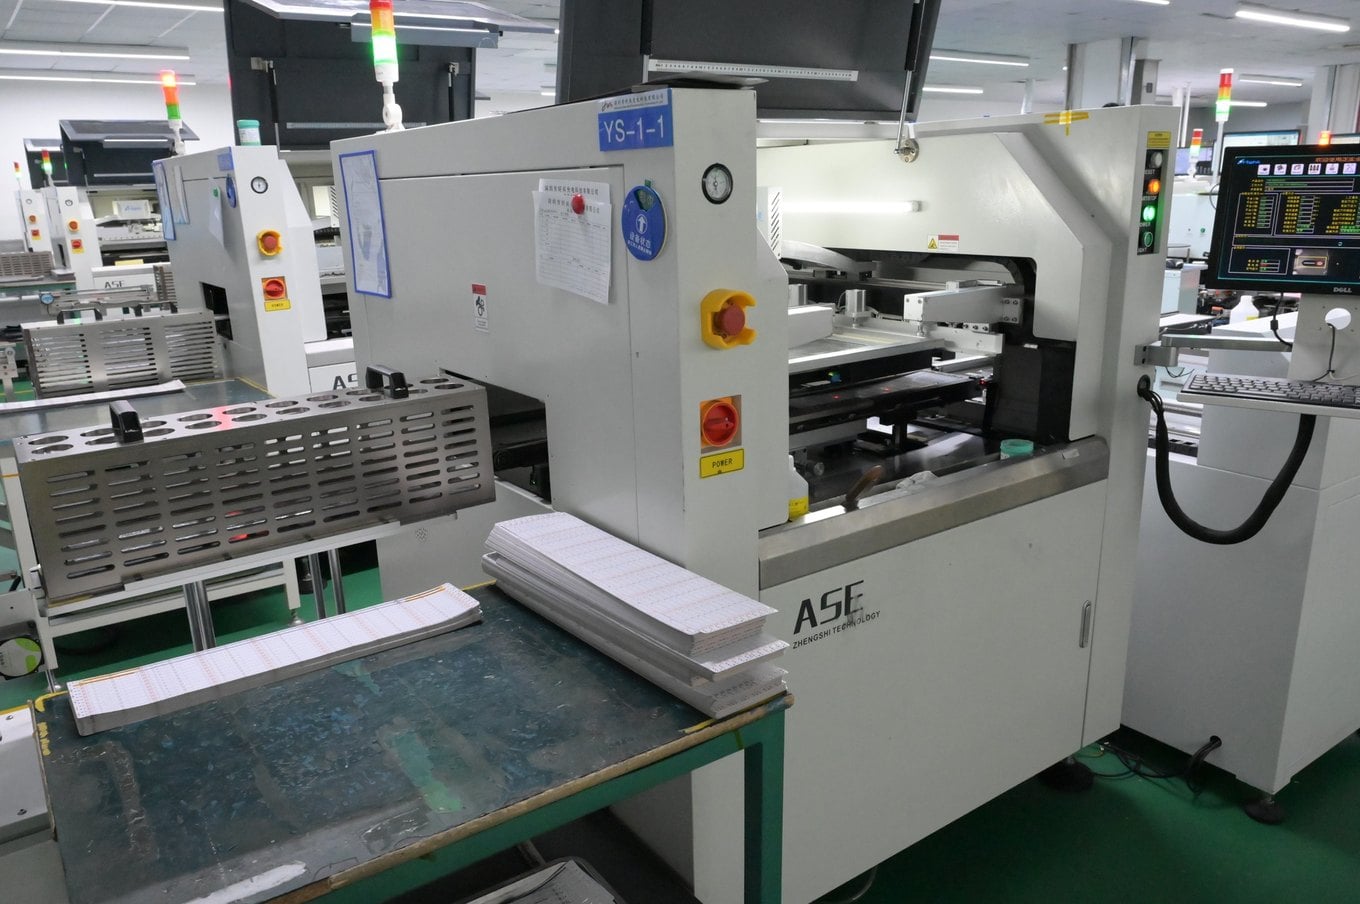
Solder paste printing
Flexible PCB panels go through a stencil printer that lays down solder paste on every pad. The stencil is made for the exact board layout, so the paste volume on a 3 mm pad is the same on the first panel and the thousandth.
What it means for you: Even paste means even solder joints, which is what keeps a strip working after it has been bent around a corner a few times.
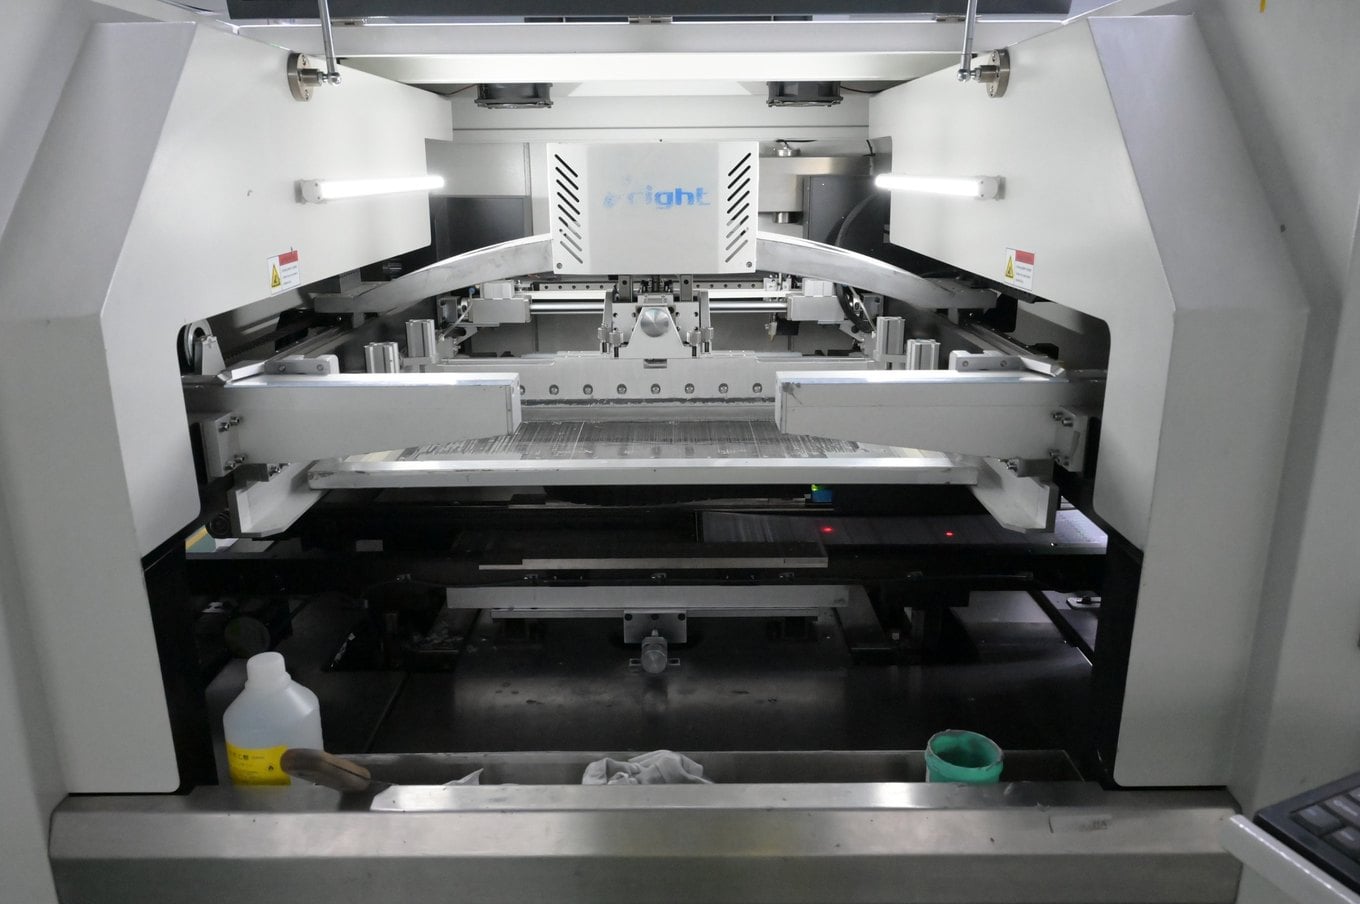
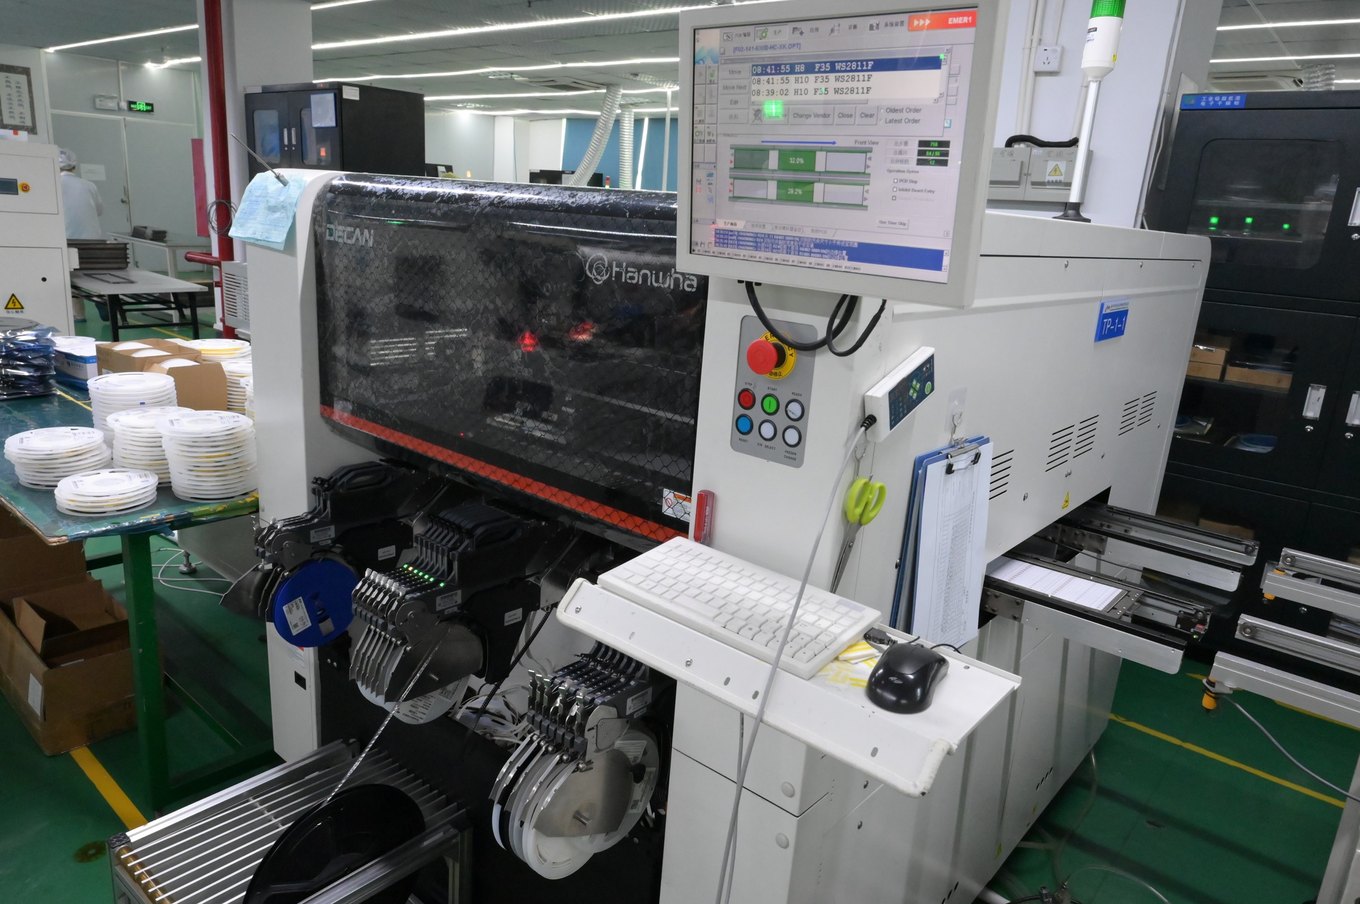
SMT pick and place
Pick-and-place machines load the LEDs, resistors and — on addressable LED strips — the driver ICs from reels onto the pasted board at several thousand parts per hour, with camera alignment on each part.
What it means for you: Consistent LED spacing and orientation along the whole reel; on pixel LED strips, the IC and LED pairing is set here.
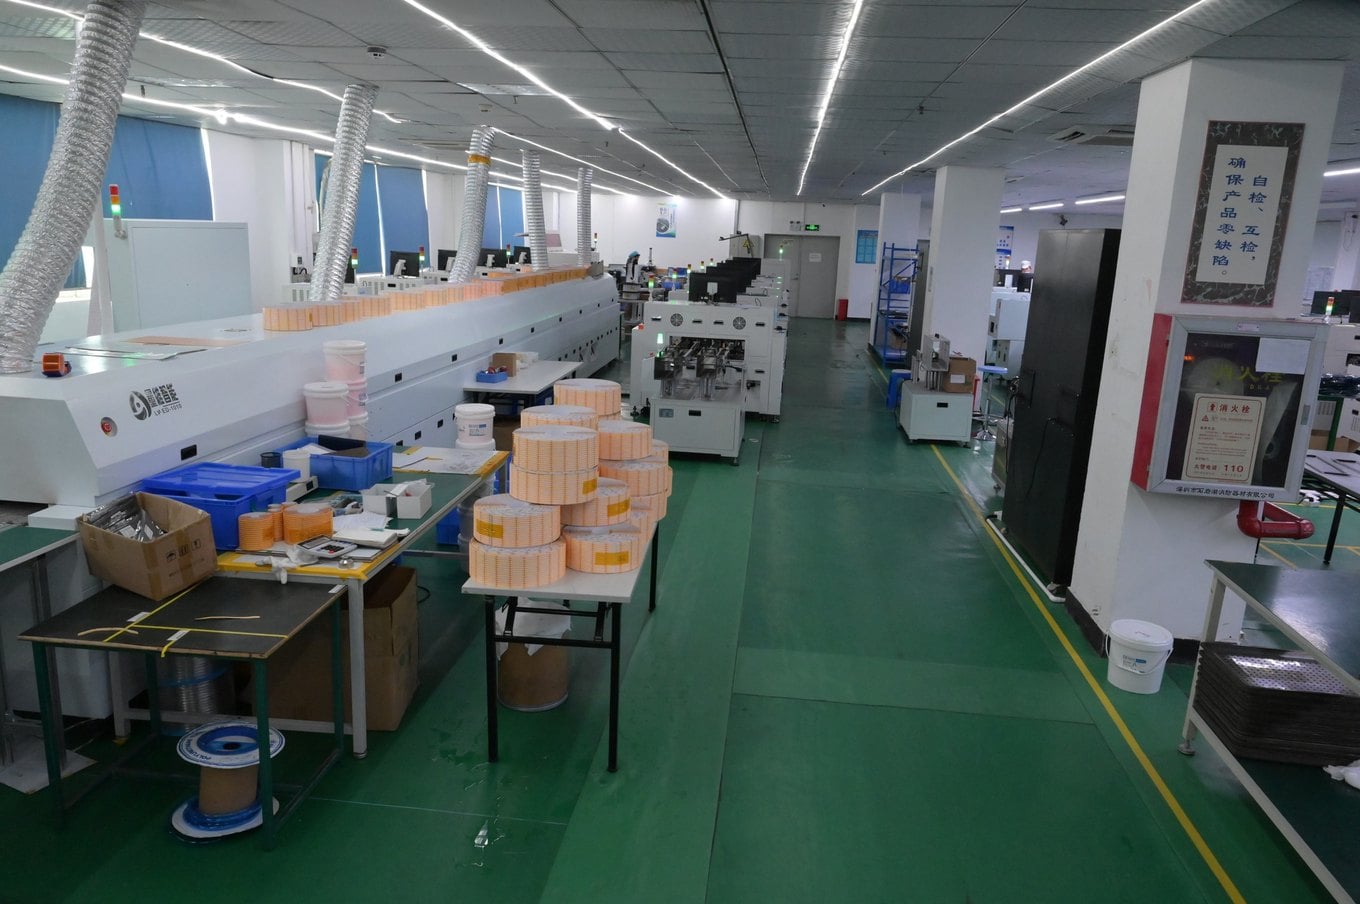
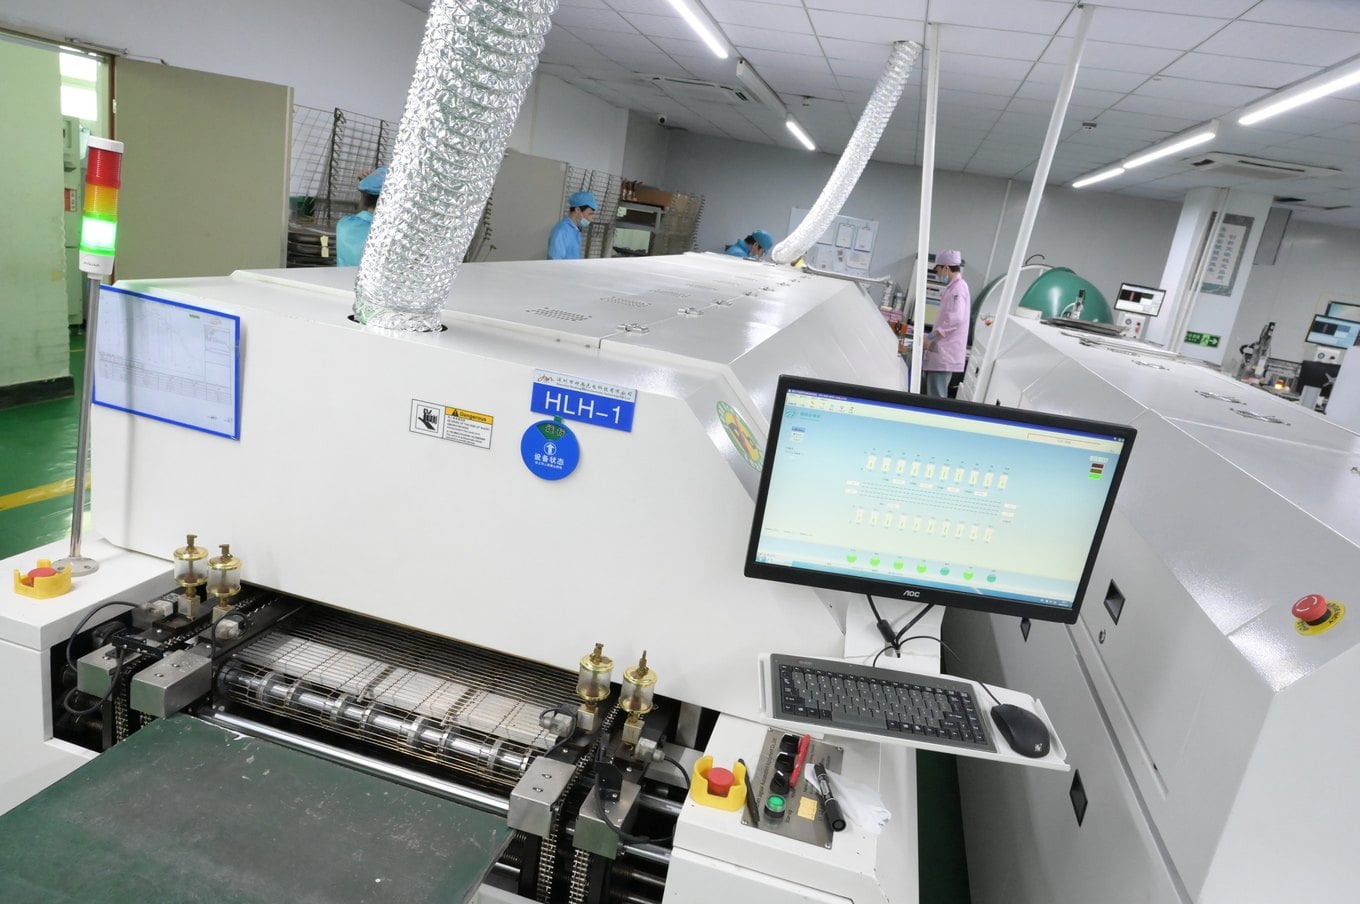
Reflow soldering
The loaded panel travels through a multi-zone reflow oven that melts the paste and cools it under a controlled profile. The profile is stored per board type.
What it means for you: A proper reflow profile is the difference between a joint that lasts and one that cracks when the strip is flexed.
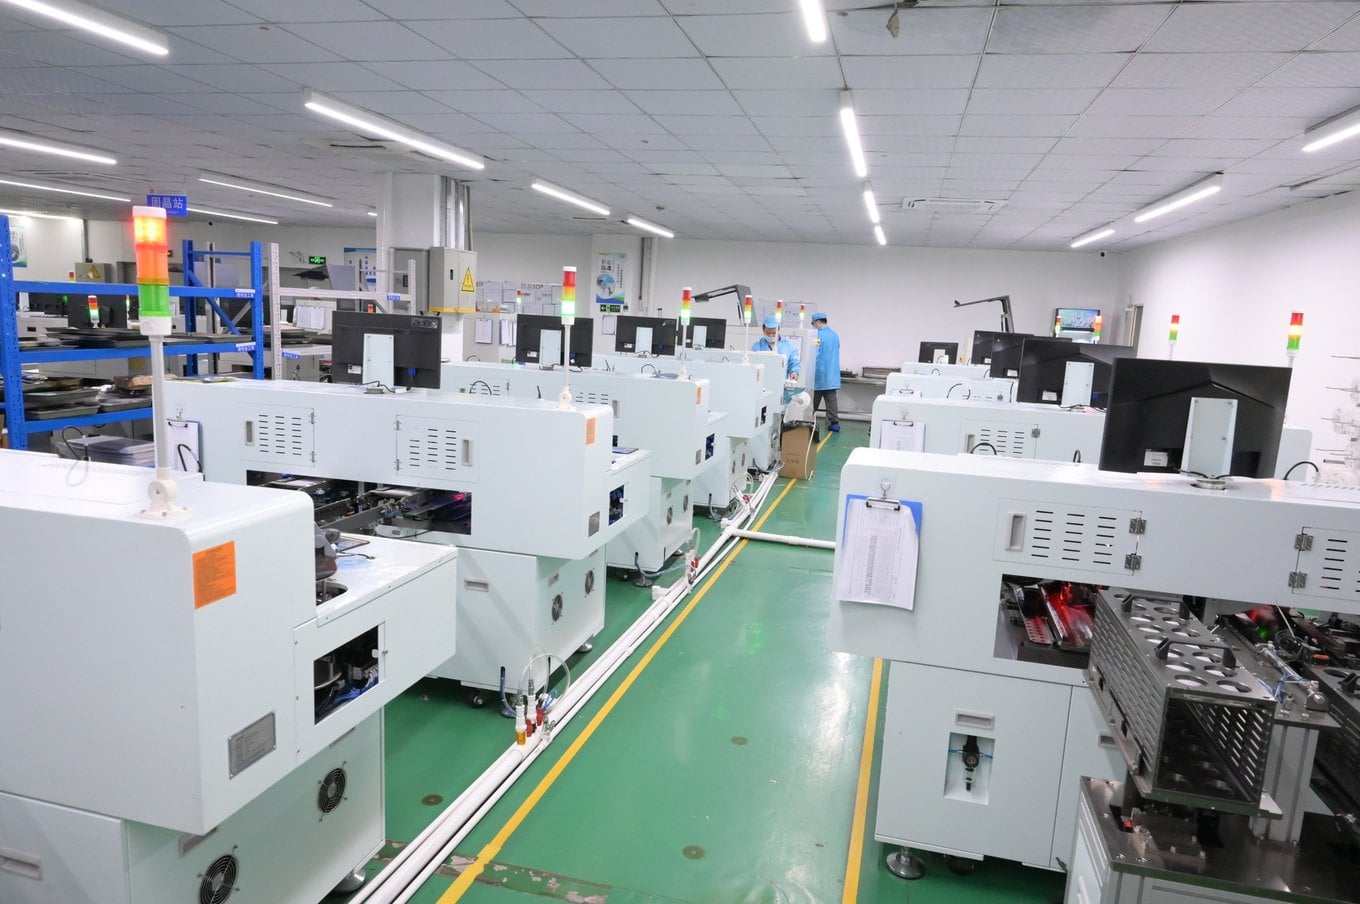
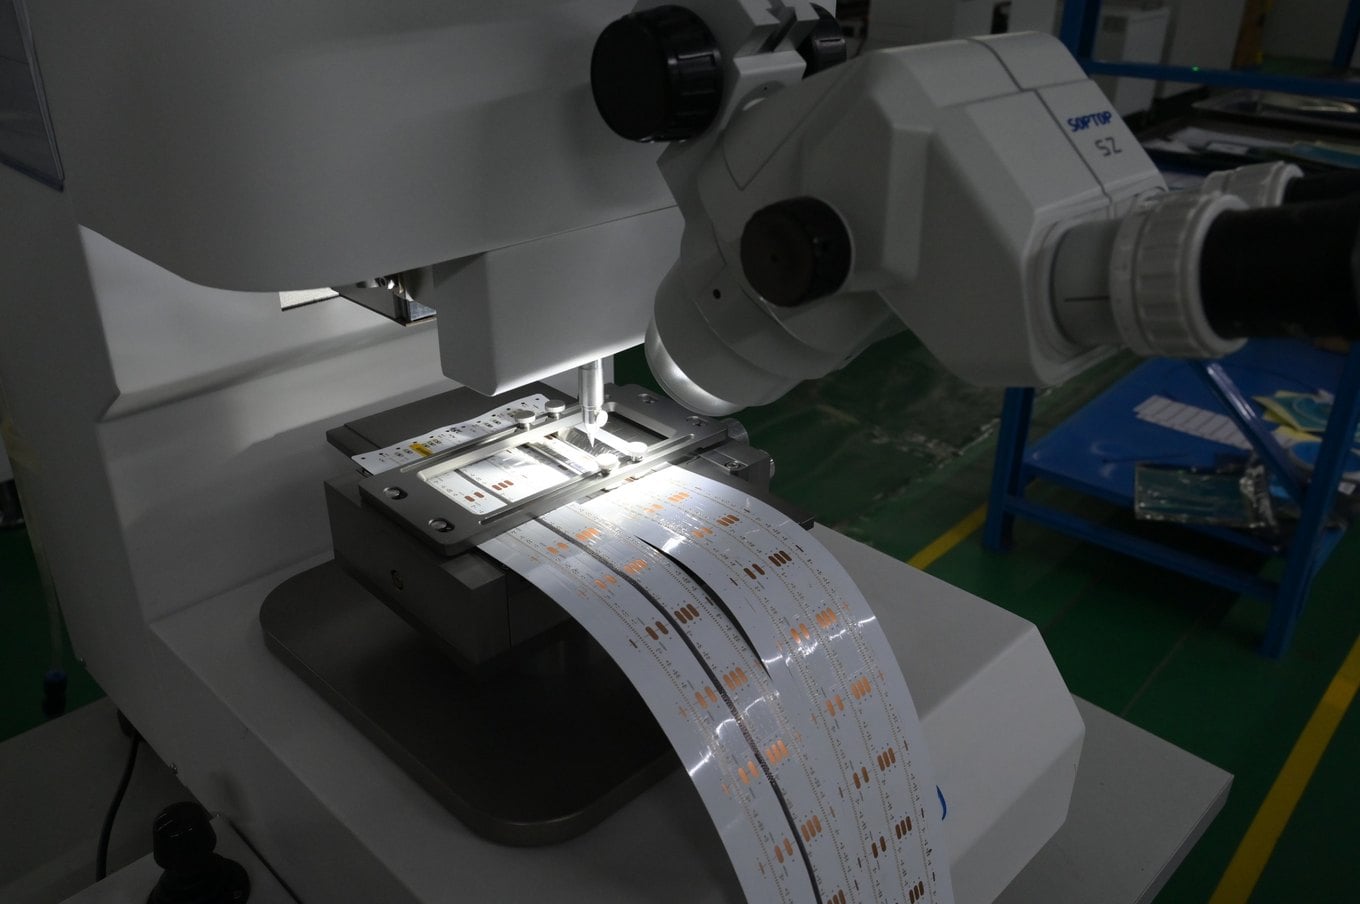
Pull test and microscope inspection
From each run, LEDs are pulled off with a calibrated tester to confirm joint strength, and joints are inspected under the microscope for alignment, voids and bridging.
What it means for you: You are much less likely to get a strip with one dark segment three metres in.
LED strip production stages 9–13: from panel to reel
The stages where a custom order differs from a stock one. Wires, connectors, waterproofing and length are all decided here.
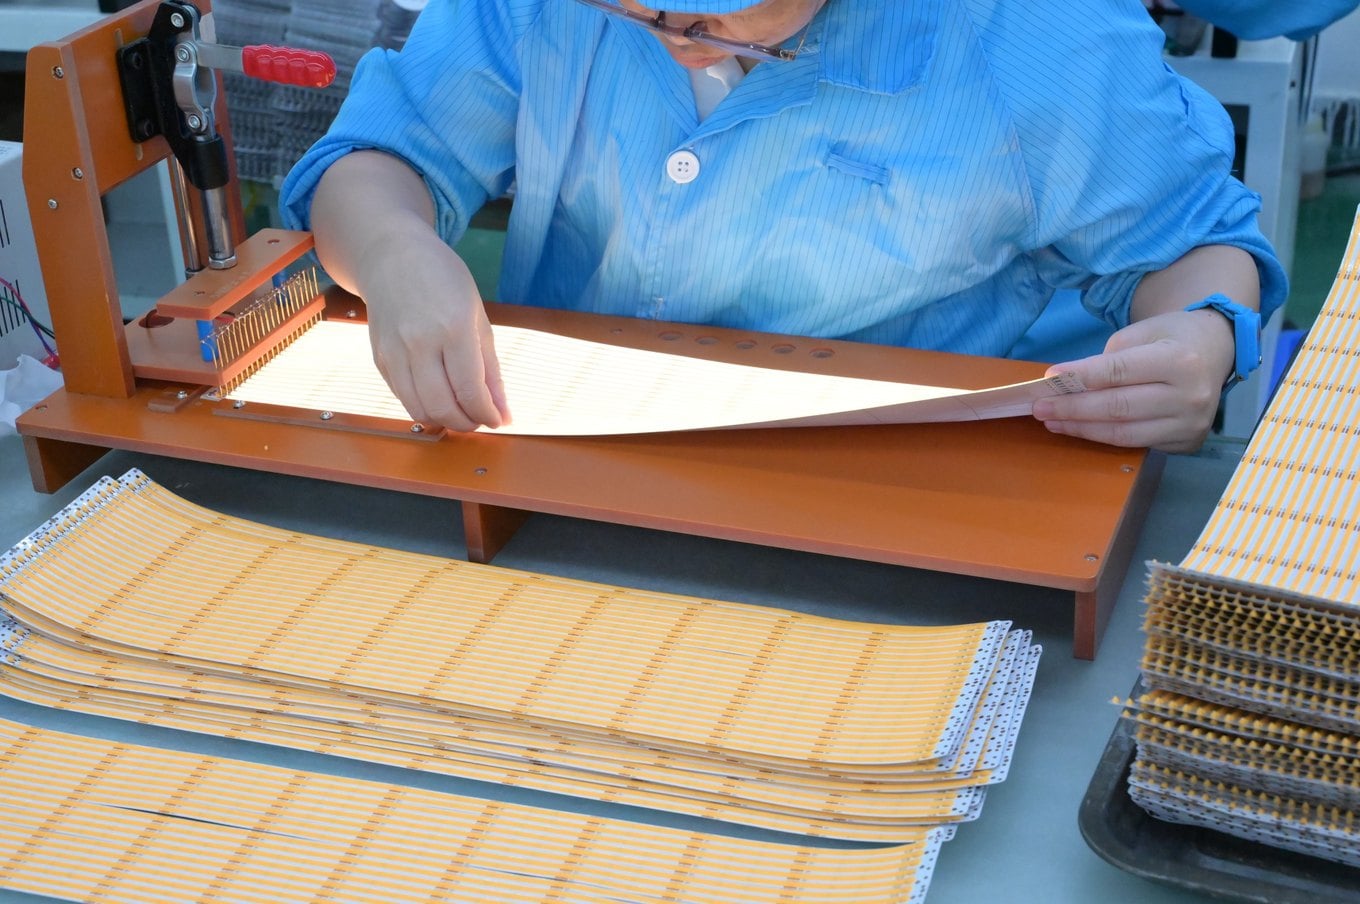
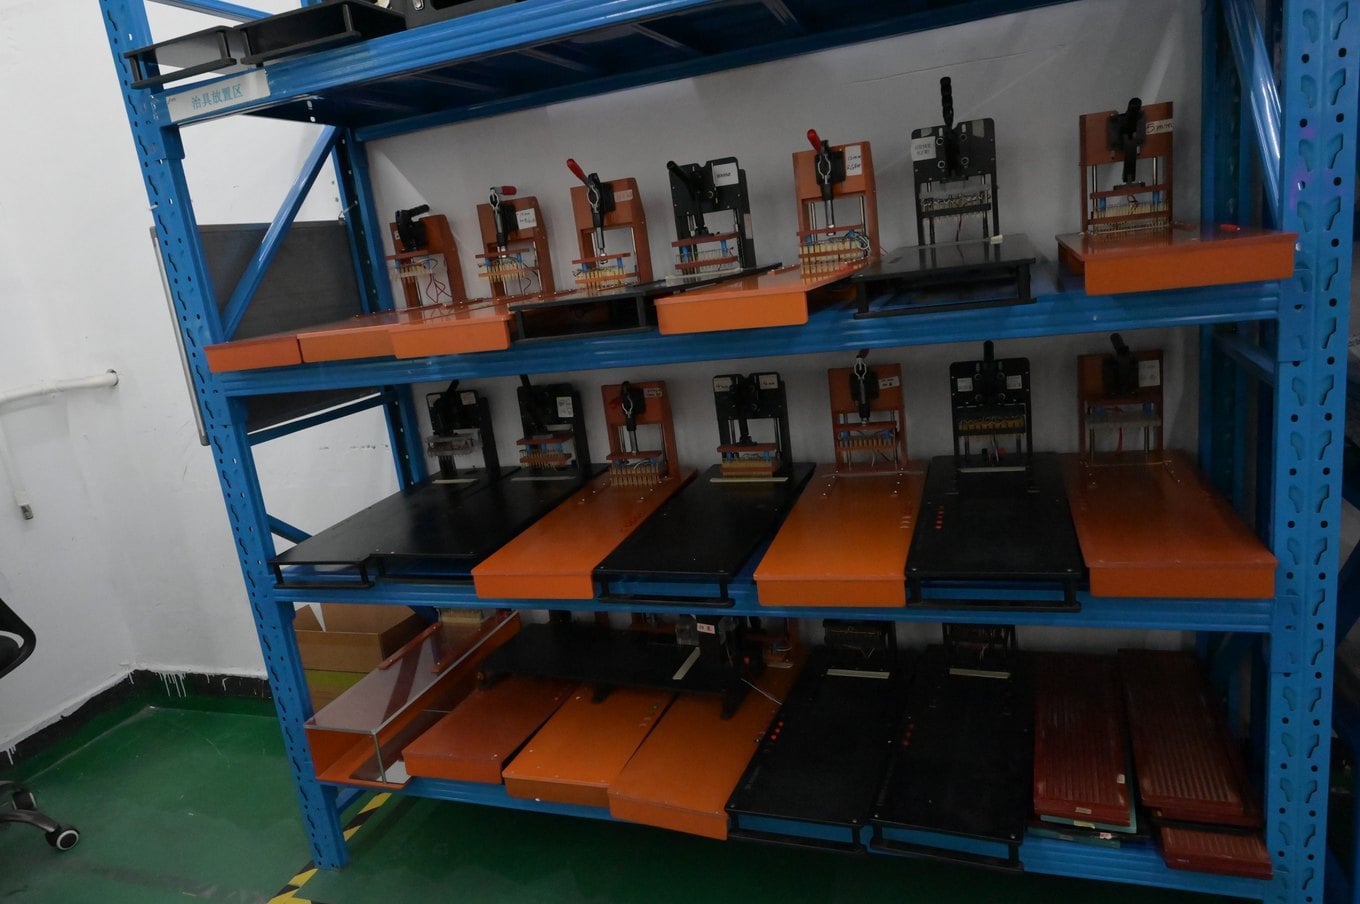
Electrical test on the panel
Every panel is powered on a press fixture and each segment is checked before it is cut. Segments that do not light or show the wrong colour are marked and removed.
What it means for you: Testing before cutting means a fault is caught on the panel, not by you after installation.
Wire and connector soldering
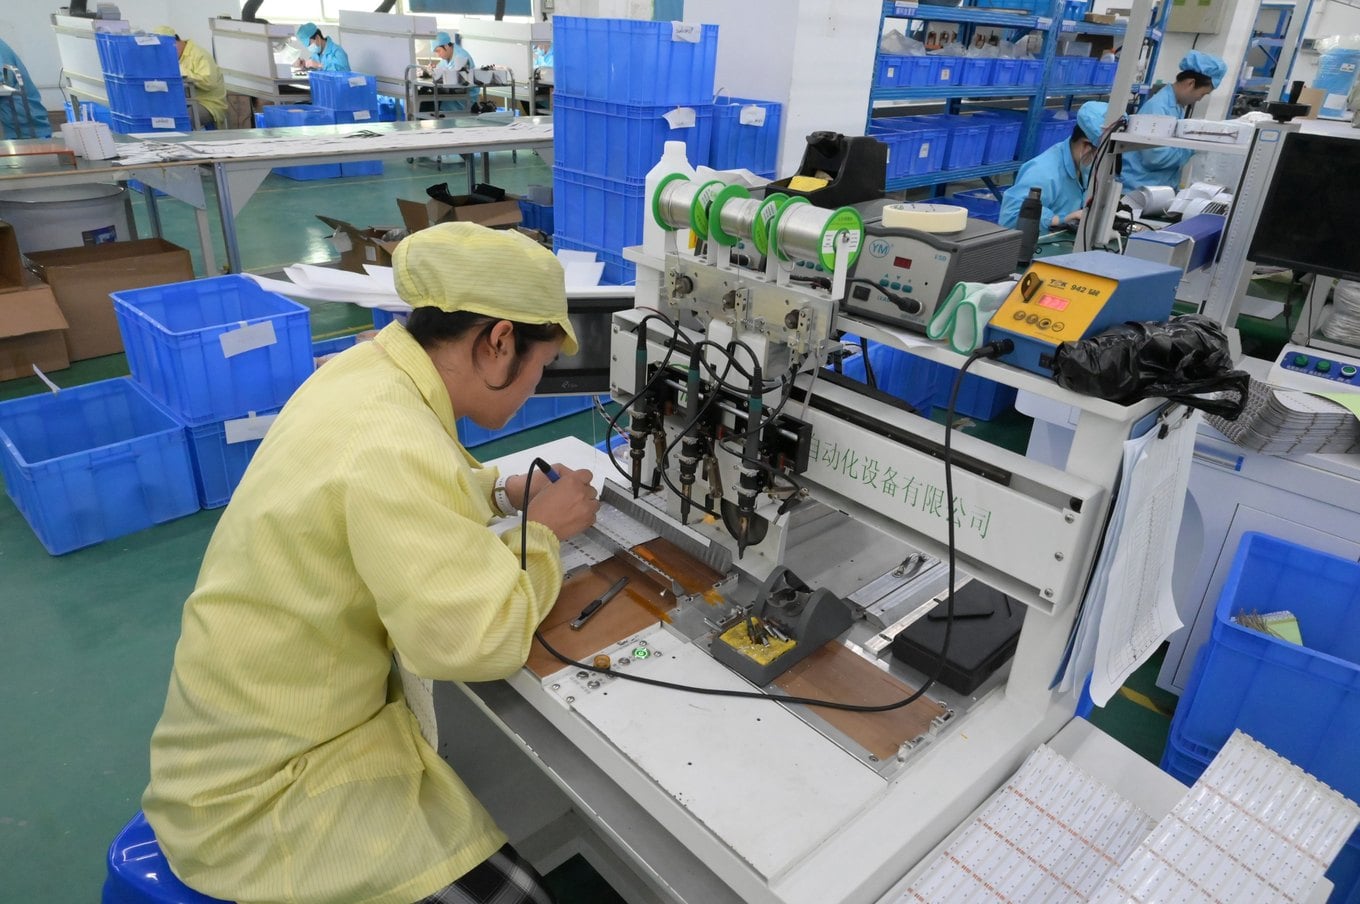
Leads, JST plugs or bare wires are soldered on — by automatic soldering machines for standard ends and by hand at the benches for custom lengths and unusual connectors.
What it means for you: This is the stage that handles "cut at 3.7 m with wires on both ends": say it in the order notes and it is done here.
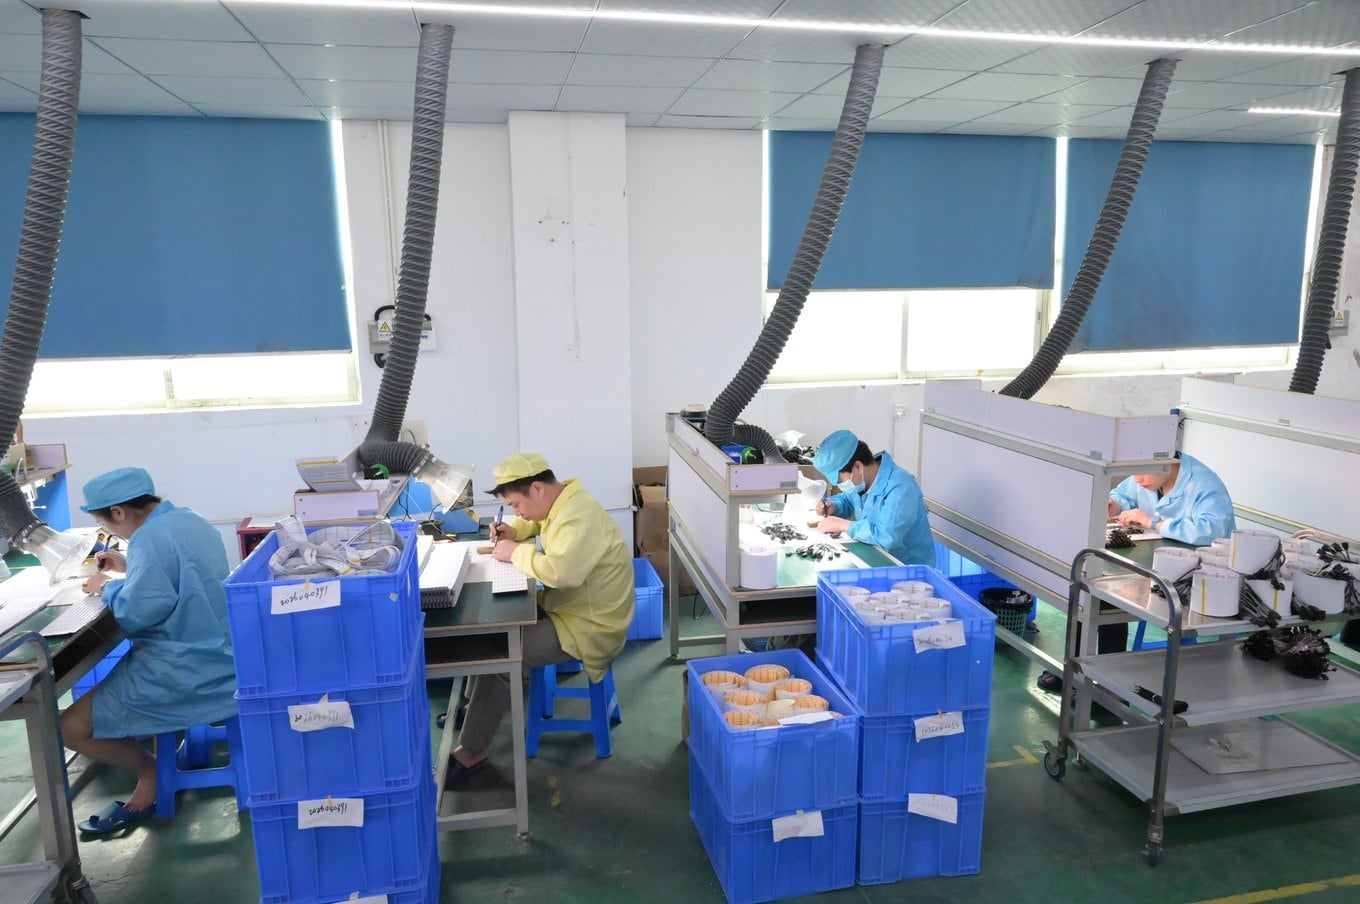
Silicone preparation and potting
For IP65–IP68 LED strips the silicone is de-aired in a centrifuge before it is applied, so the coating goes on without bubbles; the strip is then coated or sleeved and cured.
What it means for you: Bubble-free silicone is what keeps the waterproof rating honest for years outdoors.
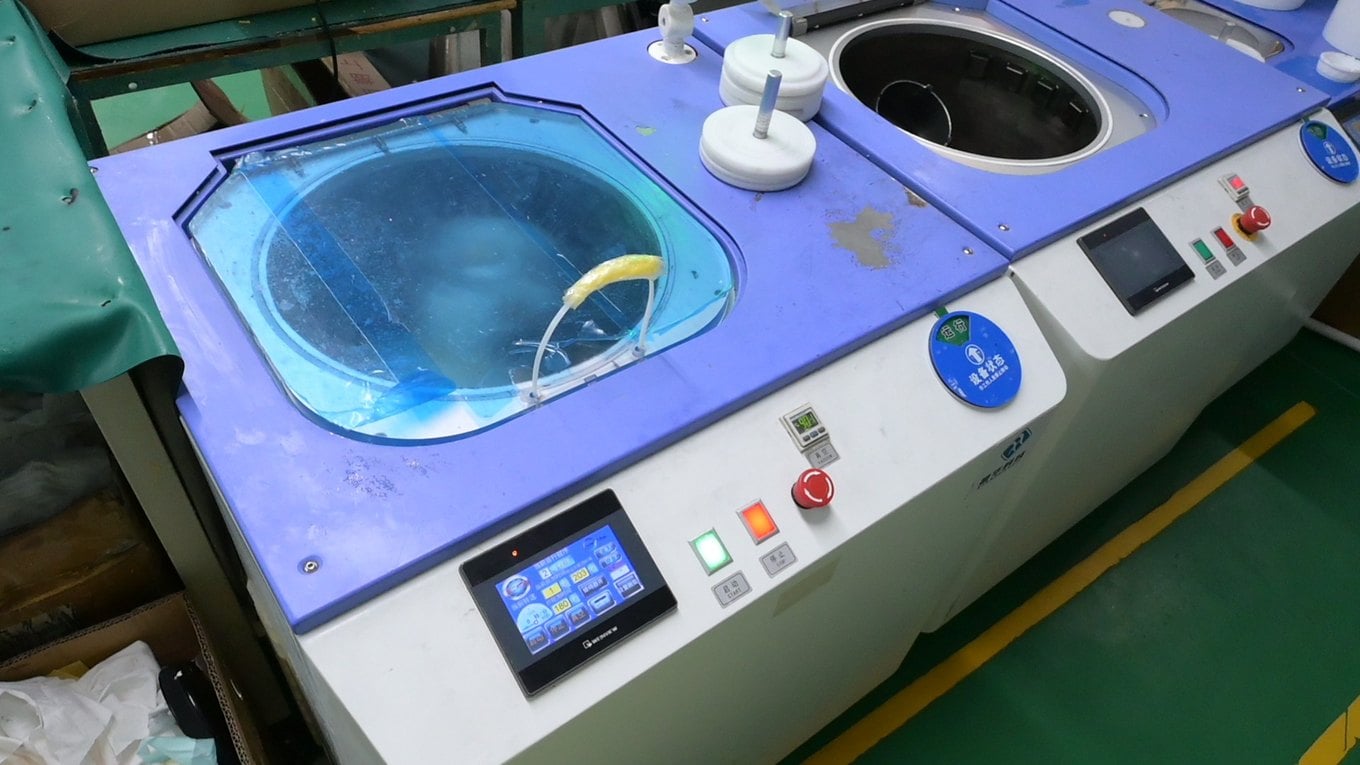
Cutting and depaneling
A punching machine separates the tested strips from the panel along the cut marks. Custom lengths are cut on the same fixture to the nearest cut point.
What it means for you: Clean cut edges with intact pads, which is why field-cut sections still take a connector properly.
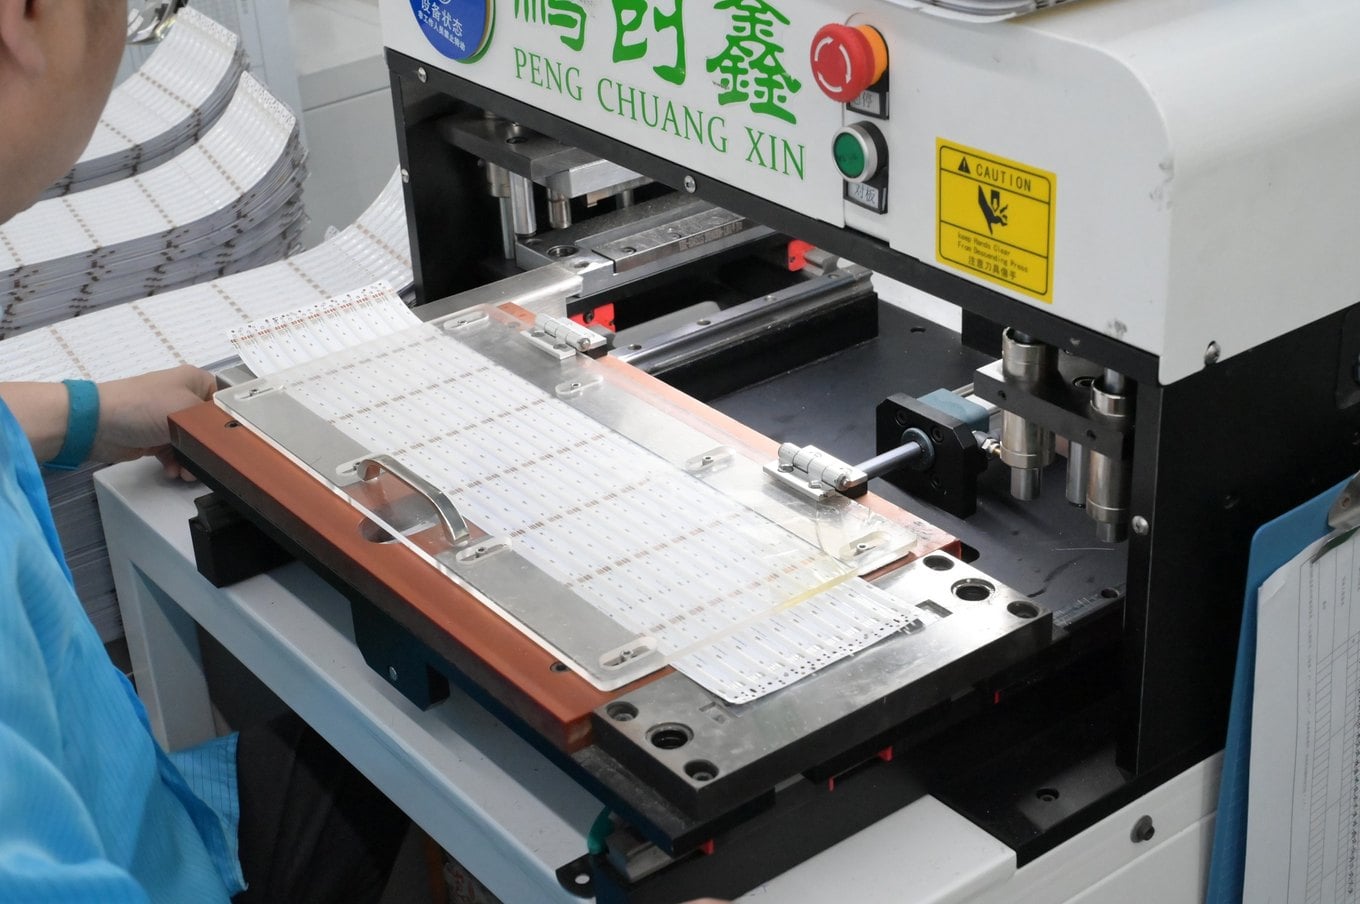
Reeling and labelling
Finished strips are wound onto 5 m reels (or the length you ordered), labelled with model, voltage, colour and batch, and bagged.
What it means for you: The batch number on the reel label links back to the photometric bin from stage 4.
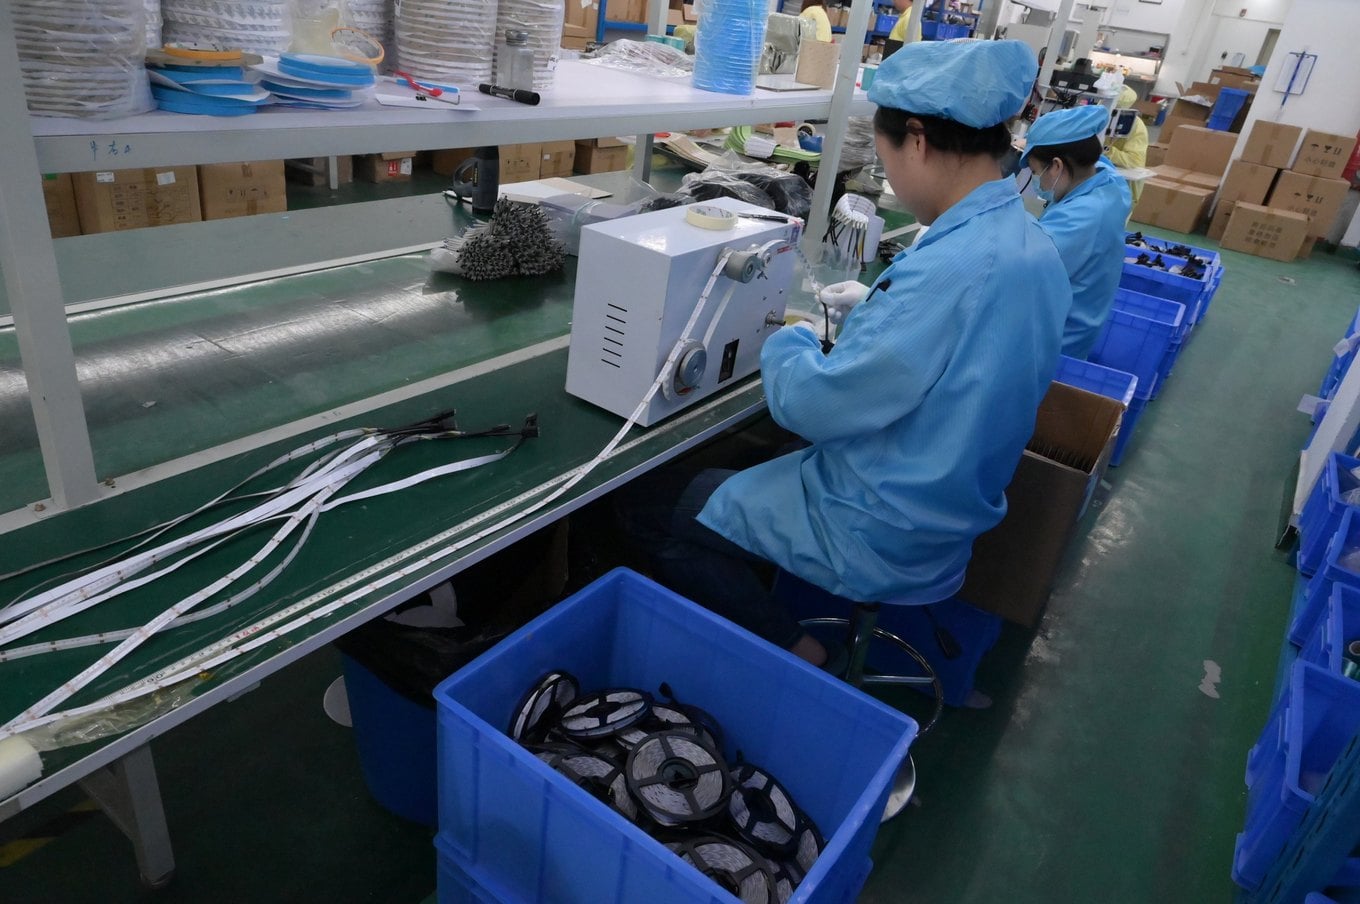
LED strip production stages 14–16: aging, stress testing and the sample room
The last stages exist to find the few reels that would fail early, so they fail here rather than on your ceiling.
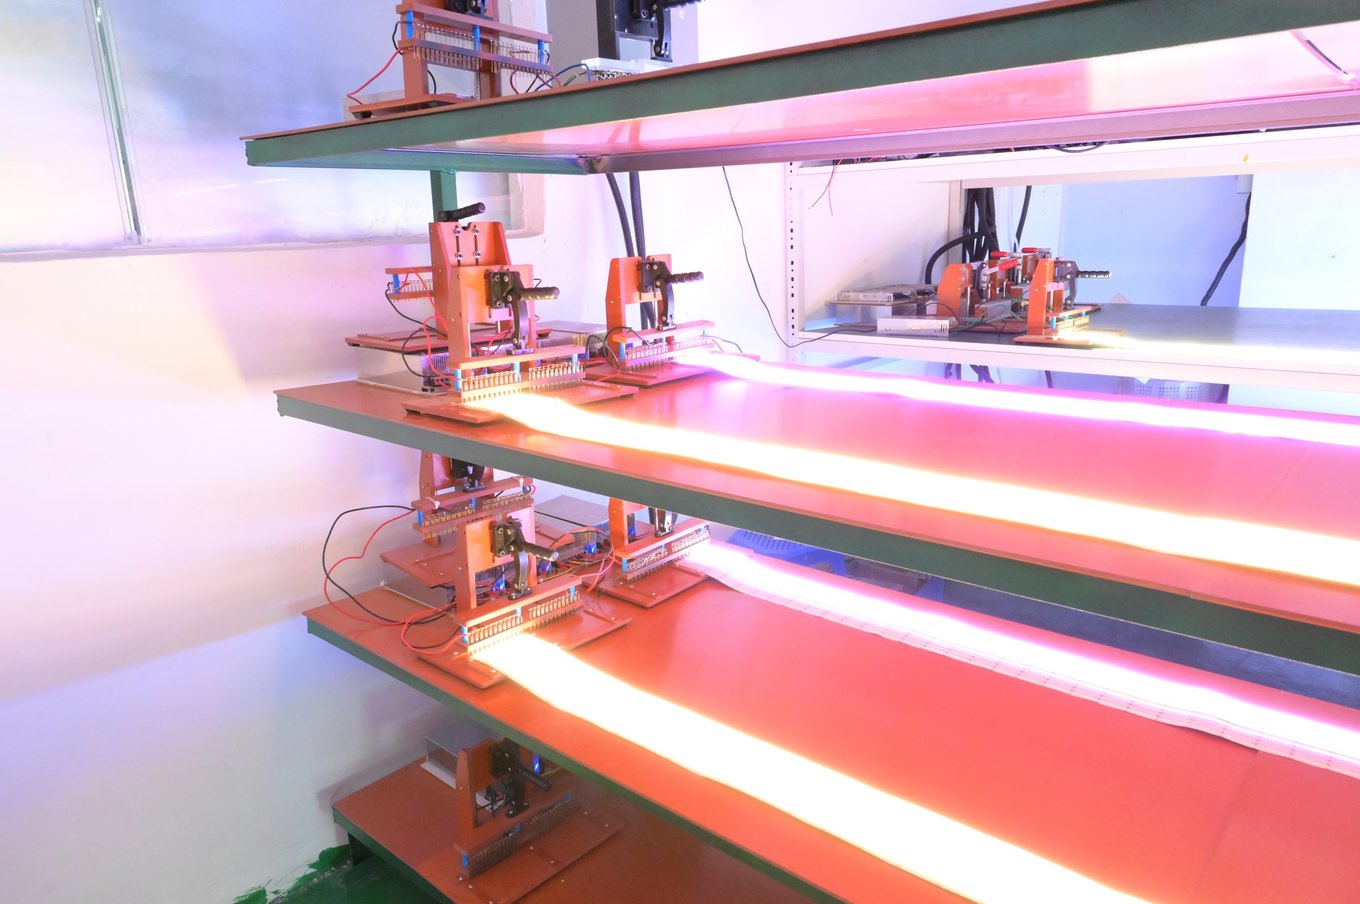
Aging racks
Reels are unwound onto the aging racks and powered at working voltage before packing. An LED or joint that is going to fail in the first hours does it here, under our lights, not yours.
What it means for you: Early failures are the most common kind; the rack removes most of them from what leaves the building.
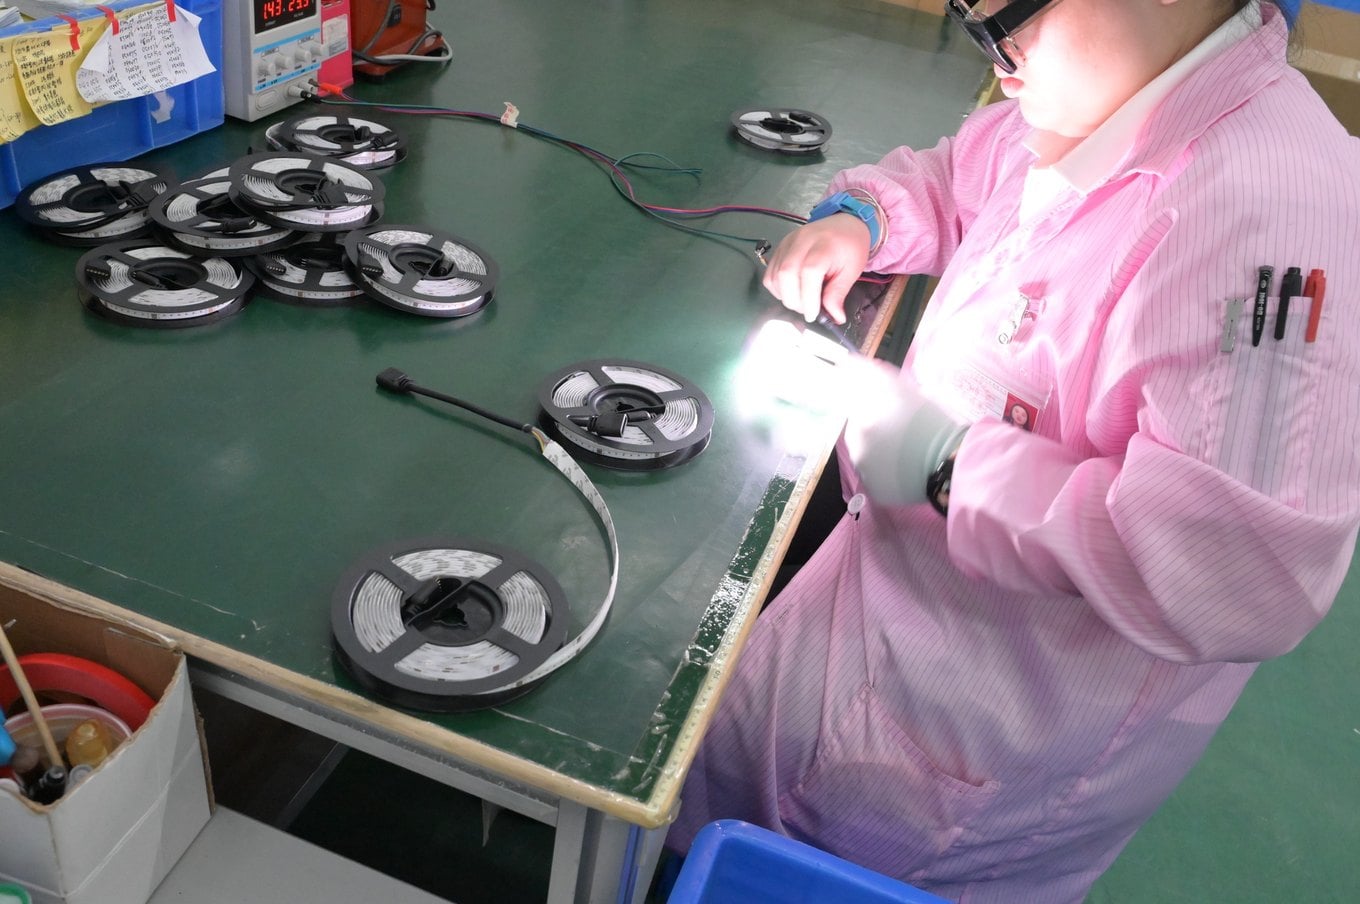
Stress test
Sample reels from each batch are bent, flexed and repeatedly powered by a technician to check that the joints, the silicone and the copper survive handling and installation.
What it means for you: Confidence that the strip can be routed round a corner or through a channel without a dark spot appearing.
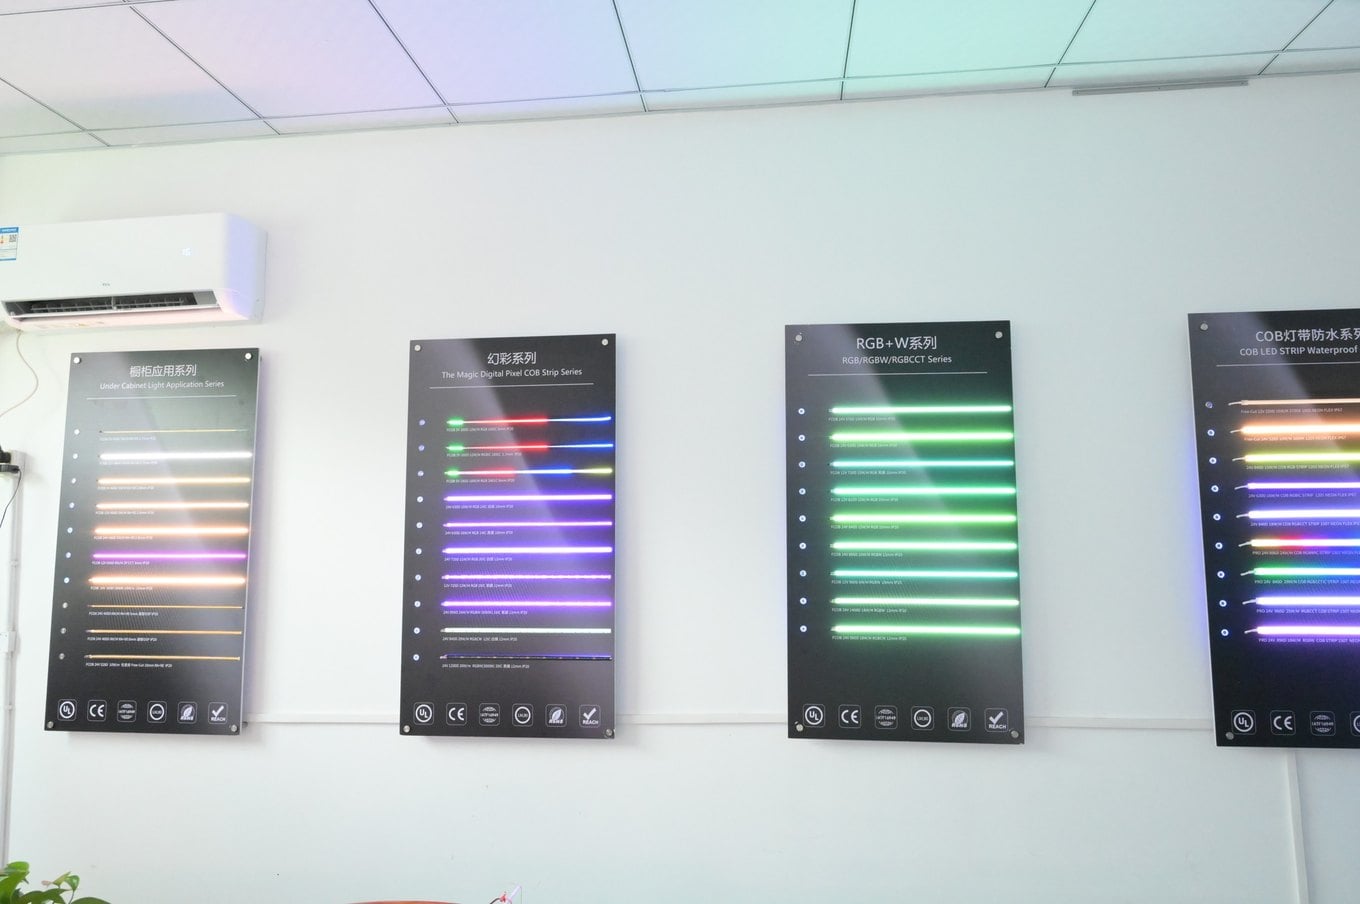
Sample room
Lit sample boards of every series — COB, pixel, RGB+W, waterproof — hang in the showroom next to the line. Custom samples are approved here against the standard boards before a production run starts.
What it means for you: If you order a custom colour or IC, the sample you approve is compared to these boards, so what you get in quantity matches the sample.
What can change on a custom LED strip, and how to ask
Because the line is ours, a custom order is a note against one or two of the stages above rather than a different factory. This is what we change most often.
Length, wires and connectors
Any length to the nearest cut point, wires or plugs on one or both ends, a particular connector type. For one or two strips, write it in the order notes at checkout; there is no minimum. See how to buy for the exact wording to use.
Colour, CRI and IC
Colour temperature between the stock values, CRI 90+ or 95+, a specific addressable IC, or 5 V / 12 V / 24 V / 48 V versions of a strip. These are set at stages 1, 2 and 6 and usually need a small production run and a sample first.
Waterproofing, profiles and packaging
IP grade, silicone colour, strips pre-fitted into aluminium profiles or neon tube, your own reel label or box. Stages 11–13. Ask through the contact form with quantities and we reply with a sample plan and lead time.
Start with an LED strip reel, or start with a question
Everything in stock at SuperLightingLED ships within 1–2 business days, worldwide, free over $299. For anything that needs a change to one of the stages above, tell us what and how many.
Ordering and payment: how to buy · Warranty and returns: warranty · Questions: FAQ