
Can you cut led light strips?
Yes. All of our flexible LED strips and LED tape can be cut, as long as you cut at the cut marks:
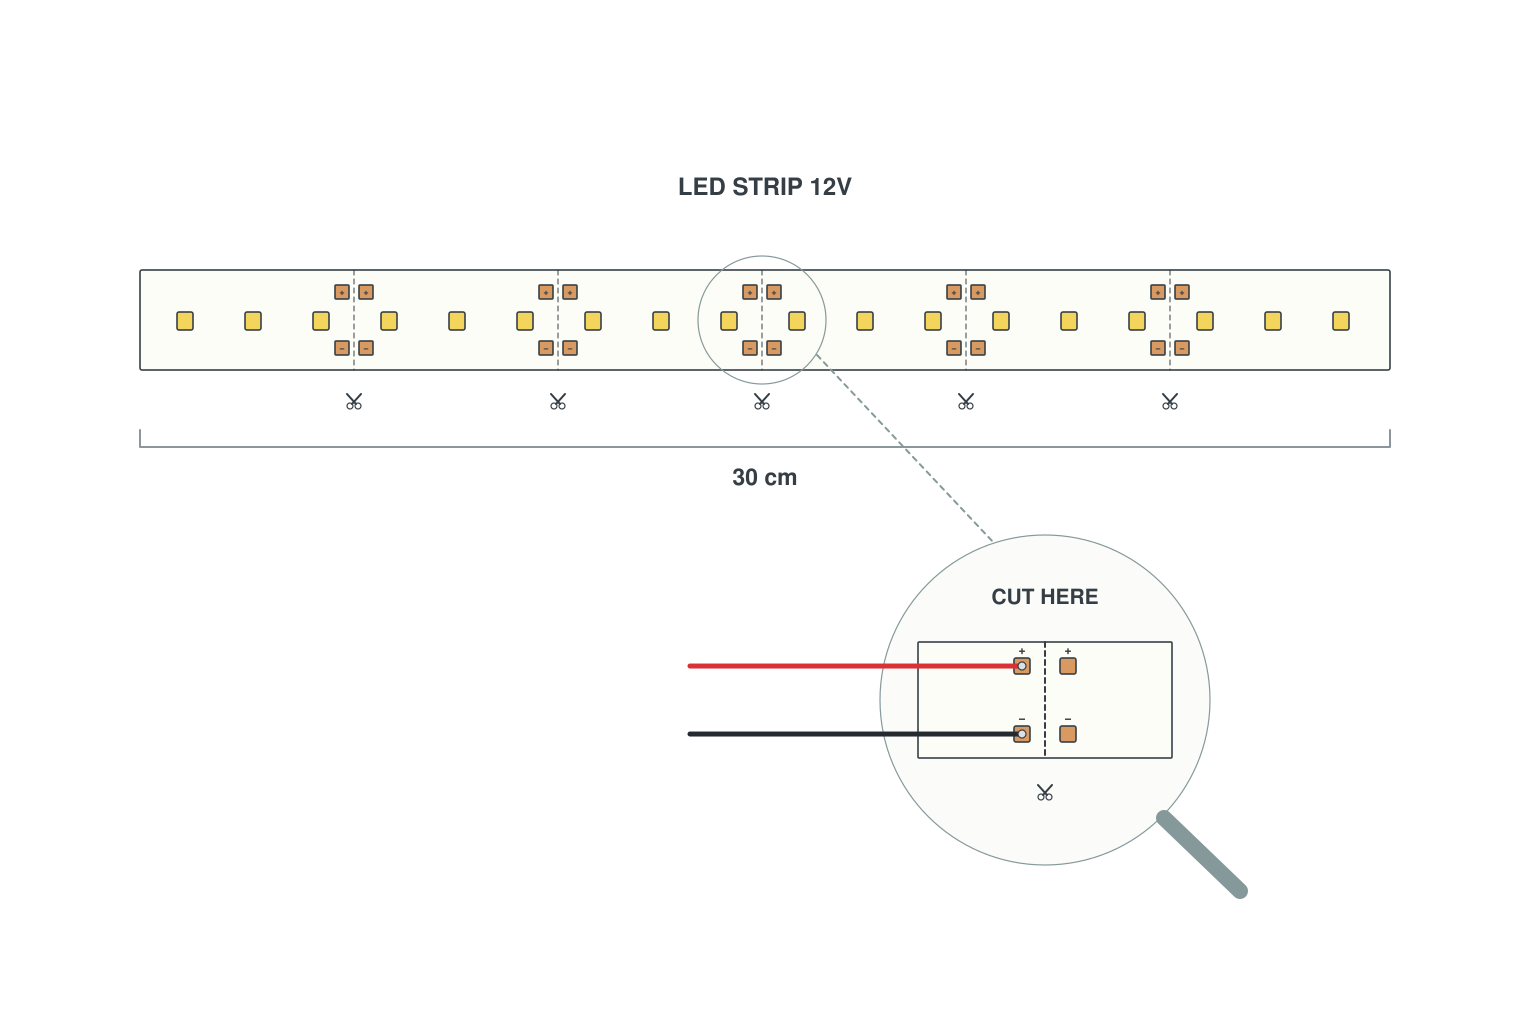
- Cut only on the line with the scissors symbol: every 3 LEDs on a 12 V strip, every 6 LEDs on a 24 V strip. The copper pads either side of the line are where you reconnect.
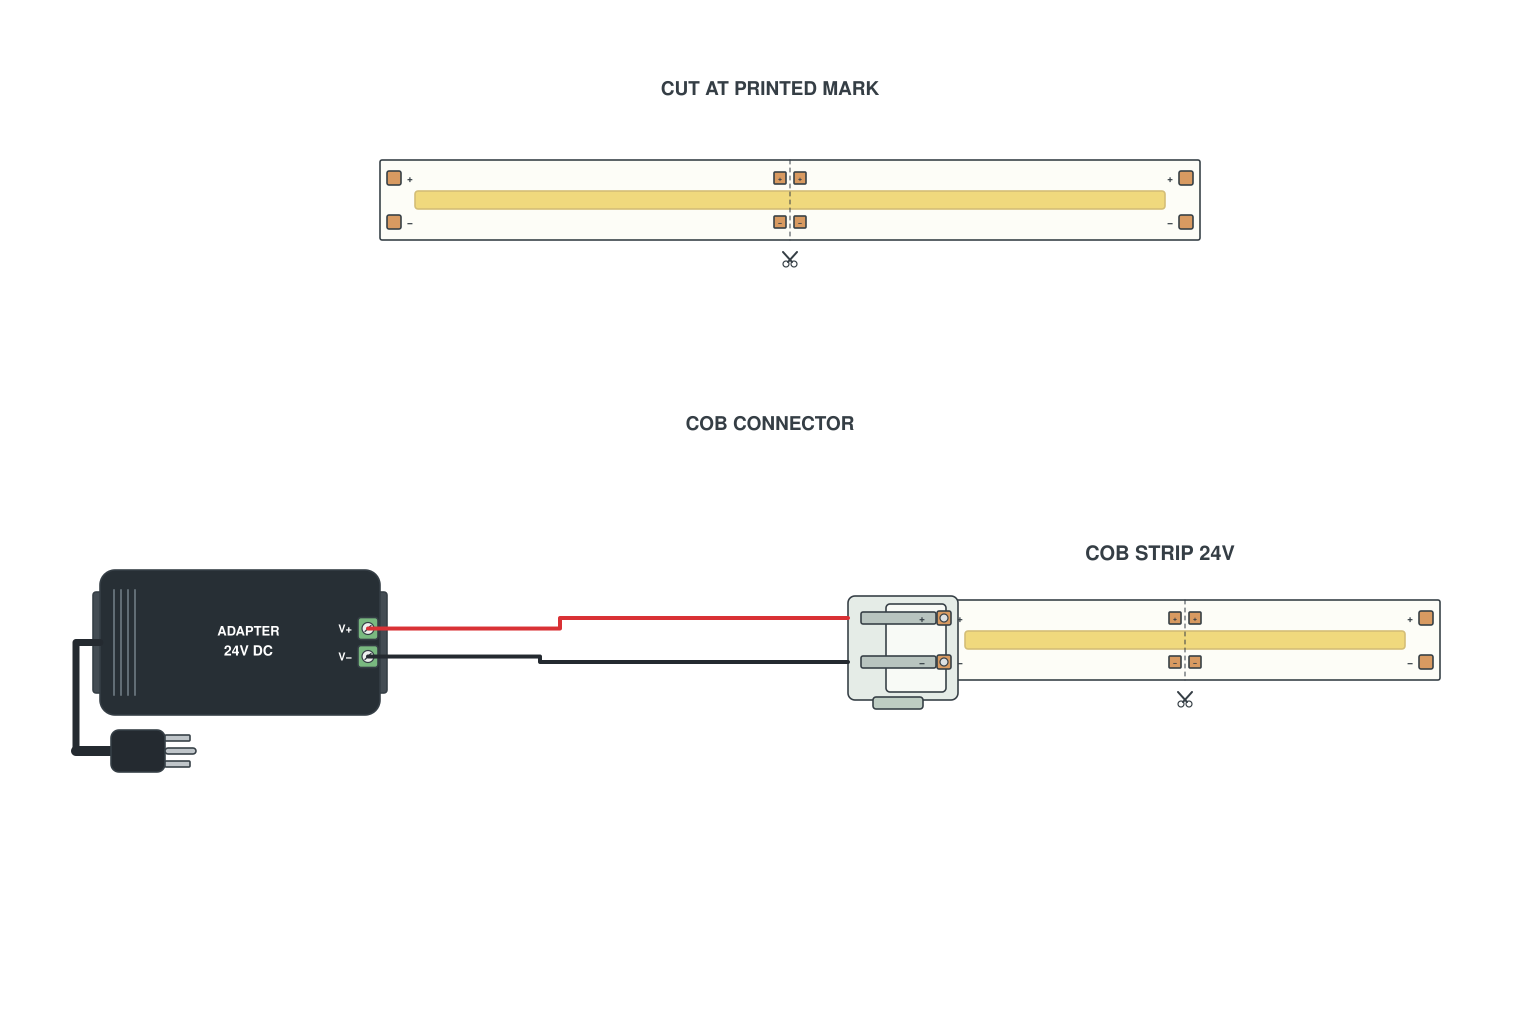
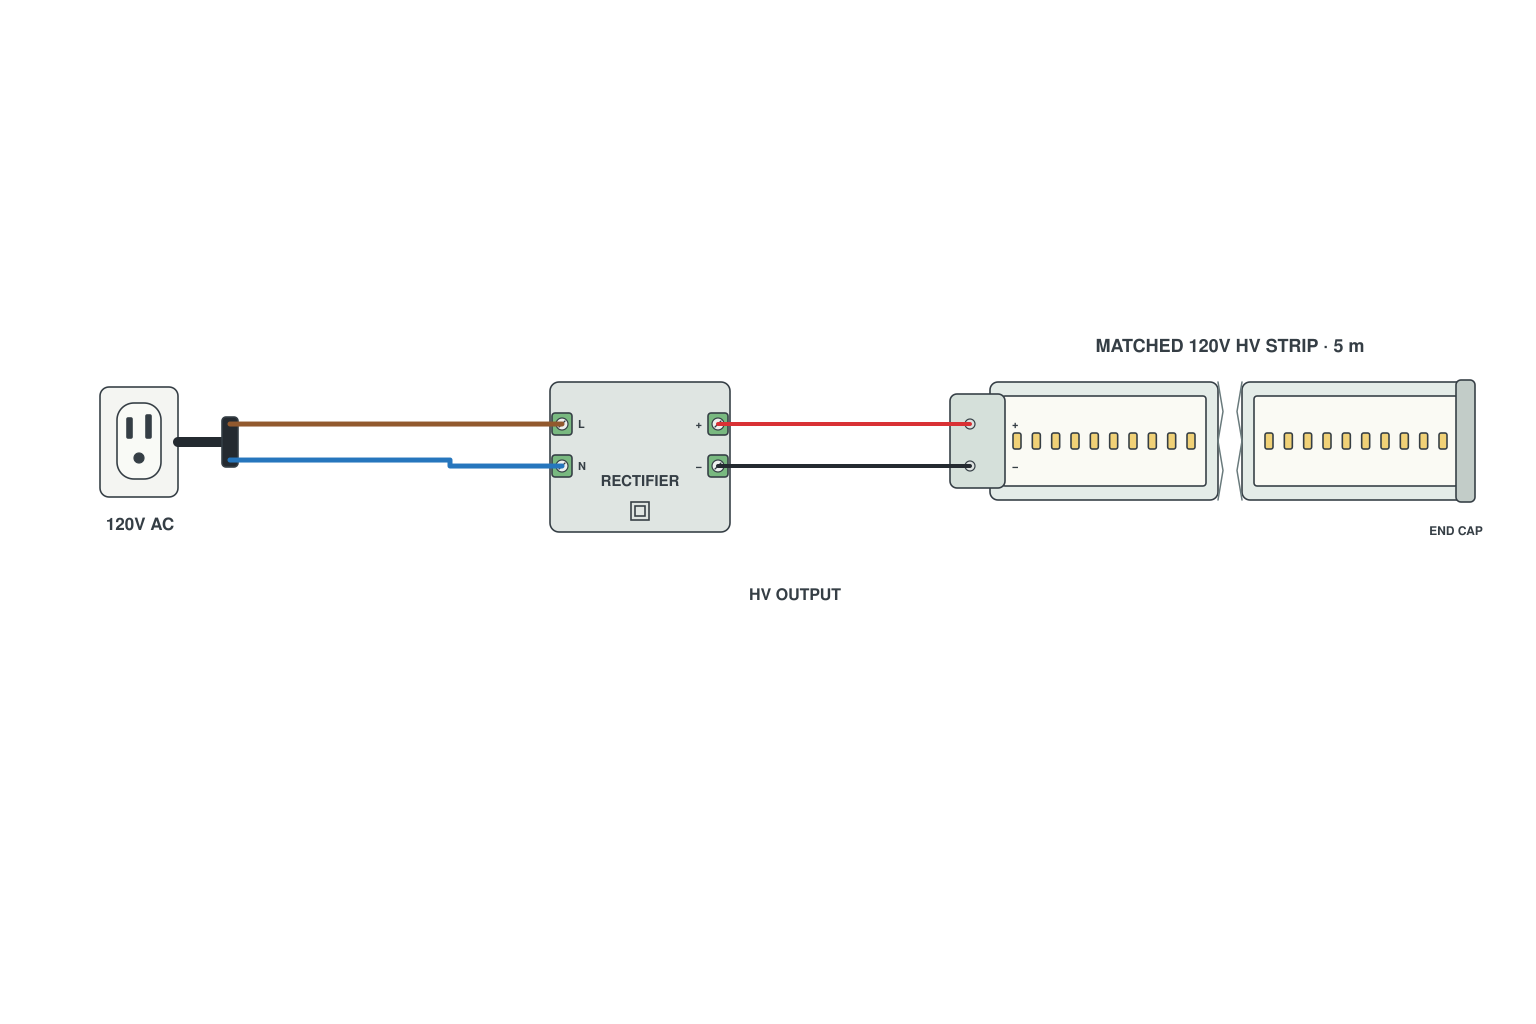
- Other strips, other marks: COB LED strips have a printed mark every 25-50 mm; 110/220 V high voltage strips are cut only at the 50 cm or 100 cm mark.
- Waterproof strips can be cut too, but every cut is a new joint that has to be sealed. Flex neon has no cut sign on the tube, so we make it to your length instead.
At SuperLightingLED we cut LED strips to length for customers’ kits, so we know where a strip can and cannot be cut. The short answer is yes; below are the cut marks for each strip type, what goes wrong when you cut in the wrong place, and how to reconnect the pieces.
Which LED light strips can be cut?
Our flexible LED strip light uses LED beads as light source and flexible circuit board as substrate, which has good bendability and adaptability, can be installed along irregular surfaces or curves. As we all know, cuttable is one of the features of flexible LED strip lights, so are all LED strip lights cuttable? This needs to depend on whether the design of the LED light strip takes cuttable into consideration.
All of our flexible LED strips are cuttable, regardless of whether they are waterproof or non-waterproof, use SMD led technology or Chip-On-Board COB led technology, PWM signal or digital data signal. Check out our blog post for more details on LED strip cutting.
A special point is neon led strip, as our flex neon led strip lights don't have a cut sign on the tube, so we don't recommend users to cut it by themselves. We provide customized neon light length service for our users.
Modular string lights consisting of individual led pixels are also cuttable. As the pixel lights are connected to each other by led electrical cables, feel free to disconnect and reconnect the cable to accommodate eave lighting, advertising box lighting, etc.
However, some rigid led strip lights usually do not support cutting, such as aluminum profile lights and outdoor linear lights, etc., in order to pursue the stability of the structure.
In short, these are the cuttable LED strips: single color, tunable white, RGB, addressable and COB strips, waterproof outdoor LED strips and AC110/220V LED strip lights. The exceptions are LED neon strip lights (made to length by us) and rigid lights.
Where to cut LED strip lights: cut marks by strip type
Every cuttable strip has a cut mark: a line with a scissors symbol between two sets of copper pads. Cut only there. How far apart the marks are, and what you find at the cut, depends on the strip:
| LED strip type | Where to cut | Pads at the cut | Reconnect with |
|---|---|---|---|
| Single color SMD, 12 V / 24 V | On the scissors line: every 3 LEDs (12 V) or every 6 LEDs (24 V) | 2: + and - | 2-pin connectors |
| COB LED strip | Only at the printed mark, every 25-50 mm | Same pads as SMD, but narrower | COB connectors or a fine soldering tip |
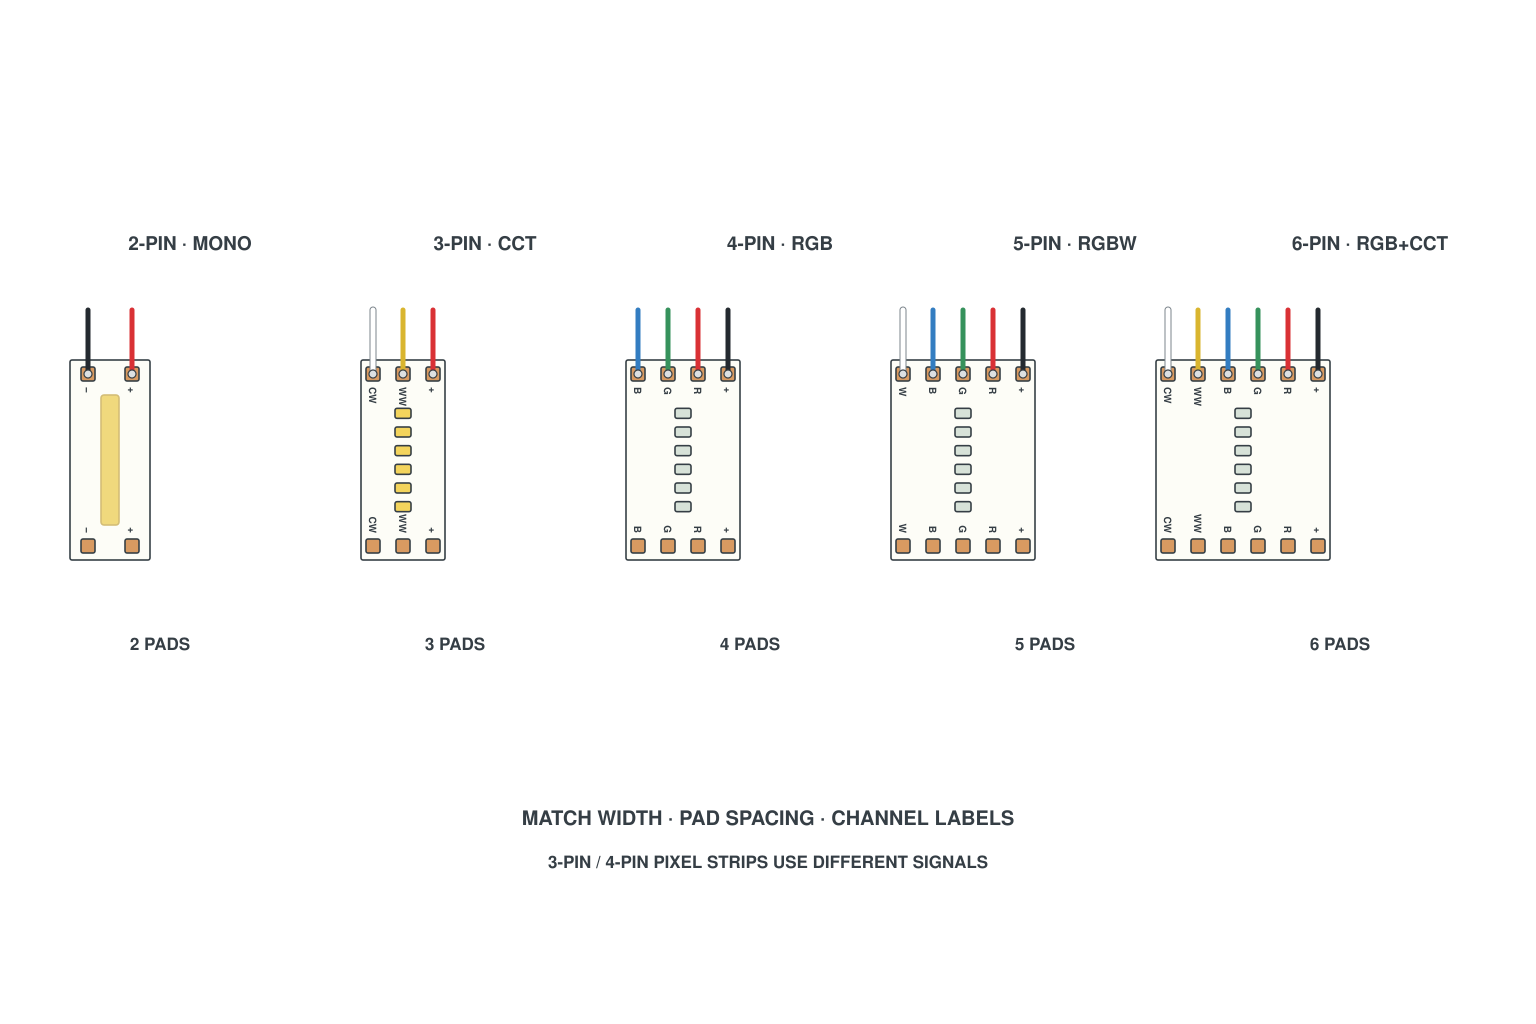
| Tunable white, RGB, RGBW, RGB+CCT | At the cut mark | 3 (CCT), 4 (RGB), 5 (RGBW), 6 (RGB+CCT) | 3-pin, 4-pin, 5-pin, 6-pin |
| Addressable (pixel) | At a cut mark. Keep the arrow in mind: the piece is fed at its IN end, data only travels one way | 3 on single-signal (V+, DIN, GND); 4 on dual-signal (V+, CLK, DAT, GND) or breakpoint-resume (V+, DI, BI, GND) | Addressable connectors |
| High voltage 110/220 V | Only at the 50 cm or 100 cm mark printed on the strip | 2-pin plug (single color), 4-pin plug (RGB) | High voltage parts; end cap sealed on the far end |
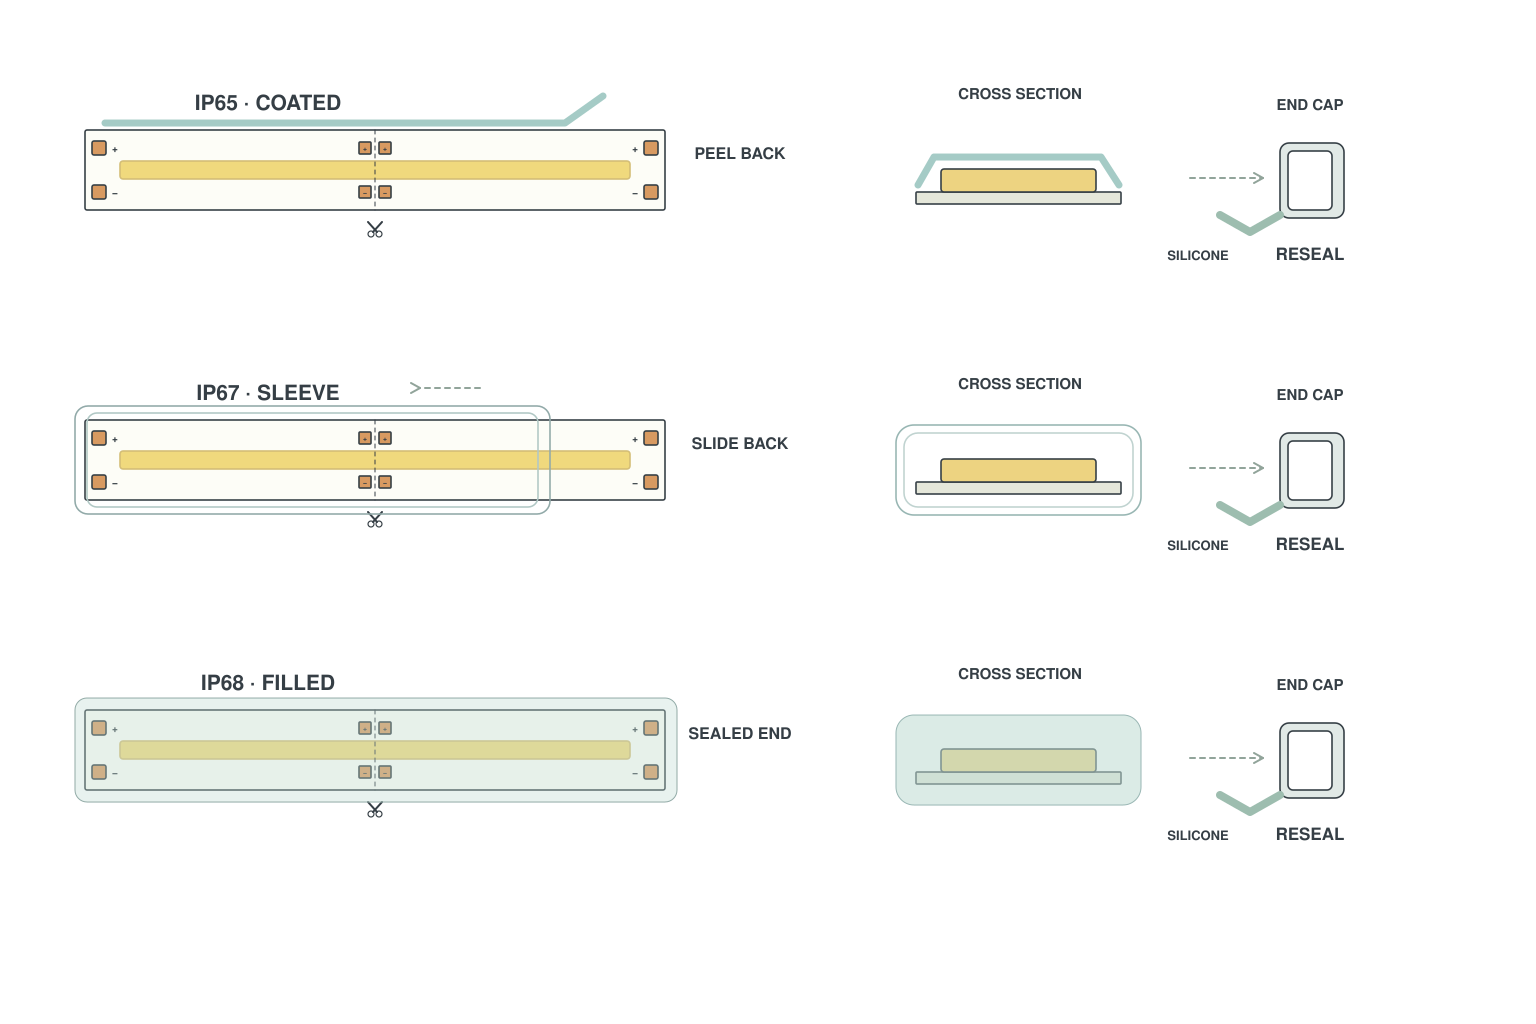
| Waterproof IP65 / IP67 / IP68 | At the mark. IP65: cut with scissors, peel the coating off the last pad. IP67: slide the sleeve back to expose the pads. IP68: cut, then re-seal the new end | As the strip inside | IP68 connectors; seal every cut |
| Ultra-long constant current | Marks further apart, typically every 10-20 cm: plan the end point | As the strip type | Shop the rolls |
| LED neon flex | No cut sign on the tube: do not cut it yourself | - | Made to your length by us |
| Modular string lights | Disconnect the cable between pixels | - | Reconnect the cable |
| Aluminum profile lights, outdoor linear lights | Usually not cuttable, for the stability of the structure | - | - |
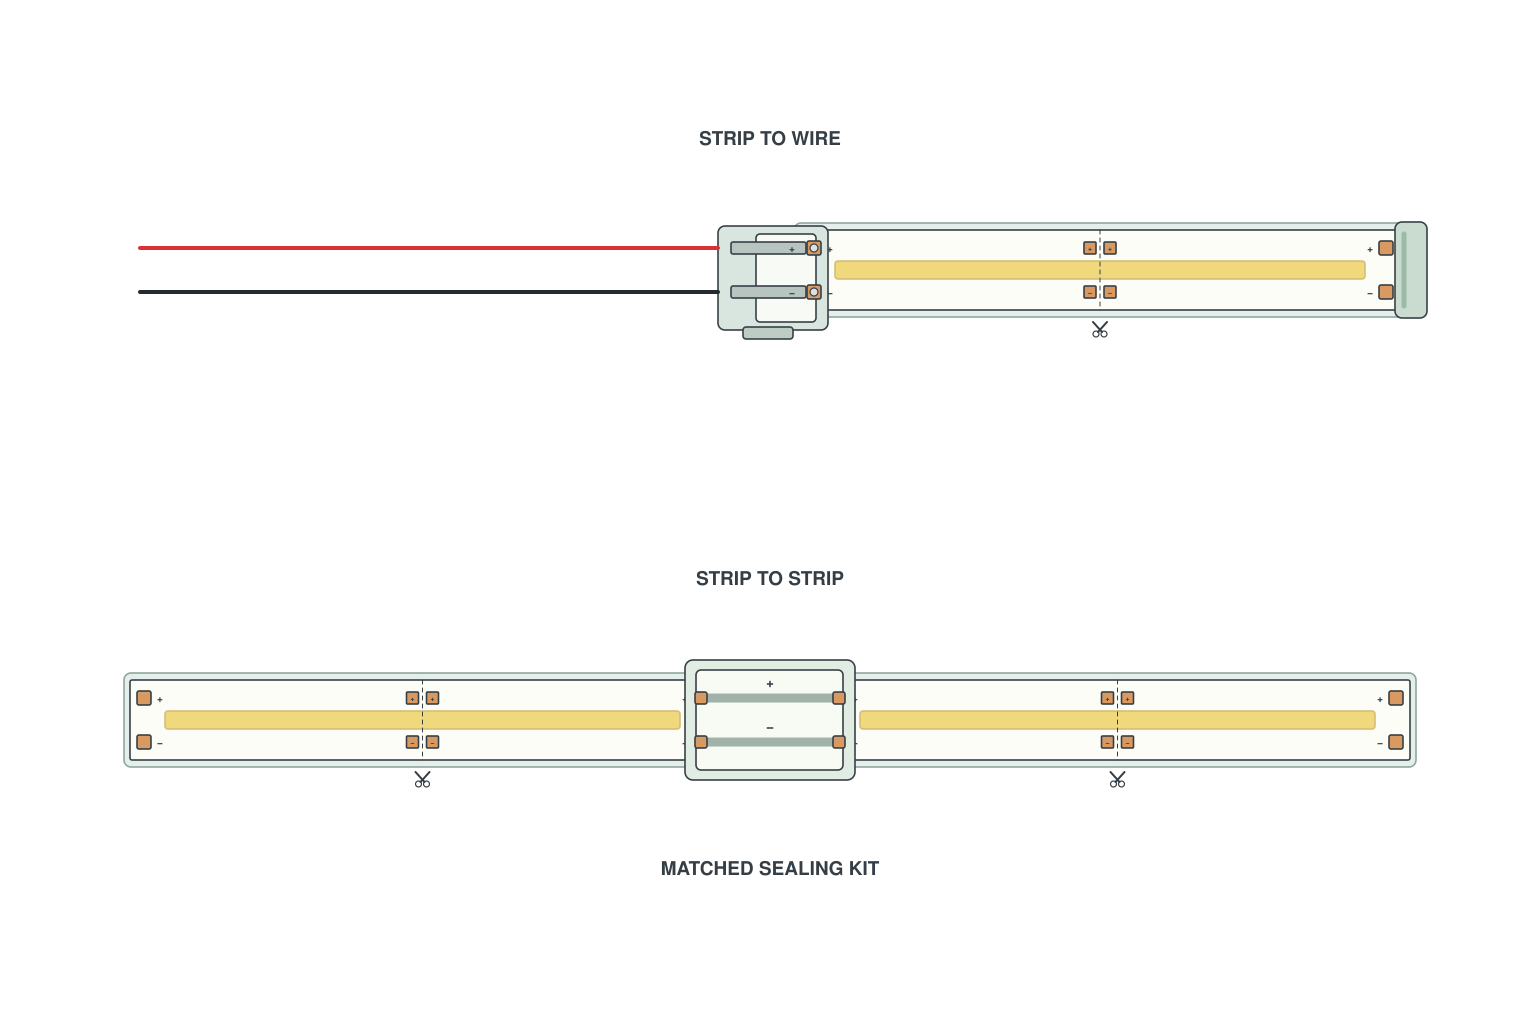
These diagrams are drawn by the SuperLightingLED engineering team; wire colors follow our house convention (red V+, black V-/GND, green data). Click a diagram for the full notes in our LED strip wiring diagrams library.
What happens if you cut an LED strip in the wrong place?
Here is what goes wrong, and how to put it right. Each point comes from the notes our engineers wrote for the wiring diagrams above:
- Cut between two marks: the copper pads either side of the scissors line are the only connection points, so the end you keep has nothing for a connector or a wire to grip. Go back to the nearest cut mark and cut again.
- Addressable strip fed from the wrong end: data only travels one way. Feed the piece at the end marked IN, or with the arrow pointing away from you; connecting to the OUT end is the number-one reason an addressable LED strip stays dark.
- Polarity reversed after reconnecting: red wire to +, black wire to -. Reversed polarity does no harm, but the strip stays dark.
- Waterproof strip left open: every cut on a waterproof LED strip is a new joint that has to be sealed. A waterproof strip is only as waterproof as its joints.
- High voltage strip cut off the mark: 110/220 V strips are cut only at the 50 cm or 100 cm mark. This is mains voltage: switch off at the socket before touching the strip.
- Pads overheated when soldering: touch the iron for about one second and keep it under 3 seconds per pad; COB pads are small, so use a fine tip and a short contact time.
- Neon flex cut by hand: our flex neon has no cut sign on the tube, which is why we make it to the length you need.
Cut a piece too short? Join a new piece strip-to-strip with a connector of the same pin count and width, or bridge the gap with an extension cable. Going round a corner? Use an L connector instead of folding the strip.
How to reconnect LED strips after cutting
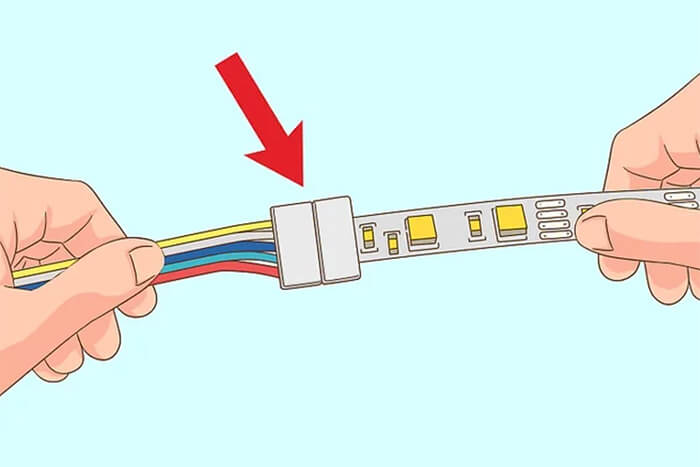
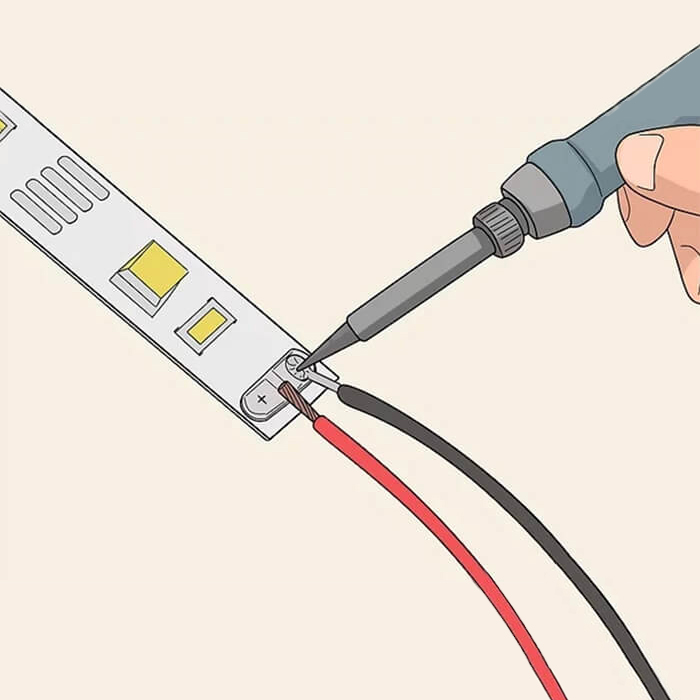
Once the strip is cut at the mark, you can join it to wire or to another strip with or without soldering:
- Pick the connector: count the pads at the cut mark (2 single color, 3 CCT or addressable, 4 RGB or dual-signal, 5 RGBW, 6 RGB+CCT) and check the width: 8 mm, 10 mm and 12 mm connectors are not interchangeable. COB strips need the COB connector even at the same width.
- Solderless clip: cut cleanly at the cut mark and peel the last 5 mm of cover on waterproof types. Open the clip, slide the strip in until the pads sit under the metal teeth, and close the clip firmly.
- Match the wires: red to +, then the channel colors in pad order.
- Or solder: for tight spaces, narrow strips and permanent joints, tin the pads and wire ends, hold the wire on the pad and touch the iron for one second, then cover the joint with heat-shrink or a drop of silicone. A 30-40 W iron with a fine tip is enough.
- Waterproof joints: push the exposed pads into an IP67 clip (or both strip ends into the double clip) and seal it with the supplied silicone cap or heat-shrink.
More on joining strips in how to connect LED strip lights, and how to choose LED strip light connectors shows which connector fits which strip.
Cut and Connect SMD LED Strip
Cut and Connect COB LED Strip
Custom LED Neon Rope Light
LED strips that can be cut anywhere
A standard 12 V strip has a cut mark every 3 LEDs and a 24 V strip every 6 LEDs. When the length you need falls between two marks, choose a strip made for finer cutting. At SuperLightingLED the product name tells you: look for cut anywhere, free cut or single LED cut.
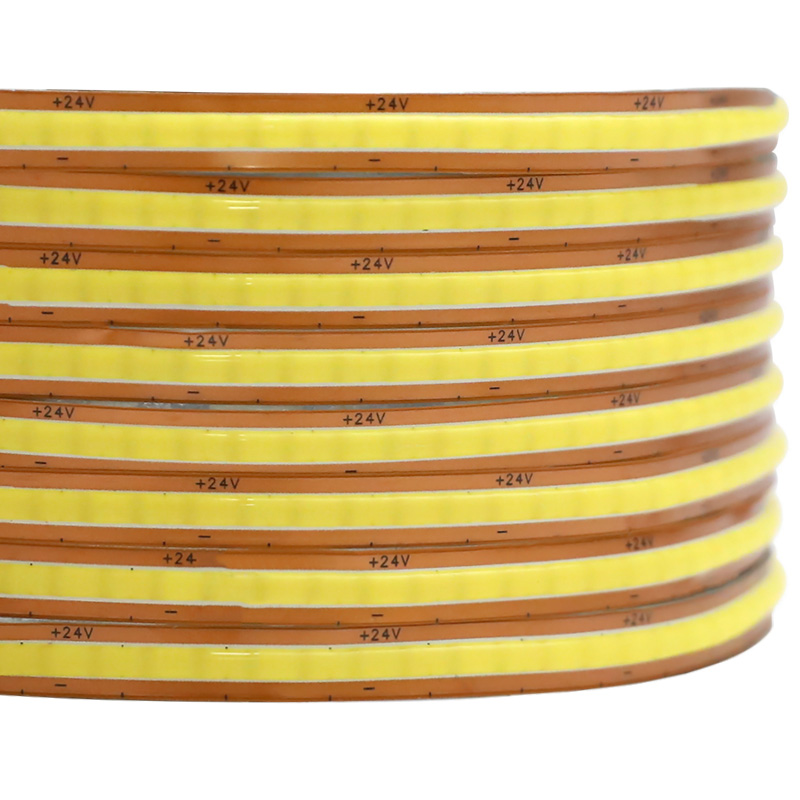 24V cut anywhere COB LED strip, 10 m reel720 density, 10 m long reel
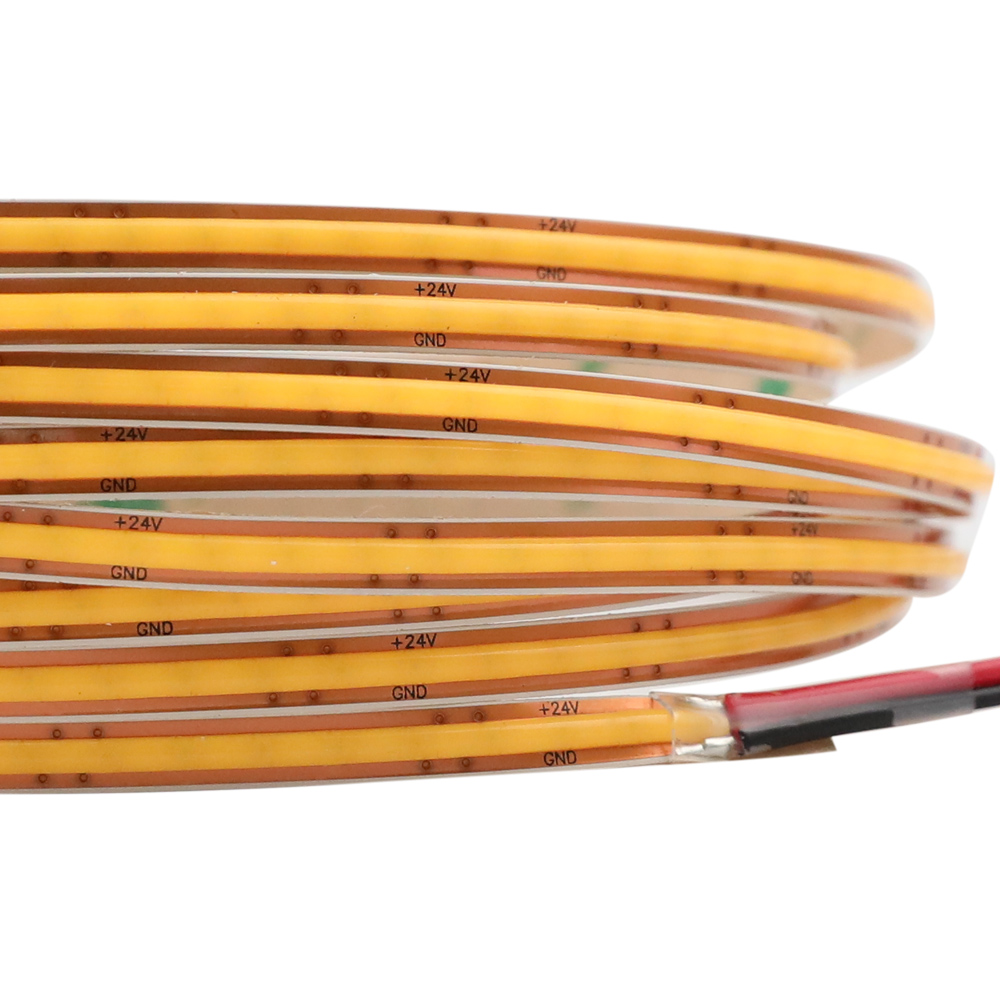 5mm mini ultra-thin COB anywhere cut LED strip5 mm wide COB
 10mm free cut COB LED strip, gold PCBImmersion gold PCB
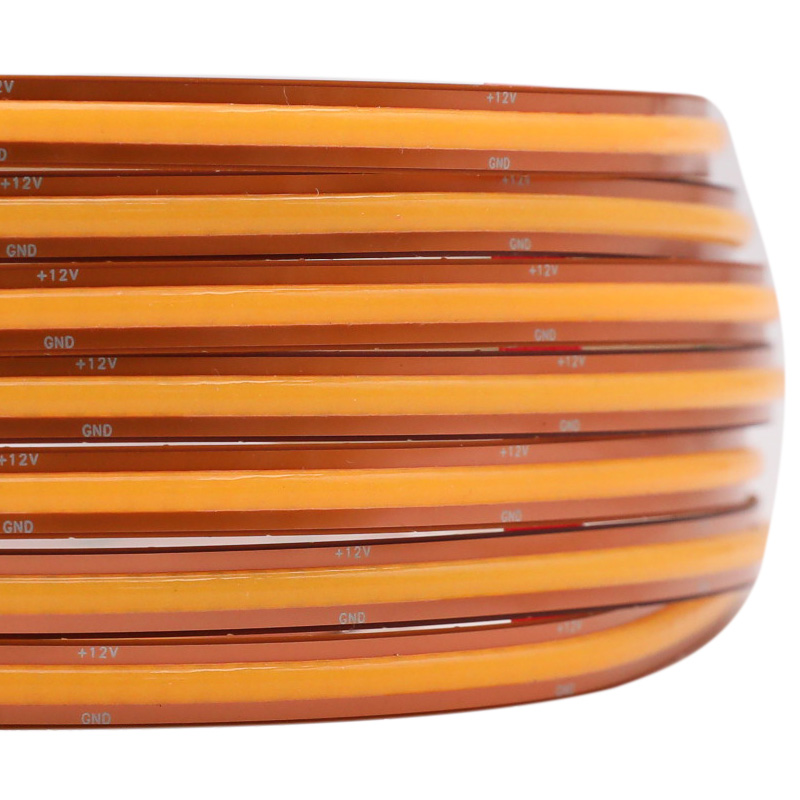 Free cut 12V copper PCB COB LED stripLinear COB, 12 V
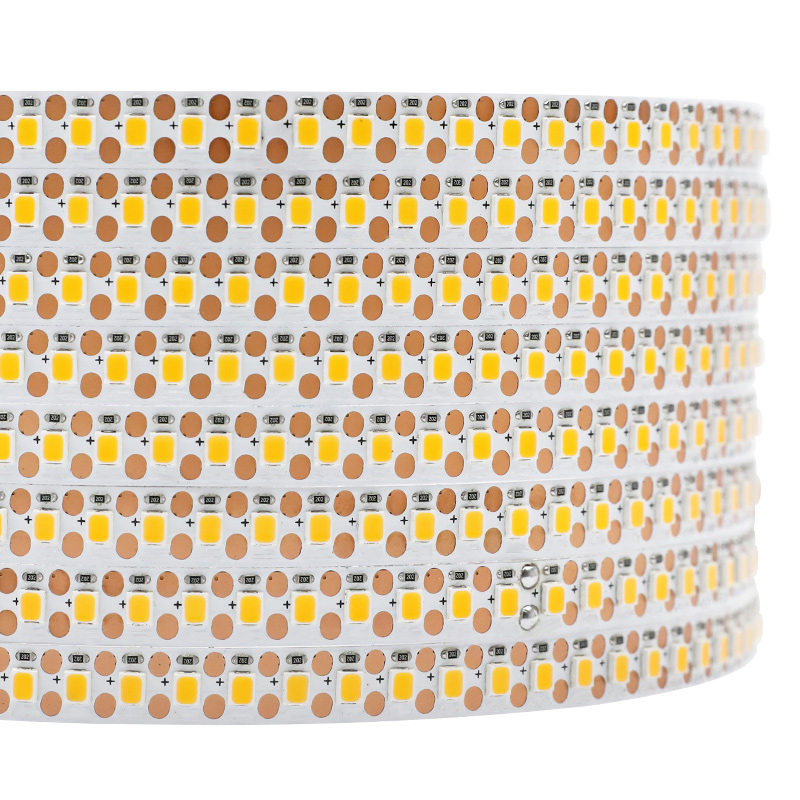 8mm 24V 2835 single LED cut to size stripSingle LED cut to size, 900 lights
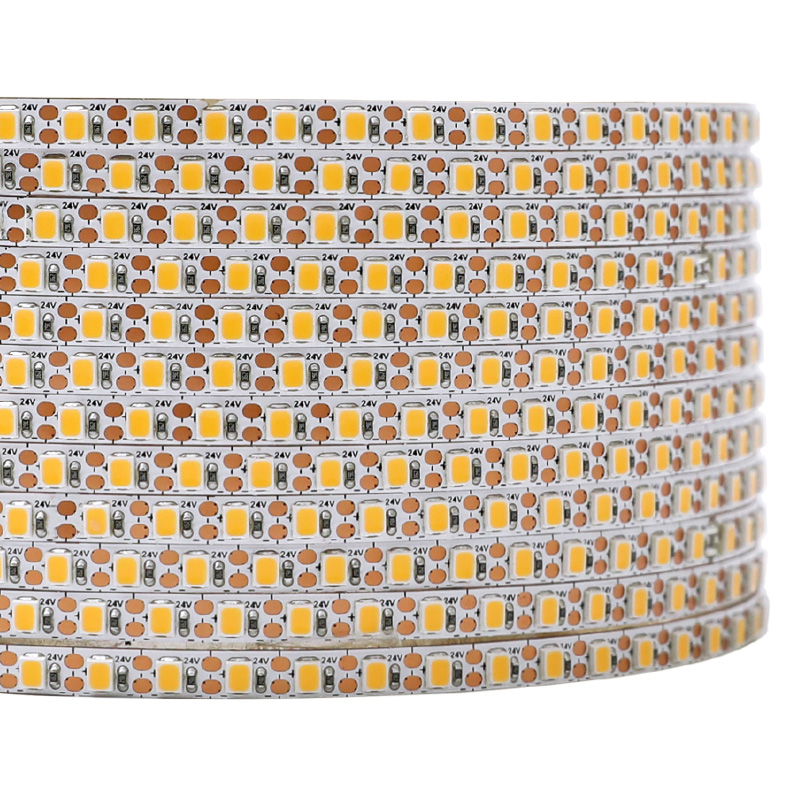 5mm 24V 2835 per LED cuttable strip700 LEDs density, 5 mm narrow
Check the product page for the details before you order. Need light over an area rather than a line? See our flexible cuttable LED sheet lights. Browse every flexible COB LED strip light.
Cutting LED strips FAQ
Can you cut LED light strips?
Yes. All of our flexible LED strips are cuttable, whether they are waterproof or not, SMD or COB, PWM signal or digital data signal. Cut only at the cut mark, a line with a scissors symbol: every 3 LEDs on a 12V strip and every 6 LEDs on a 24V strip. Flex neon and rigid lights such as aluminum profile lights are the exceptions.
Where exactly do you cut LED strip lights?
On the cut mark printed on the strip. The copper pads either side of the line are the connection points. COB LED strips have a mark every 25-50 mm, and 110/220V high voltage strips are cut only at the 50 cm or 100 cm mark.
Can you cut waterproof LED strips?
Yes. IP65: cut at the mark with scissors and peel the coating off the last pad. IP67: cut and slide the sleeve back to expose the pads. IP68: cut, then re-seal the new end with the end cap and silicone. Every cut on a waterproof LED strip is a new joint that has to be sealed.
Can you cut LED neon strip lights?
Our flex neon LED strip lights do not have a cut sign on the tube, so we do not recommend cutting them yourself. We provide a customized neon light length service instead.
How do you reconnect LED strips after cutting?
Use a solderless clip connector made for the strip width (8, 10 or 12 mm) and pad count, or solder wires to the pads. Match red to +, then the channel colors in pad order. COB strips need COB connectors, and waterproof strips need a sealed joint.
Connectors for cut LED strips
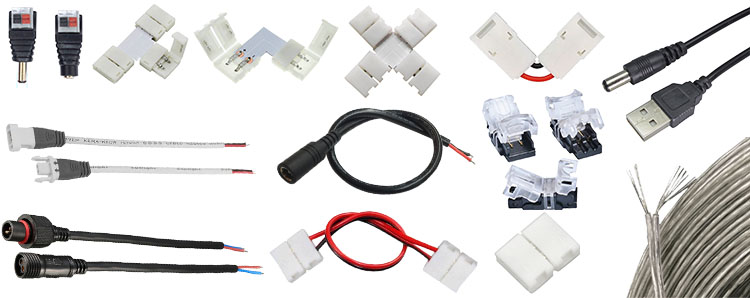 2-pin single color partsFor 2-pad single color strips
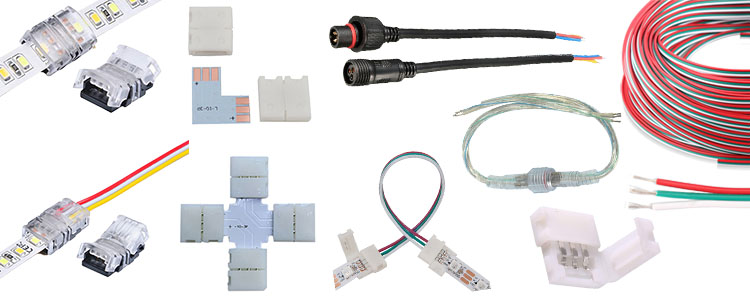 3-pin CCT partsFor 3-pad tunable white strips
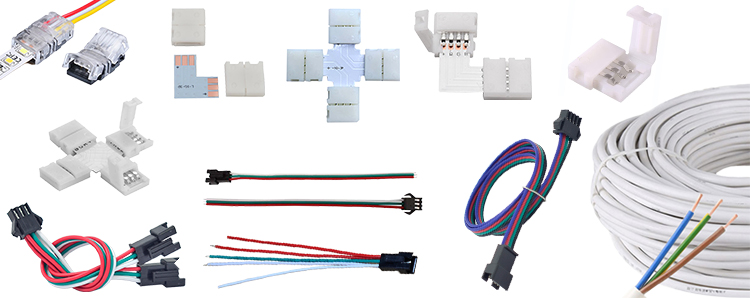 3-pin addressable partsFor single-signal pixel strips
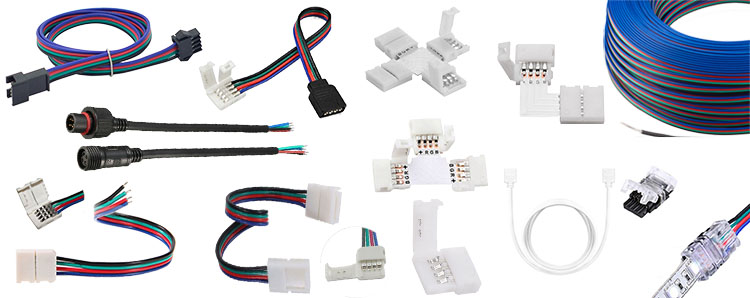 4-pin RGB partsFor 4-pad RGB strips
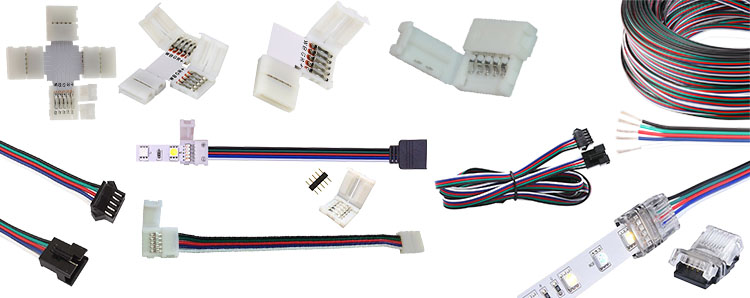 5-pin RGBW partsFor 5-pad RGBW strips
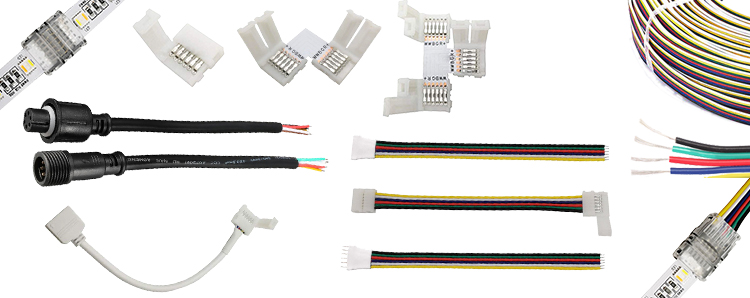 6-pin RGB+CCT partsFor 6-pad RGBCCT strips
 COB LED strip connectorsNarrower pads need COB clips
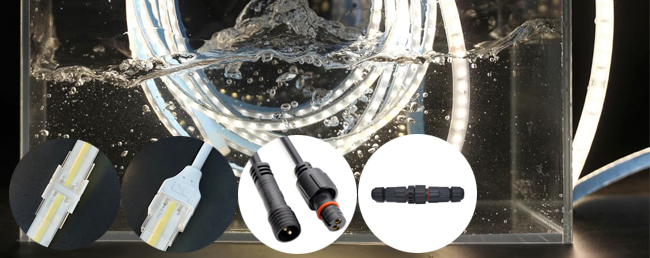 Waterproof IP68 connectorsSealed joints after cutting
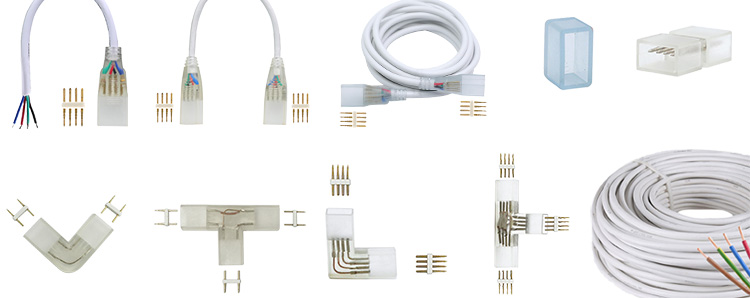 High voltage LED lights partsPlugs and end caps for 110/220 V
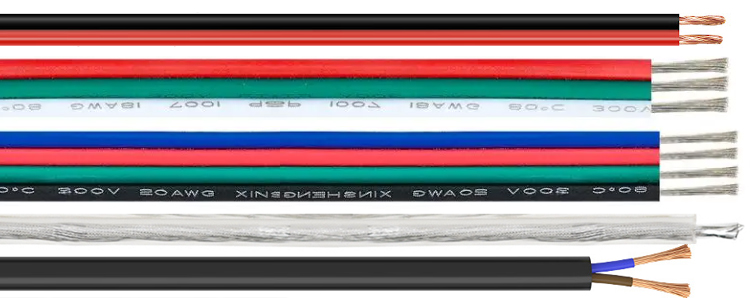 Extension cablesBridge a gap between cut pieces
Tell us the run lengths in the order notes and the SuperLightingLED team cuts the strip at the right marks, solders the leads and connectors, and packs it with the matching supply. See custom lighting services. Standard orders such as accessories and controllers ship within 24–48 hours; LED strip orders follow the production lead time shown on the product page. Contact our team