
4-Pin RGB LED Strips Parts
57 productsGetting your RGB light strips connected correctly is the difference between a clean, professional install and a flickering mess. That's where SuperLightingLED™ 4-pin RGB LED strip parts come in. These 4-pin LED connectors are specifically designed for both standard SMD and COB RGB LED light strips. They have four conductors: one for each color channel (Red, Green, Blue) and a common positive line, which is typically 5V, 12V, 24V, or 48V DC.
The biggest headache in any strip lighting project is dealing with cuts, corners, and gaps. Our 4-pin LED strip light connectors are the solution, letting you create secure connections in seconds without any special tools. Whether you're joining two cut sections of an RGB LED strip, running a wire around an obstacle, or connecting your strip to an RGB controller, we have a solderless part that makes the job easy.

4-Pin SMD Water Resistant RGB LED Light Strip Connector | 10mm & 12mm
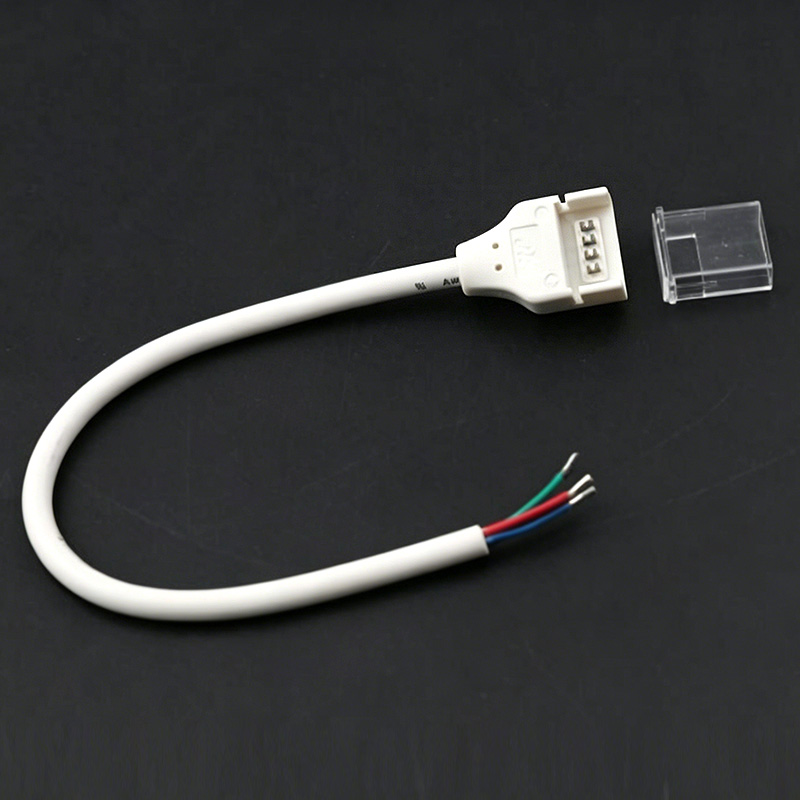
4-Pin SMD Waterproof RGB LED Strip Wire Connector | 10mm & 12mm Compatible
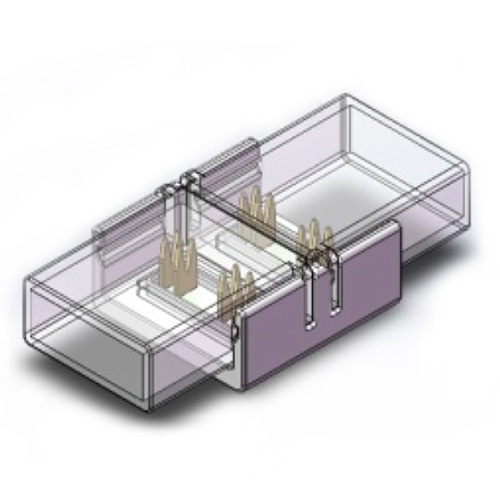
Waterproof COB RGB Strip Light Connector | Fast 4-Pin LED
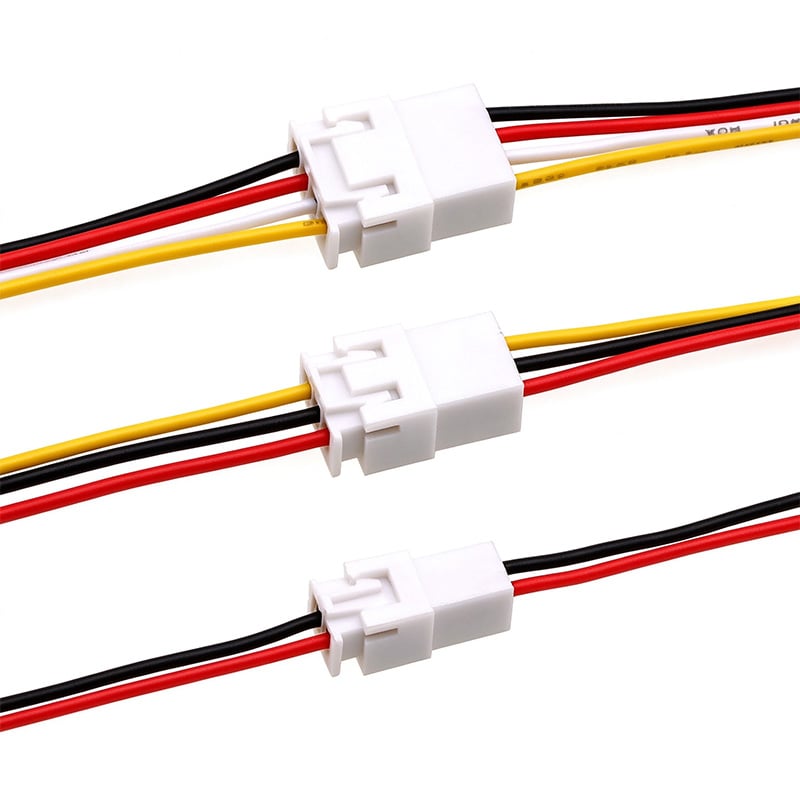
XH2.54 Connector Cable | 2-6 Pin LED Strip Wiring | SuperLightingLED
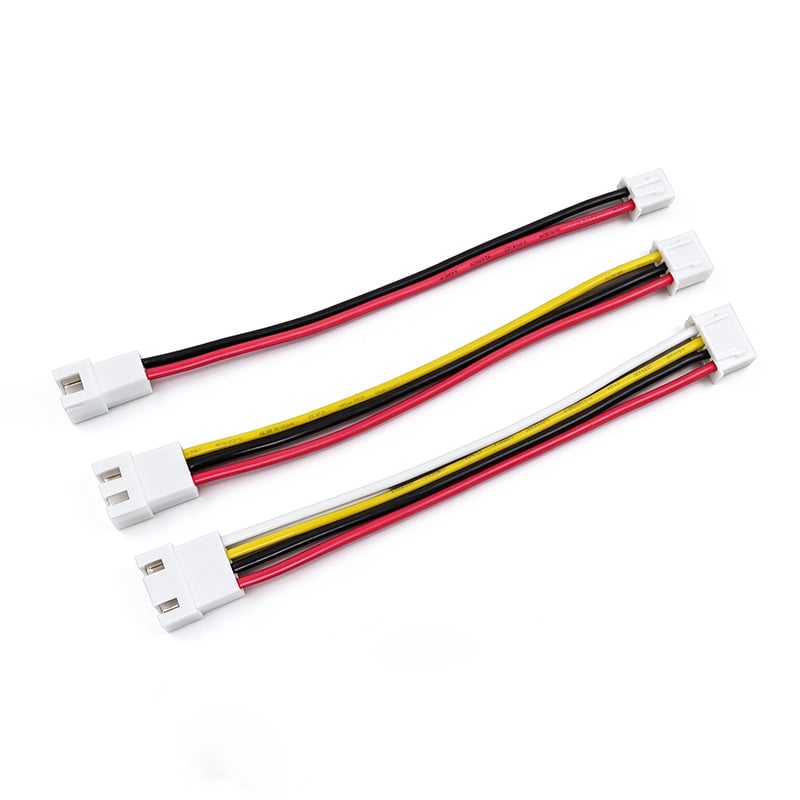
XH2.54mm Pitch Extension Cable for LED Strips | SuperLightingLED
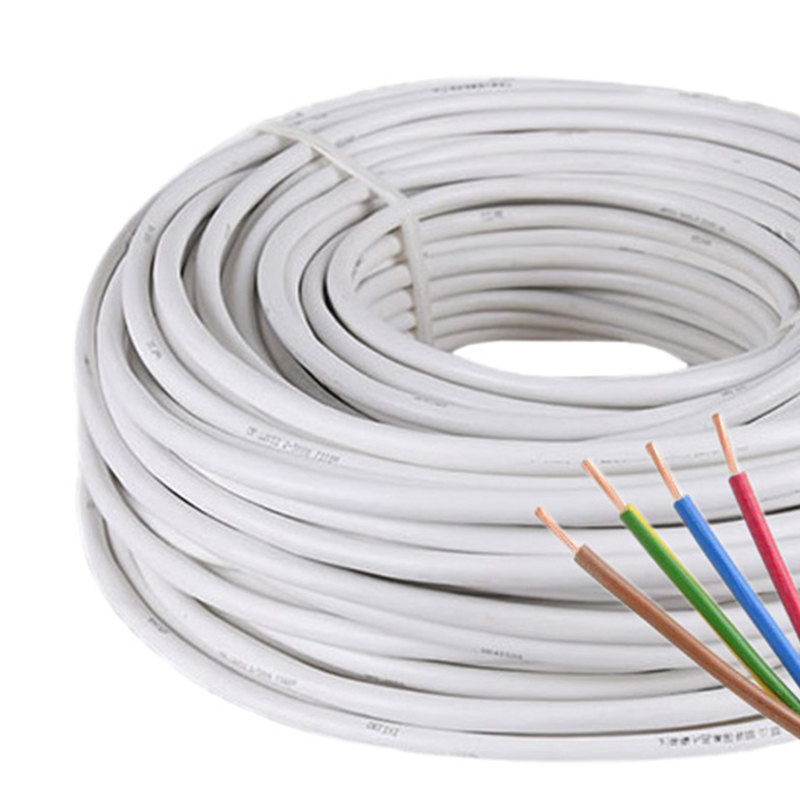
20AWG RVV RGB 4-PIN RGB LED Connecting Wires
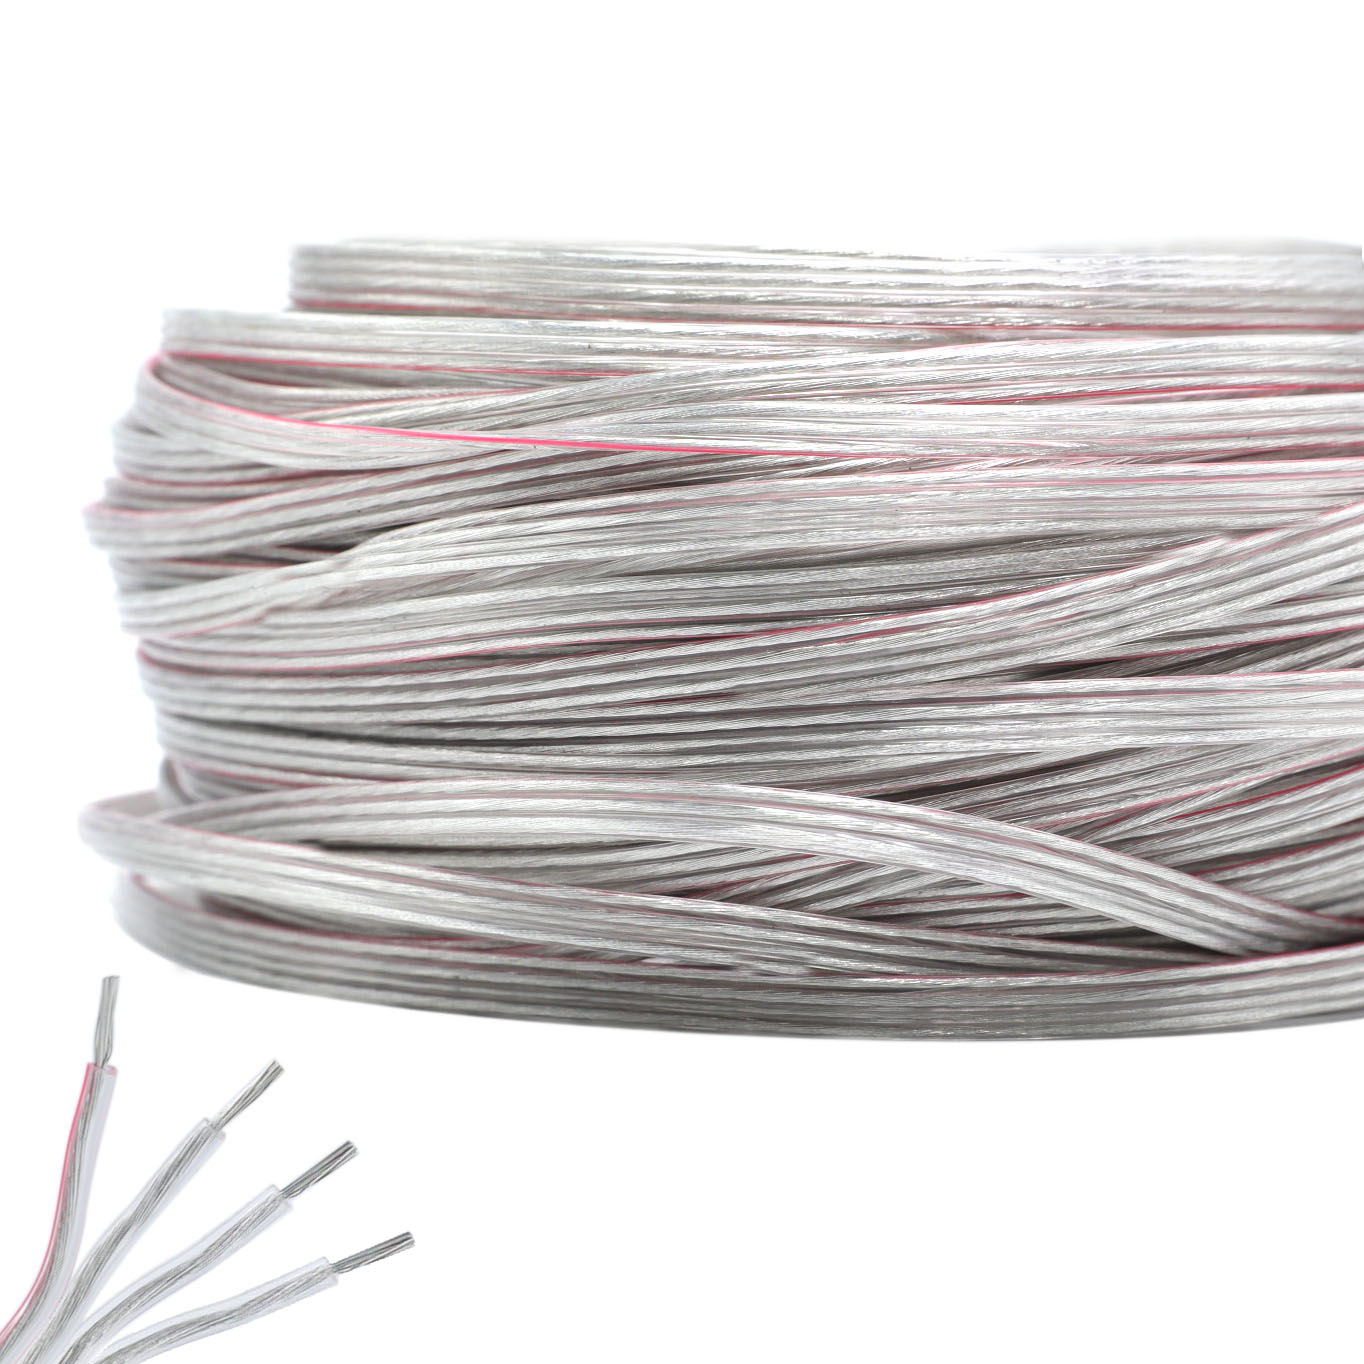
 20 AWG 4Pin.jpg)
4 Pin RGB LED Strip Wire - 20 AWG Copper by the Meter
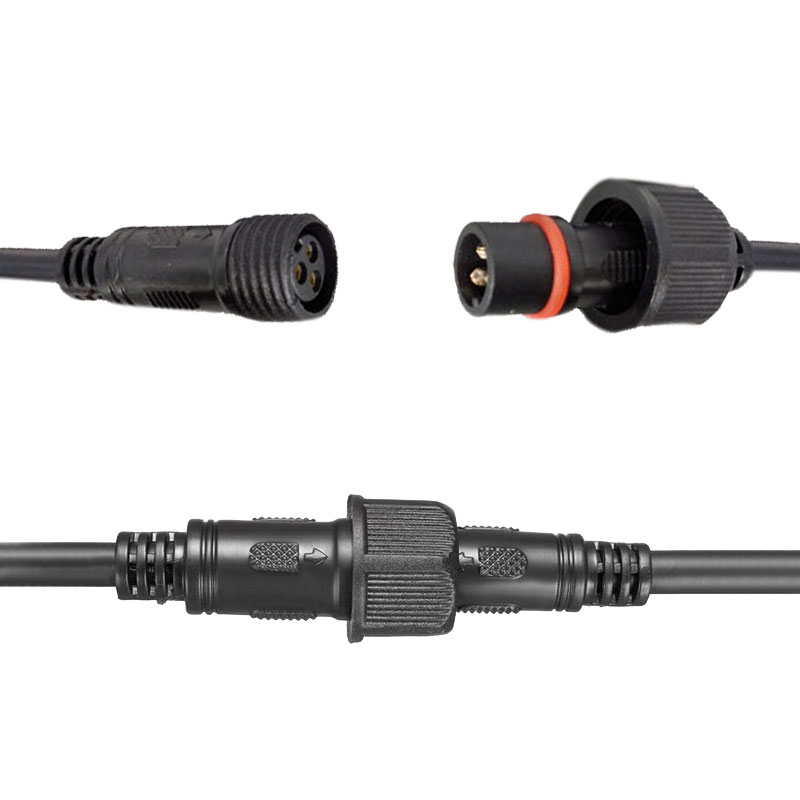
Waterproof 4-Pin RGB LED Strip Connector | Secure & IP67/68
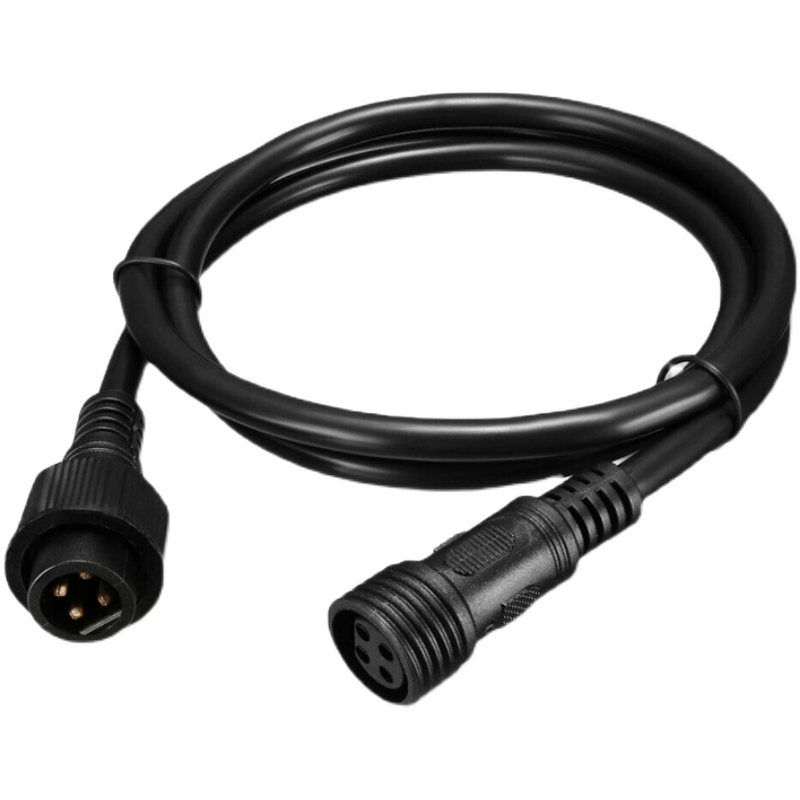
4 Pin Waterproof Extension Cord for RGB LED Strip Lights
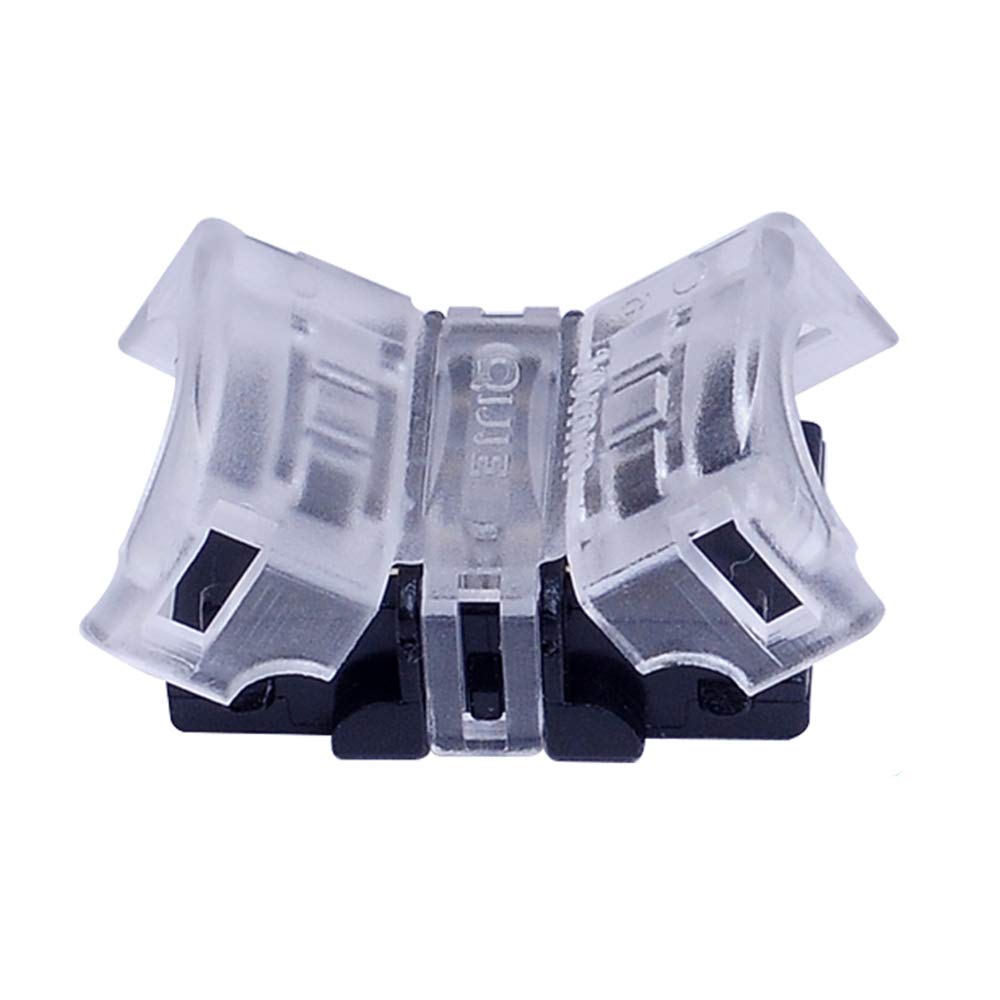
Solderless 10mm RGB LED Light Strip 4 Pin Connector - PCB to PCB
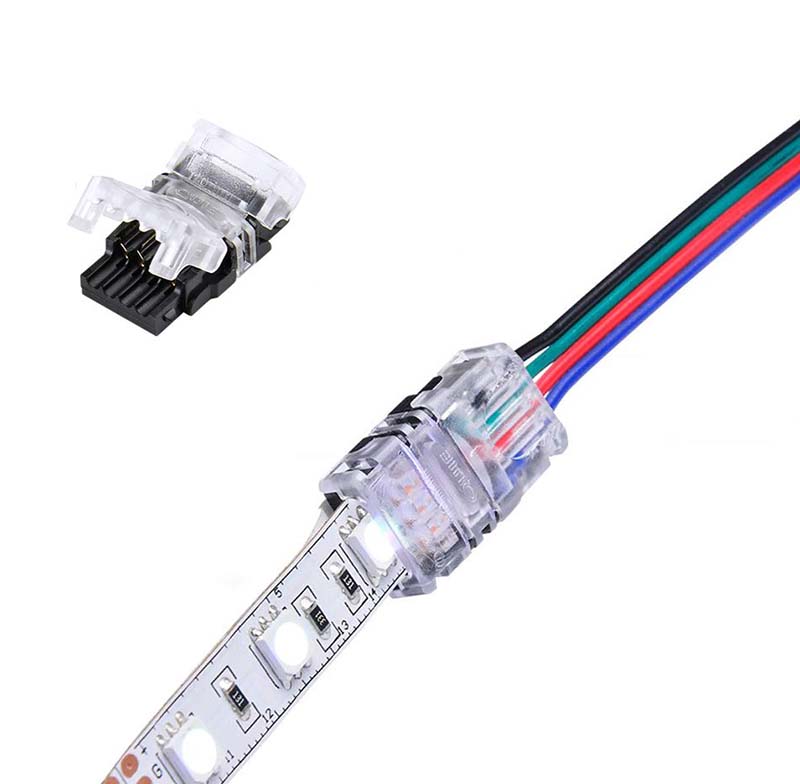
4Pin 10mm RGB Light Strip LED Connector - Strip to Wire Type
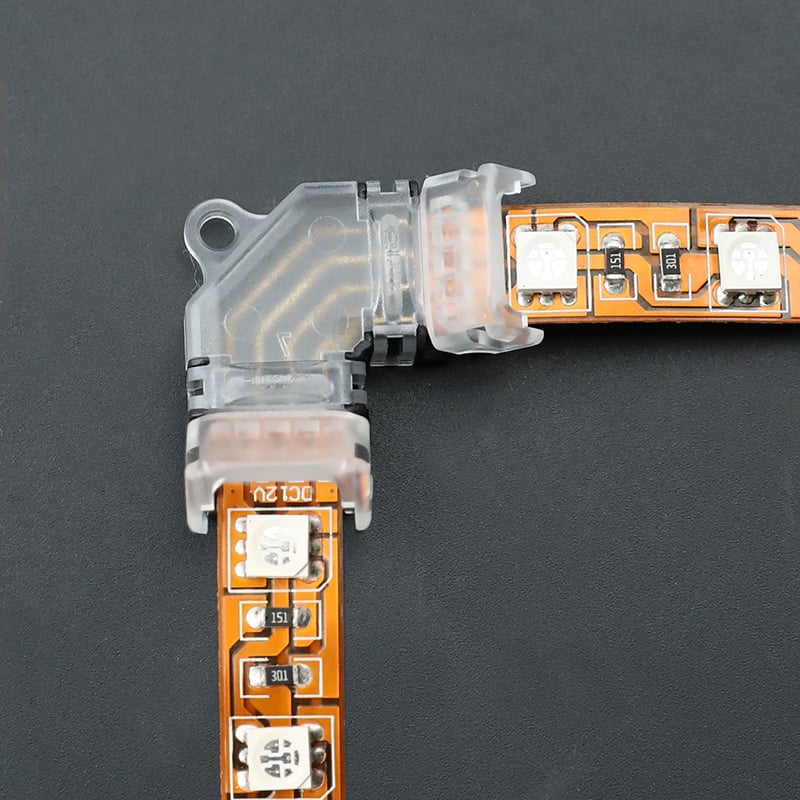
4-Pin 10mm L-Shaped Solderless RGB LED Strip Connector
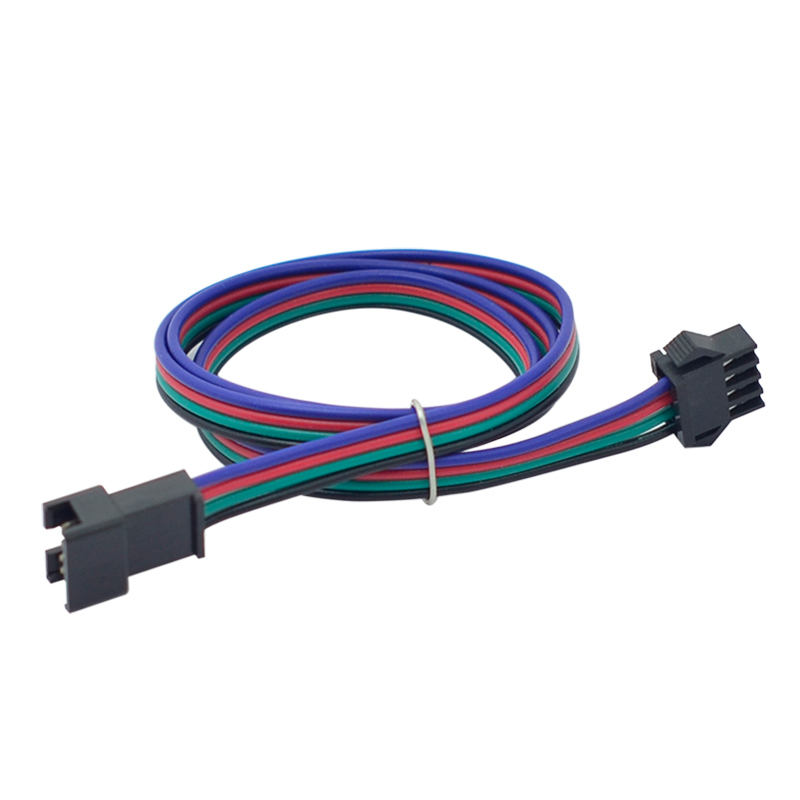
4PIN JST LED Terminal Extension Cable Male to Female
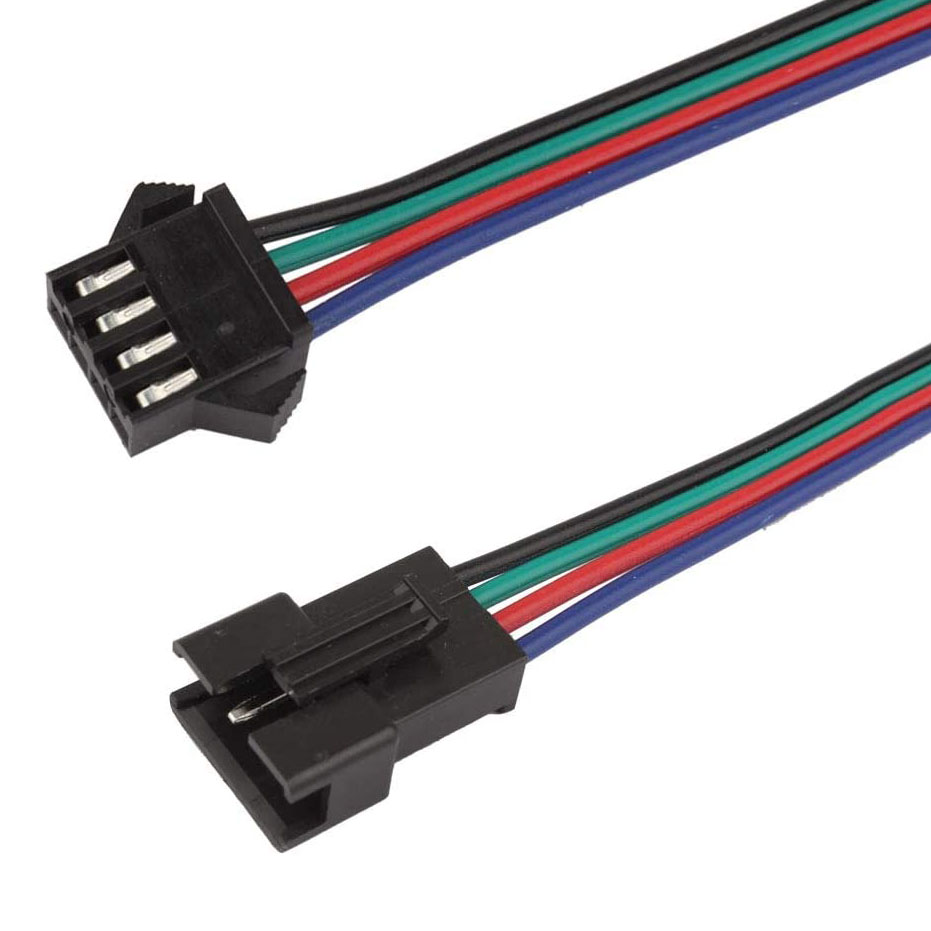
4 Pin JST SM Connector Cable for 3528 5050 LED Strip Lights
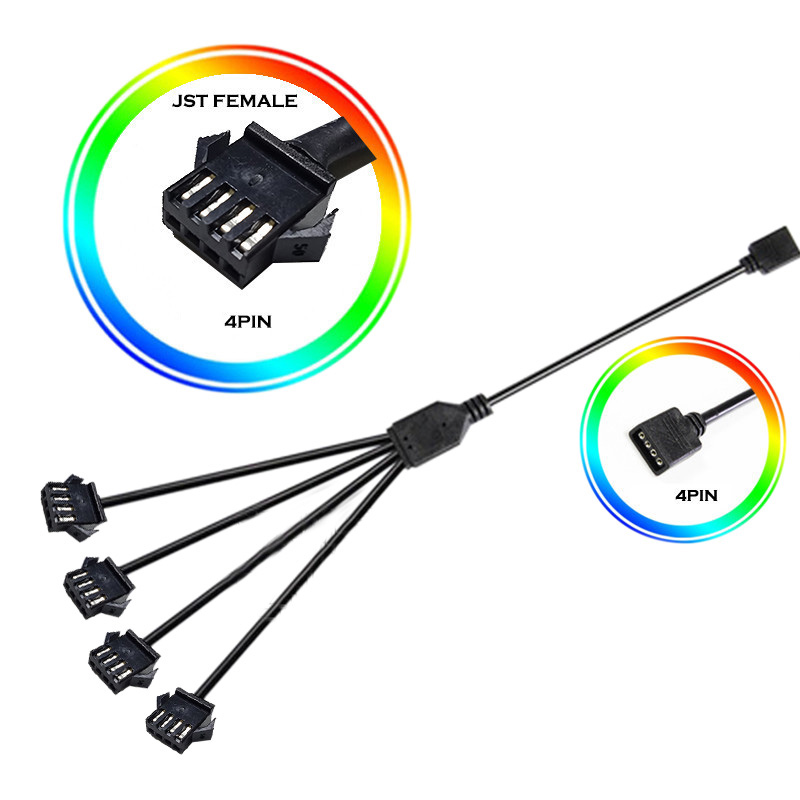
RGB Fan & LED Strip Splitter Cable - 4-Pin Motherboard Sync
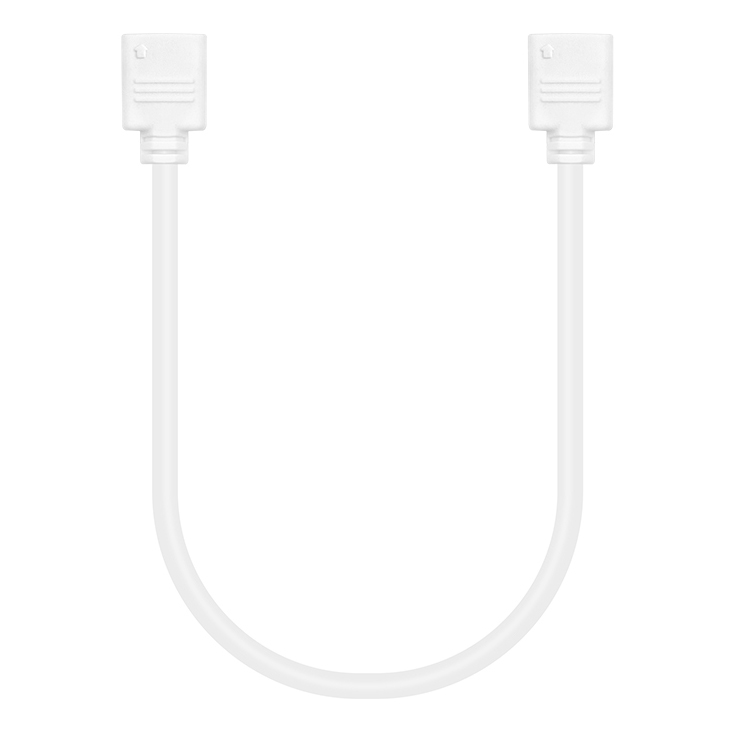
4 Pin RGB LED Strip Extension Cable - 1m/2m/5m for 5050/3528 LEDs | Solderless
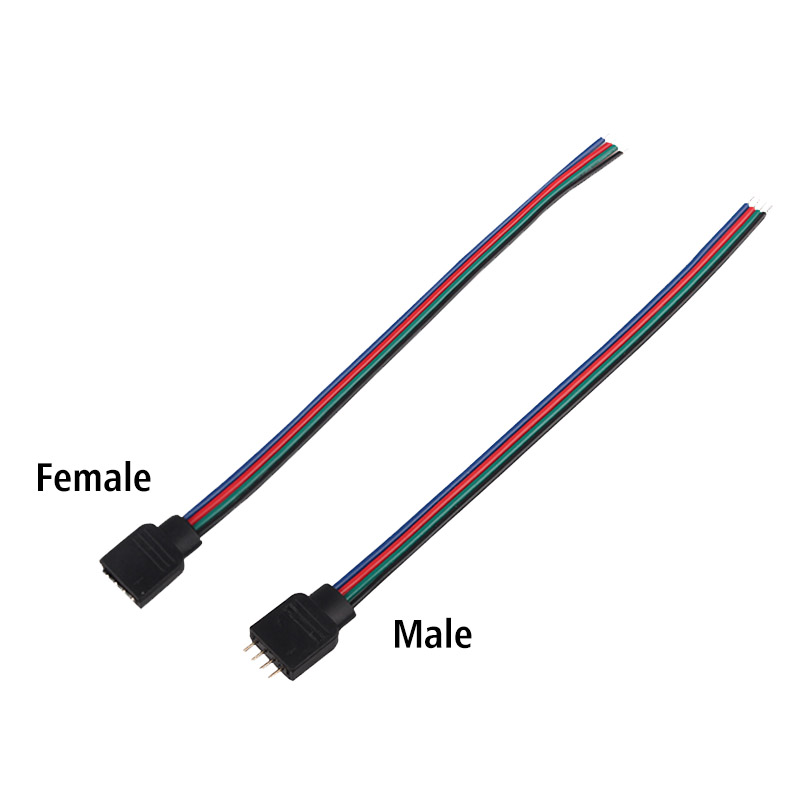
4-Pin RGBW 5050 LED Strip Extension Cable - Pure Copper 3.93 inch Wire Connector
Which 4-Pin LED Strip Connector Do I Need?
The right 4-pin LED connector depends entirely on your strip light's specifications and what you're trying to do. A connector designed for a 10mm wide 5050 SMD strip won't make proper contact with an 8mm strip or a COB strip, leading to connection failure. The same goes for waterproofing; using an indoor IP20 connector on an outdoor IP67 strip will ruin its weather resistance. Before you buy, check your strip's PCB width, type (SMD or COB), and IP rating.
4-Pin RGB LED Strips Parts: At a Glance
| Connector Type | Primary Use Case | Key Feature |
| Strip-to-Strip (Gapless) | Joining two cut strip sections for a continuous run. | Creates a seamless connection with no dark spots. Look for our 'Hippo-Buckle' models. |
| Strip-to-Wire | Connecting a strip to a power supply, controller, or bridging a gap. | Provides a pigtail of wire for flexible connections. |
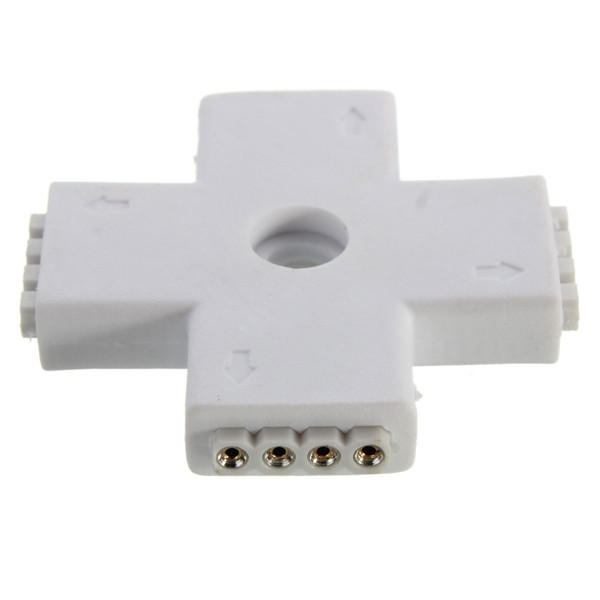
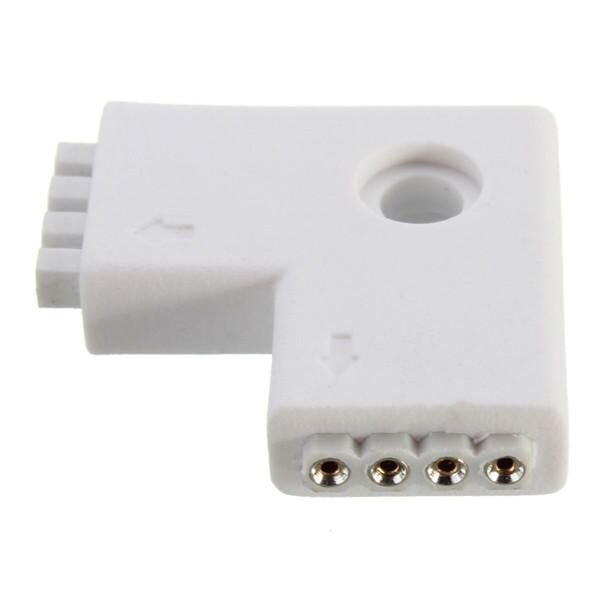
| L-Shape & T-Shape | Making sharp 90-degree corners or splitting a run in two directions. | Avoids bending and damaging the LED strip's circuit board. See our full range of L-shaped corner connectors. |
| Waterproof (IP67) | For outdoor or damp locations where the strip has a solid silicone coating. | Features insulation-piercing contacts that bite through the silicone, maintaining the seal. |
4-Pin RGB Connectors: Installation and Troubleshooting
Our 4-prong LED connectors use high-purity copper contacts and robust housings to ensure a solid, lasting electrical connection that won't degrade over time. Many of our solderless models use an insulation-piercing or 'Hippo-Buckle' design that clamps down firmly on the strip's copper pads for maximum contact.
How to Make a Reliable Solderless Connection
Using a 4 pin LED strip connector is simple, but a few details make all the difference. Follow these steps for a perfect connection every time:
- Cut Cleanly: Always cut your RGB strip directly on the marked copper solder pads. A crooked cut will prevent the connector from making contact with all four pads.
- Check Polarity: Match the markings on the strip (+12V/24V, G, R, B) to the markings on the connector. Getting this wrong won't damage the strip, but the colors will be incorrect when you control it.
- Prepare the Strip: If you're using a waterproof strip with a silicone coating, you must carefully remove about 1/2 inch of the coating from the top of the copper pads. For our specialized IP65 or IP67/IP68 connectors, this step isn't necessary.
- Insert and Clamp: Gently slide the end of the strip into the connector, making sure it goes underneath the metal contact prongs. Once it's fully seated, snap the plastic cover down firmly. You should hear a click. Give the strip a gentle tug to ensure it's secure.
Frequently Asked Questions About 4-Pin RGB LED Strip Parts
Got questions about connecting your RGB strips? I've answered thousands of them over the years. Here are the most common ones that come up right before an order.
No, and this is the number one mistake people make. You have to match three things: the pin count (4-pin for RGB), the strip's PCB width (usually 8mm, 10mm, or 12mm), and the strip type (SMD vs. COB). A 10mm connector won't fit a 12mm strip, and a connector designed for SMD LEDs may not make good contact with a COB strip's circuit. Always measure your strip's width before you order.
One of the four metal prongs inside the 4 pin rgb led strip connector isn't making a solid connection with its copper pad on the strip. Open the connector, make sure the strip is pushed all the way in, and check that the prongs are aligned perfectly over the pads, not off to the side. Also, double-check your polarity: the +12V/24V, R, G, and B markings on both strips must line up.
For most indoor jobs, a good quality solderless connector is perfectly reliable and way faster. But for permanent installations, especially in places with vibration (like a vehicle) or where the connection will be pulled on, soldering is always the most durable connection. If you're new to soldering LED strips, we can help you customize.
Don't try to bend the strip itself at a hard right angle; you'll damage the circuit. The clean way to do it is to cut the strip at the designated cut mark, then use an L-shape or corner connector to join the two pieces. We have solderless 90-degree L-shaped connectors that make this a quick, two-minute job without any tools beyond a pair of scissors.
A flickering connection means you have a loose contact. The most common cause is not pushing the strip far enough into the connector, so the pins are just barely touching the pads. The second most common cause is a mismatch — using a 8mm connector on a 10mm strip. If it persists, the power connect might be faulty.
You'll typically use a strip-to-wire connector. One end snaps onto the start of your RGB strip, and the other end gives you four bare wires (+, R, G, B). These wires then go into the screw terminals on your RGB controller, matching the labels. It's a critical step, and getting the wiring order right is essential. We have a detailed guide on wiring RGB strips that shows several diagrams for different setups.
Yes, absolutely. A huge part of our business is building custom wiring harnesses that never appear on the website. Just send us a sketch or a simple description: tell us the total length you need, the type of connector you want on each end (e.g., a female DC barrel on one end, a 10mm COB connector on the other), and we'll get it done. An engineer will send back a drawing and a quote, usually within 12 hours, with no obligation to order.
For a 'fit and forget' job, I'd lean towards a piercing-style connector over a simple pressure-fit one. Connectors like our 'Pierce-Down' or 'Hippo' models require you to use pliers to crimp them shut. This action forces sharp contacts through the wire insulation and firmly into the strip's pads. It creates a much more secure, vibration-resistant connection than a simple snap-on clasp. For ultimate reliability, though, soldering is still king.