
How to Install LED Strip Lights?
There are three ways to install LED strip lights. Which one you use depends on the IP rating of the strip and where it goes:
- Adhesive backing for IP20 and IP65 LED strip indoors: clean the surface, peel the tape and press the strip in place.
- Aluminum channel for a protected, spot-free line of light indoors: ceilings, cabinets, kitchens and furniture.
- Mounting clips and screws for heavier IP67 and IP68 waterproof LED strip, including outdoor and house installs.
If you want to decorate your rooms or make them look different, LED light strips are a good choice. Led strip lights can be used in a wide range of places, indoor and outdoor. And it has various advantages, energy-saving, environmentally friendly, safe and easy to operate.
Today we will take you to understand the led light strip installation. Hope this article can help you.
Installing led strip lights successfully is a fulfilling thing. It doesn't matter if you are a novice. If you need led light strip accessories, click here.
- LED lights with indoor applications: ceilings, corridors, kitchens, bedrooms, cabinets, bathrooms, stairs, etc.
- Outdoor applications of led light strips: gardens, parks, building outlines, advertising signs, outdoor steps, roads, swimming pools, etc.
At SuperLightingLED we answer installation questions every day. This guide covers the three methods our customers use most, plus the two jobs people ask about most often: outdoor installs on a house and hanging LED strip lights on a wall.
Doubt about waterproof IP rating of the LED strip lights? You can read this to understand: What does the waterproof IP rating mean?
Before you install LED strip lights
- Indoors or outdoors? Outdoor and wet areas need an IP67 or IP68 LED strip (see outdoor LED strip lights).
- How long is the run? Measure first, then check how much power you need so the strip stays evenly bright.
- Where will the power supply go? Keep it somewhere dry and easy to reach; outdoors, use a DC12V waterproof power supply or DC24V waterproof power supply.
- Light the strip up before you stick it down. Connect it to the power supply for a minute first, so you never have to pull an installed strip off the wall.
LED strip installation methods compared
| Method | Best for | IP rating | Surface | What you need |
|---|---|---|---|---|
| Adhesive backing | Indoor lighting: ceilings, cabinets, kitchens, bedrooms, stairs | IP20, IP65 | Clean, dry and smooth: wood, paint, many plastics and fabrics | The strip’s own 3M backing; blue, yellow or red tape for harder jobs |
| Aluminum channel | A finished, even line of light; heat dissipation; protection from knocks and dust | IP20, IP65 indoors (waterproof strip inside for outdoor use) | Ceilings, cabinets, furniture, exhibitions | Aluminum profile, PC diffuser, end caps |
| Mounting clips | Outdoor lighting and heavy waterproof strips | IP67, IP68 | Any surface you can screw into | Clips, screws and a screwdriver |
Method 1: Adhesive installation for IP20 and IP65 LED strip lights
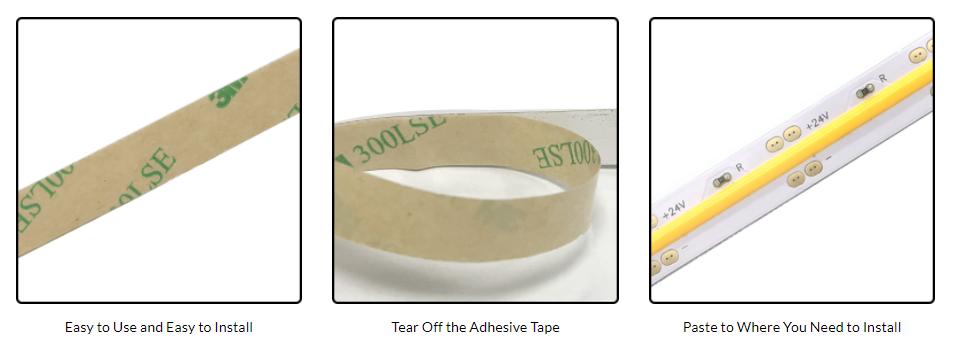
Led strip light has a 3M adhesive backing, bringing great convenience to the led light strip installation. You can also apply adhesive to the light strip by yourself if your light strip supports it.
Installing led strip lights with adhesive is much simple. You just need to peel the adhesive tape and press the strip to the place where you want to install. However, you should pay attention to keeping the installation surface clean, so as not to affect the installation effect and prevent the strip light from falling off.
- Clean and dry the surface.
- Peel the backing tape a little at a time.
- Press the strip firmly along its whole length.
Maybe you want to know how to cut and connect the led strip lights:
How to choose the right LED tape?
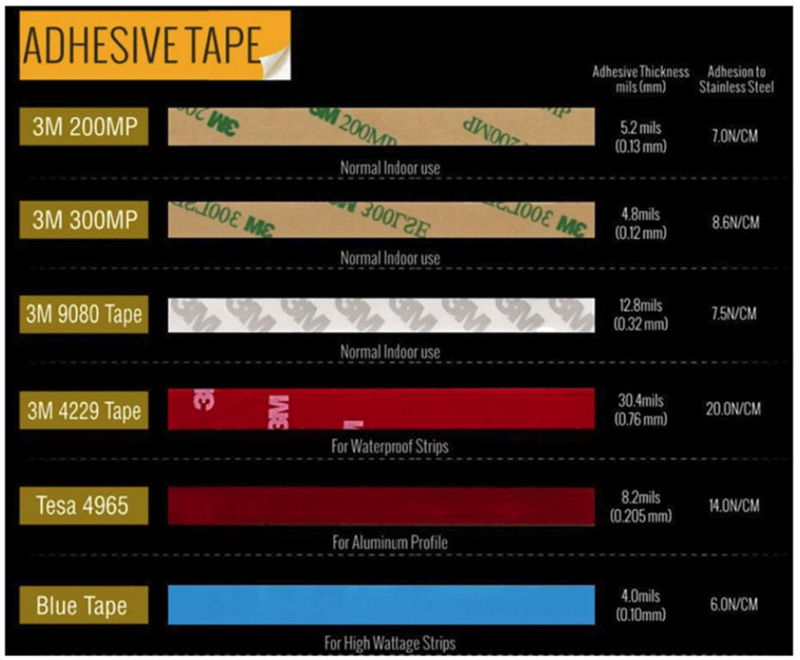
Although the light strips have adhesives, different adhesives have different functions.
The backing of the led strip light is attached with adhesive, suitable for most working environments. For complicated installation, you need to choose a special suitable led tape.
- Blue adhesive(glass fibre cloth thermal conductive double-sided adhesive) is heat-resistant and can be used for high wattage led strip lights.
- Yellow glue(double-sided adhesive) has good durability, high temperature resistance, strong adhesion, waterproof, and is generally used indoors. It is suitable for wood, paint and many plastics and fabrics.
- The red glue(dark gray acrylic glue) is more viscous it is a solid foam and completely extruded to achieve seamless connection with the wall. it is used for waterproof led light strips.
- Transparent silicone sealant organic solvent has neutral, non-corrosive, non-polluting, anti-aging and electrical insulation properties. After the rubber is cured, it has good adhesion to metals and most plastics, and has excellent resistance to alternating cold and heat.
Check if there is something special about your light strip. Low voltage or high voltage? Do you want to use it indoors or outdoors? Do you want to install aluminum profiles? Find your answer according to the characteristics of different adhesives.
Method 2: Install LED strip lights in an aluminum channel
Can IP20 and IP65 LED strip lights use aluminum profiles?
Led strip light with the aluminum channel has a very high degree of design freedom and strong decoration, and it is widely used in various creative designs. Suitable for ceiling, cabinet, kitchen, furniture and exhibition.
The role of the aluminum profile is to protect led strip lights from external force damage. It has greater heat dissipation. No light spot and provide better lighting and uniform lighting. The led strip light is inside and it has a good dustproof effect.
However, it is only available for indoor use. You must pay attention to that. If you want to put the light strip outdoor use, you have to choose waterproof light strips placed in the LED aluminum channel.

How to use the LED aluminum profiles?
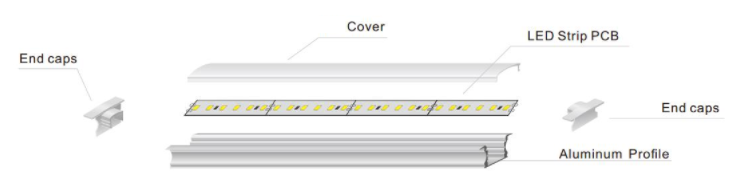
- Step 1. Peel the adhesive of the led strip light and stick the strip to the groove of the aluminum profile.
- Step 2. Cover with the PC diffuser.
- Step 3. Cover the end caps at both ends. The output wire pass through the end cap with hole to connect the power supply or led controller.
Click the picture to comprehensive understanding the LED strip aluminum channel.
Browse the full range of LED aluminum profiles, or go straight to wall series channels for walls and corner channels for inside corners.
Need profile sizes? Download the LED aluminum profile catalog (PDF), or find the specification of any profile in our specification download center.
Can non-waterproof LED strip lights be installed outdoor?
Aluminum channel is not waterproof, if you want to install the IP20 or IP65 led strip in outdoor, you can choose the flex LED neon tube which is IP67 waterproof rating.
To know more knowledge about the LED neon lights:
Method 3: Mounted clip installation for IP67 and IP68 light strips
Why IP67 and IP68 light strips don’t use adhesive? IP67 and IP68 are waterproof strip lights. The adhesive has limited adhesiveness, and the IP67 and IP68 light strips are too heavy and difficult to support.
Using clips to install led strip lights is more reliable than adhesive. And the installation is easy too. More IP68 waterproof accessories click here.
- Step 1. Fix the light strip.
- Step 2. Put the clip, the location of the clip is up to you.
- Step 3. Tighten the screw with a screwdriver.
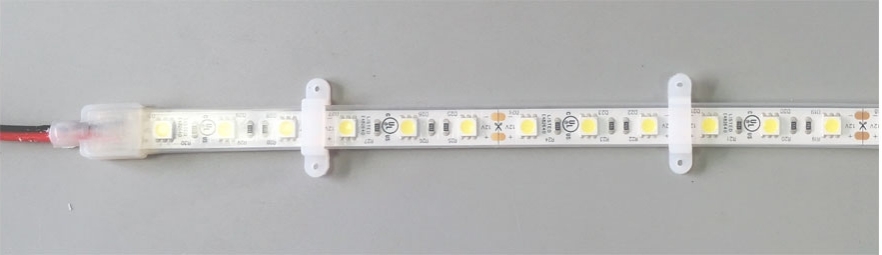
How to install LED strip lights outdoors and on a house
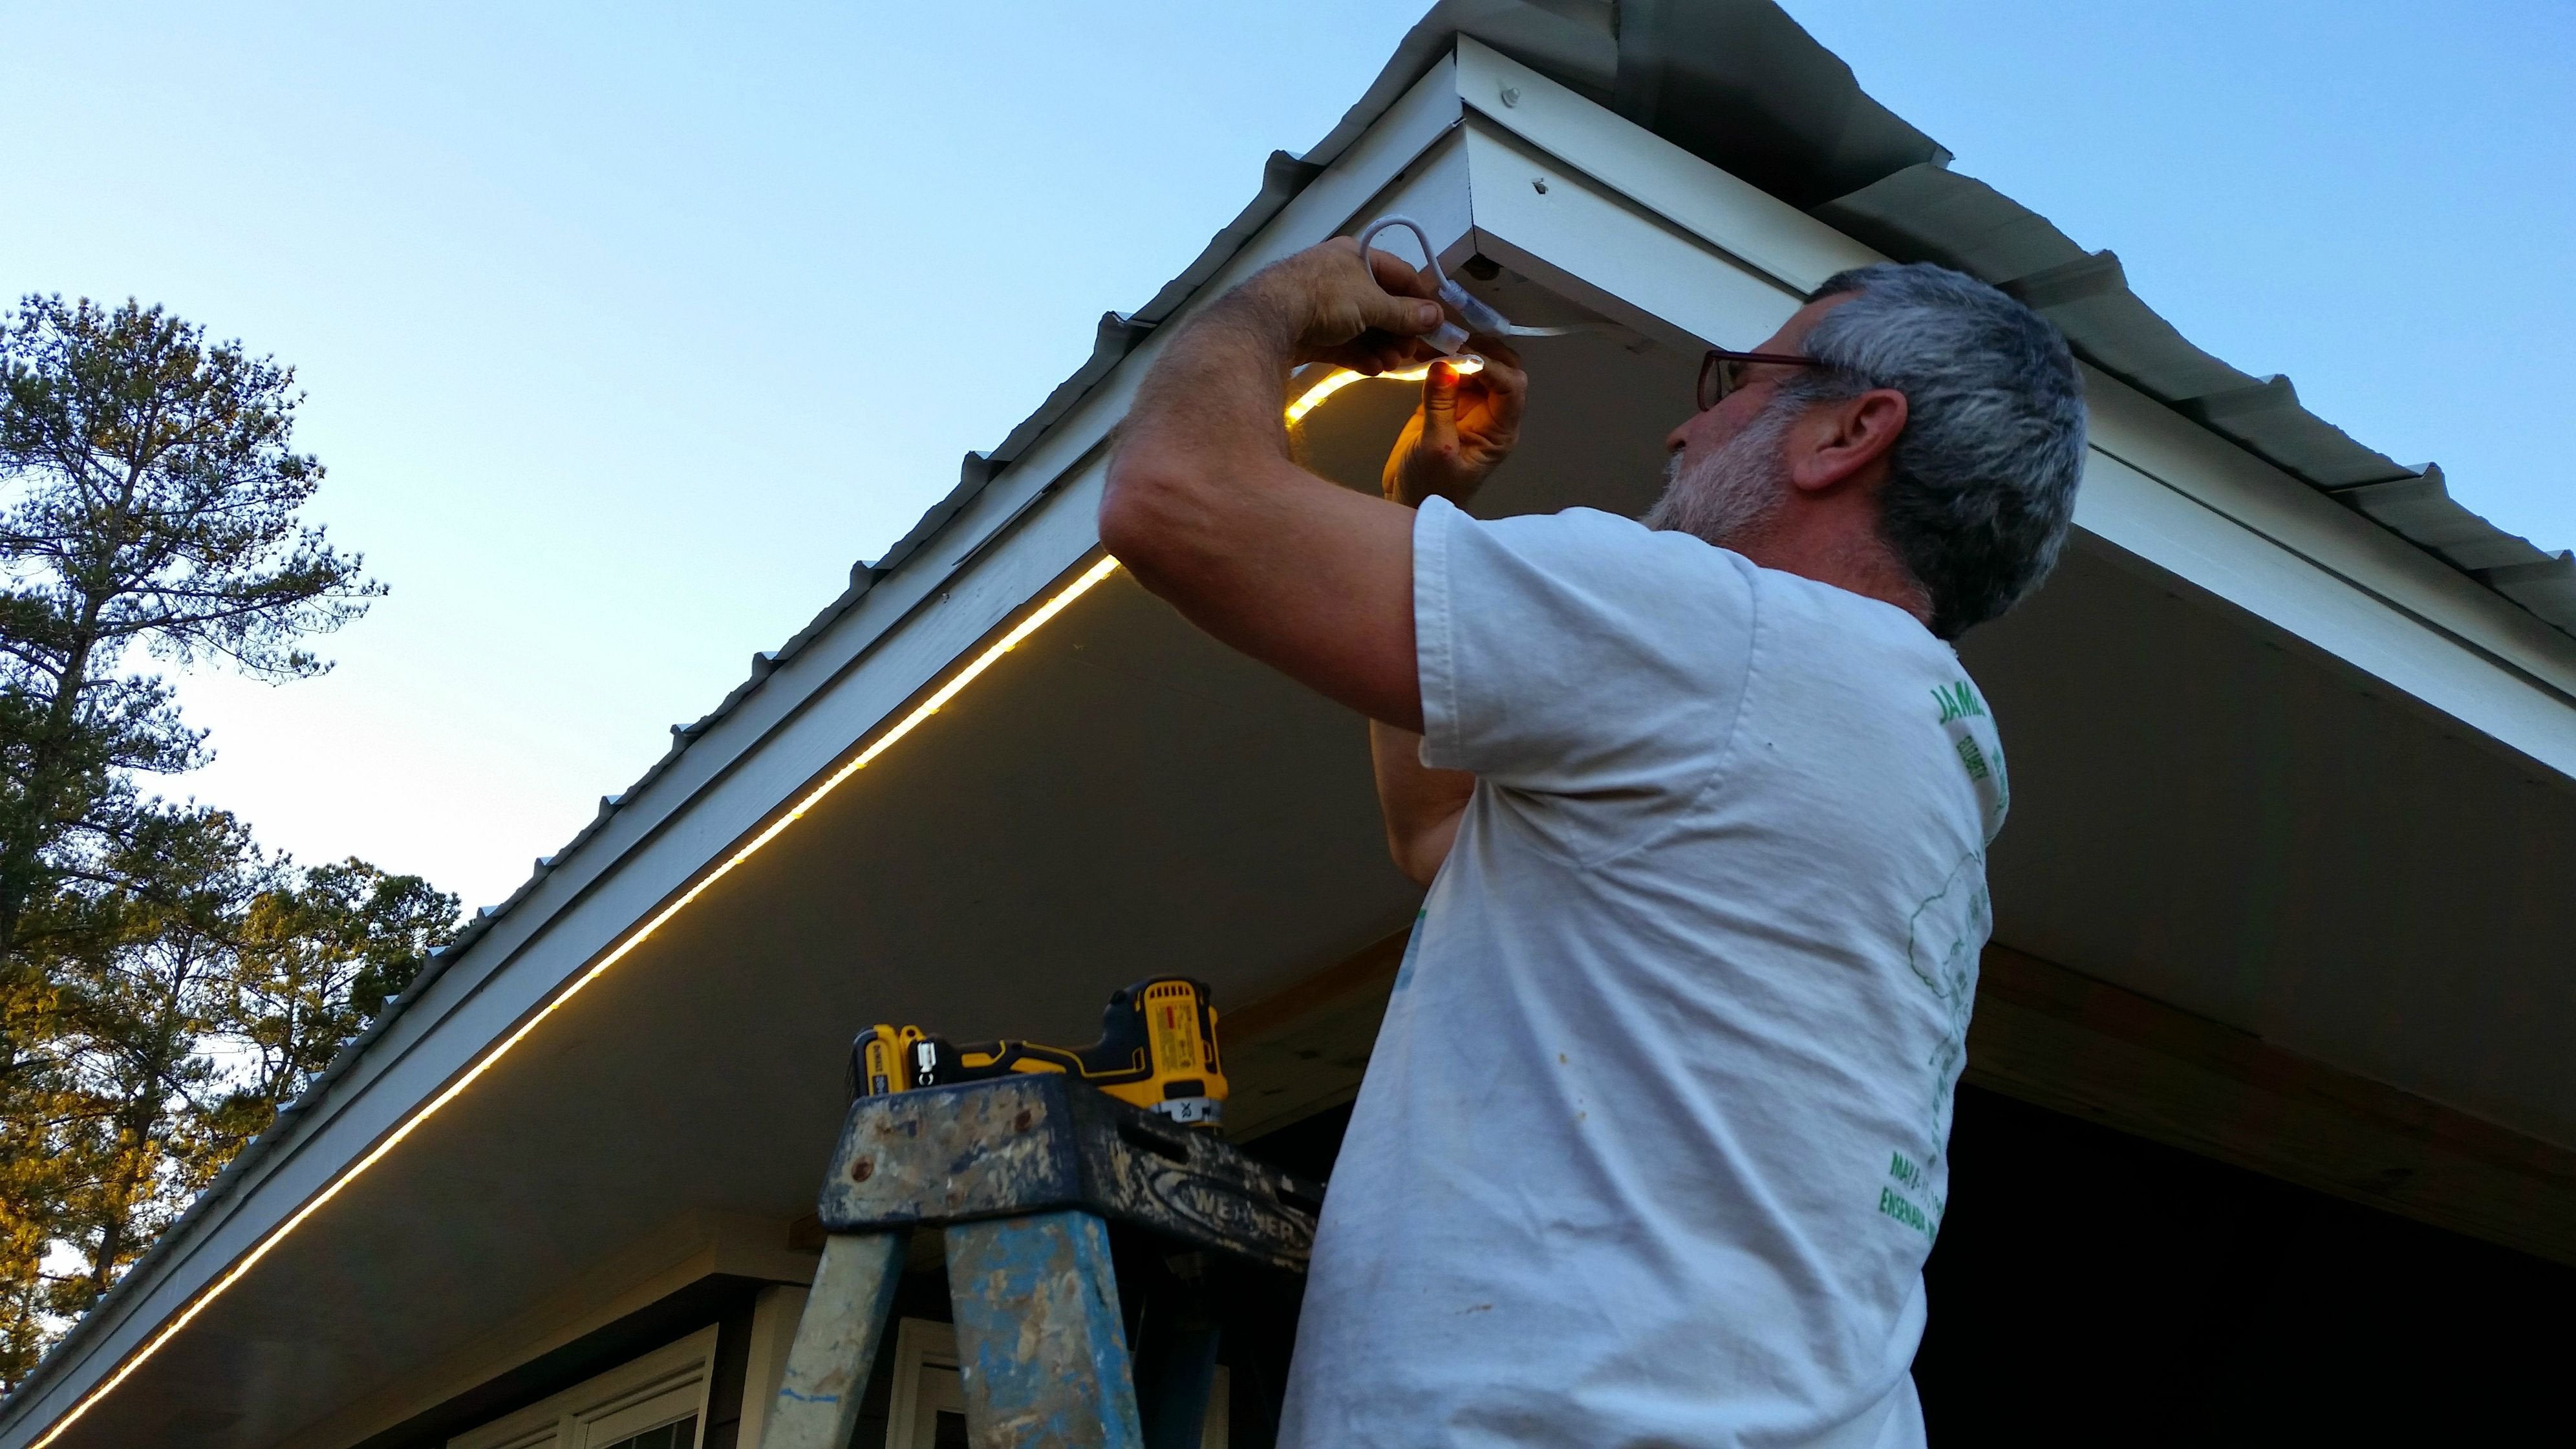
Most people who find this guide are planning an outdoor job: along the eaves or soffit, around a deck or patio, or outlining the whole house. The three methods above still apply. Outdoors, a few extra rules keep the lights working season after season:
- Choose the right rating. Use IP67 water resistant LED strip or IP68 LED strip, or LED neon strip lights. IP20 strips are for dry indoor spaces only and IP65 suits covered outdoor spots and bathrooms; exposed outdoor runs need IP67, and an aluminum channel does not make a strip waterproof.
- Mount with clips and screws, not tape. Sun, rain and cold weaken adhesive on outdoor surfaces. Waterproof mounting brackets hold the strip every time.
- Protect every connection. Seal joints with IP68 waterproof connectors and keep the waterproof power supply and outdoor waterproof controller in a dry, sheltered spot.
- Plan the route before you cut. Measure each side of the house and cut only on the cutting marks; see where to cut LED light strips.
- Want a finished look outside? A waterproof LED light channel protects the strip and hides the dots.
Prefer everything in one box? Our weatherproof LED strip light kits come with a matching strip, controller and power supply. Not sure which fits your house? Send us a photo and the length, and the SuperLightingLED team will suggest a kit you can order today, or make one to your length.
How to hang LED strip lights on a wall
Hanging LED strip lights on a wall uses the same methods, chosen by the wall surface:
- Smooth painted walls, wood, glass: the adhesive backing (Method 1). Wipe the wall clean and dry first; for a stronger hold use the red foam tape described above.
- Textured, brick or damp walls: screw-fixed clips (Method 3) or an aluminum channel (Method 2), because tape cannot grip an uneven surface.
- Turning a corner: bend soft strips gently, or use a 90 degree L connector for a clean 90-degree turn.
- Reaching the outlet: run an LED light cord extension cable down the wall instead of stretching the strip.
In conclusion
Installing led strip lights successfully can bring you a great sense of accomplishment. You can choose adhesive installation, buckle installation, and aluminum profile linear installation. Each installation method has the characteristics of each installation method. If you don't know how to choose which installation method, compare their respective characteristics and your needs to get your answer.

Cut, connect and wire your LED strip
What you want to know about led strip installation:
- How to wire single color led strip lights?
- How to wire tunable white/CCT led strip lights?
- How to wire RGB color changing led strip lights?
- How to wire RGBW led strips?
- How to wire RGBCCT led strip lights?
- How to wire addressable led strips?
More help: LED strip wiring diagrams, how to choose an LED strip power supply, and our LED strip knowledge library.
LED strip installation FAQ
How do I install LED strip lights outside on a house?
Use an IP67 or IP68 LED strip, fix it with mounting clips and screws rather than adhesive, seal the connections and keep the power supply dry. The outdoor installation section above walks through it.
Can non-waterproof LED strip lights be installed outdoors?
Not in the open. An aluminum channel is not waterproof: IP20 strips are for dry indoor spaces, IP65 handles splashes and rain in covered spots, and exposed outdoor runs need IP67 or IP68 strip or IP67 flexible LED neon tube.
Do IP20 and IP65 LED strip lights need an aluminum profile?
Not always, but it helps: the profile protects the strip, spreads heat, keeps dust out and gives an even line of light. It is for indoor use.
Why don’t IP67 and IP68 LED strips use adhesive?
They are heavier, and adhesive has limited holding power, so clips are more reliable.
Which tape should I use for high-wattage LED strip lights?
The blue glass fibre cloth, thermally conductive tape, because it is heat-resistant.
Parts used in this LED strip guide
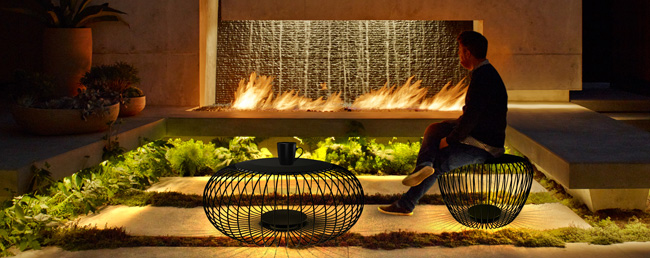 Outdoor LED strip lightsIP67 and IP68 strips for eaves, decks and pools
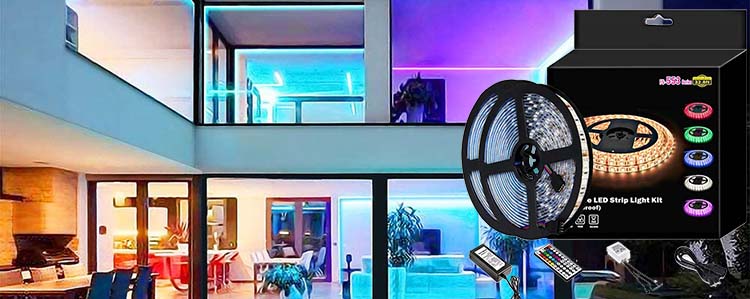 Weatherproof LED strip kitsStrip, controller and power supply in one box
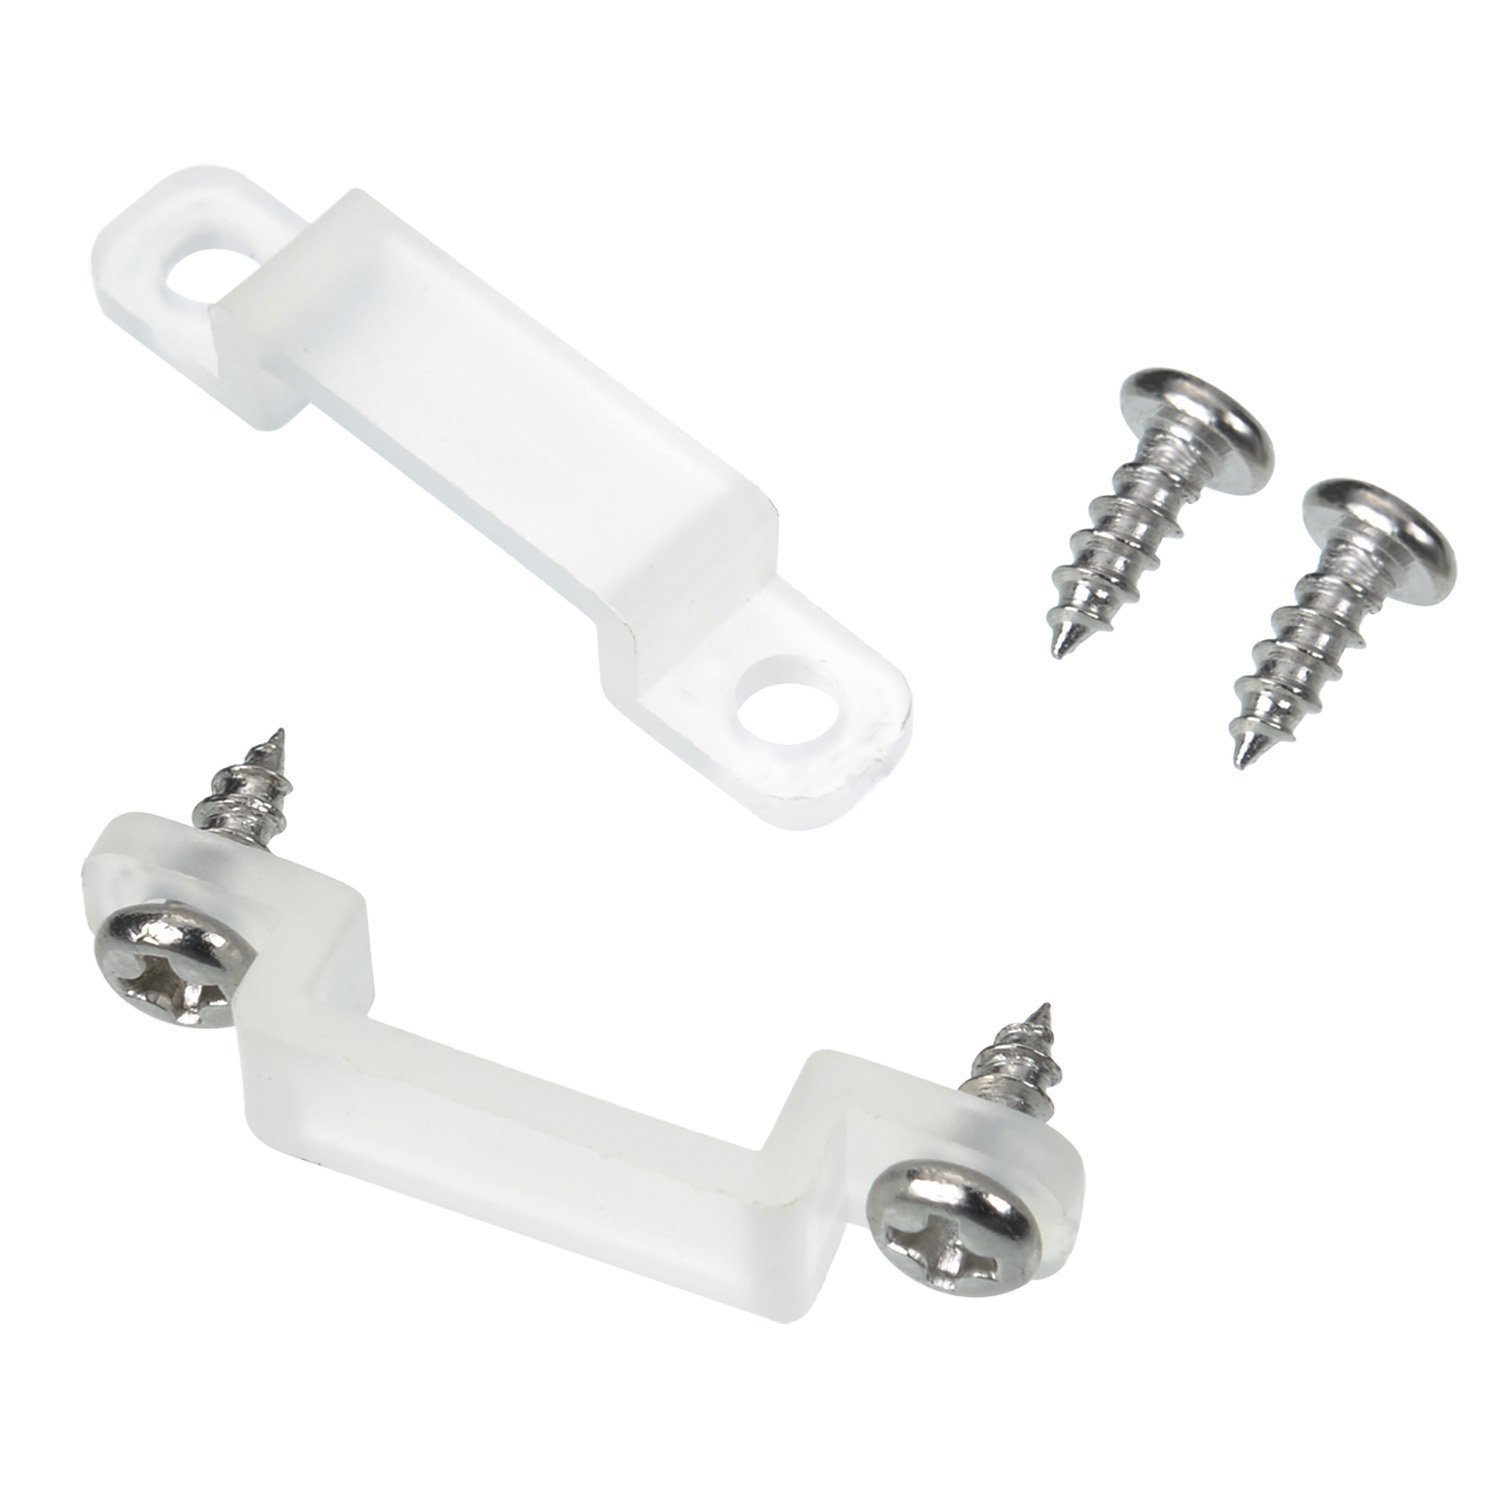 Waterproof mounting bracketsClips with screws for IP67 and IP68 strips
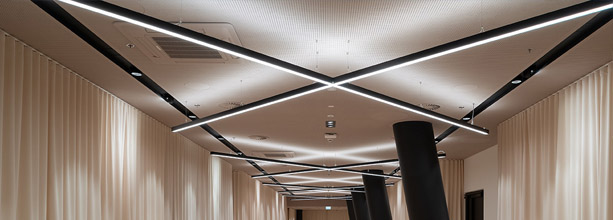 LED aluminum profilesProfiles, diffusers and end caps
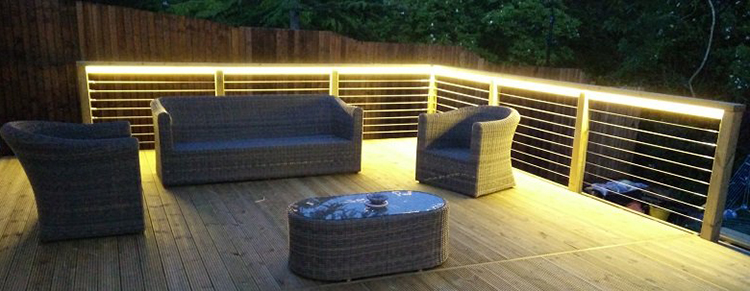 Waterproof LED channelsA finished line of light outdoors
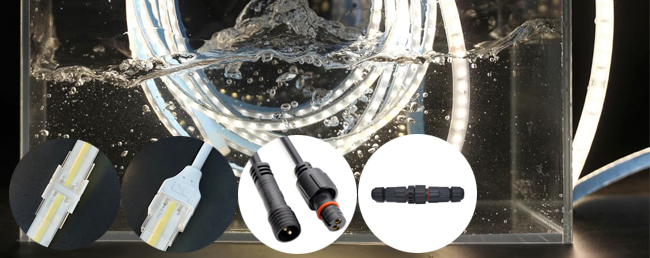 IP68 waterproof connectorsSeal every outdoor joint
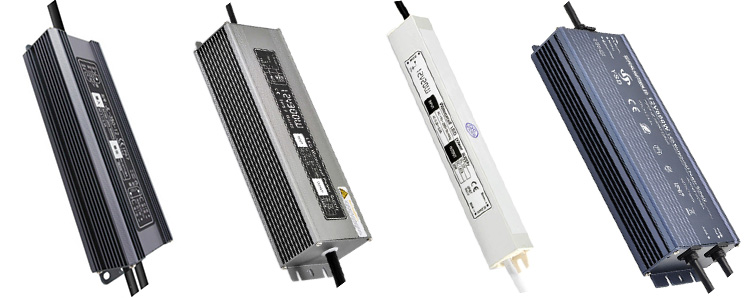 DC12V waterproof power suppliesFor outdoor 12V LED strip runs
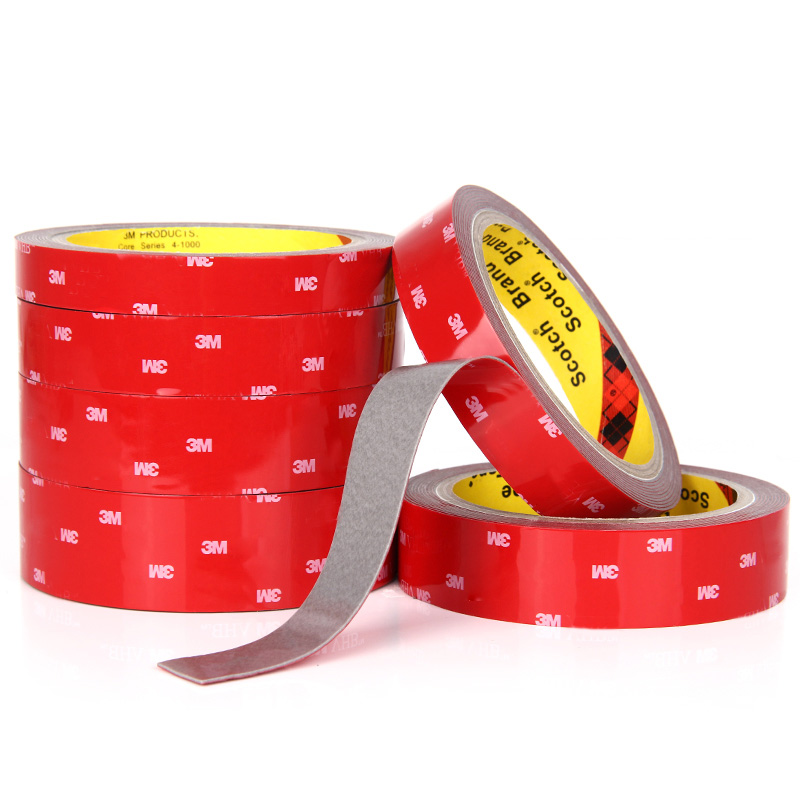 3M VHB foam tape (red)Extra-strong hold on walls
You can order every part in this guide from SuperLightingLED. If your project needs a special length, voltage or waterproof rating, tell us and we can make it to order. Contact our team