
High Voltage LED Lights Parts
17 productsUnlike low-voltage systems, high-voltage LED strip lights operate directly on AC 110V–220V power, making safe, reliable, and solderless connections critical. Cutting and customizing high-voltage strips during installation often leaves raw ends that require secure power feeds and seamless joins.
Using specialized high-voltage connectors eliminates the hazards of manual soldering, ensures stable current flow, and protects the circuit from shorting, water ingress, or loose contacts—delivering a safe, code-compliant, and professional installation every time. Our complete range of high-voltage connection accessories is fully compatible with both flat SMD high-voltage LED strips and 360° round high-voltage neon flex lights.
-
2 Pin Connector: for static single color LED connections
-
3 Pin Connector: for CCT (Adjustable Color Temperature) and UCS1903, WS2811 intelligent IC chips led connection
-
4 Pin Connector: for RGB light connection
What types of high voltage LED strip connector do you need?
The right part depends entirely on what you're trying to accomplish with your cut strip section. What types of connections can be made? Just about any layout is possible. For clean 90-degree turns around corners, you'll want an L-shape connector. For splitting a single run into two, a T-shape connector is the tool for the job. To jump across a gap or simply connect two pieces of strip end-to-end, we offer middle-connectors and extension cords up to 10 feet long. These parts allow for T-connections, L-connections, board-to-board connections, board-to-wire connections, and extending the distance between two sections of LED strips.
-
Powering High-Voltage LED Strips That Have Been Cut to Length
-
Creating Turns, Splits, and Extensions
-
Mounting and Finishing Your Installation
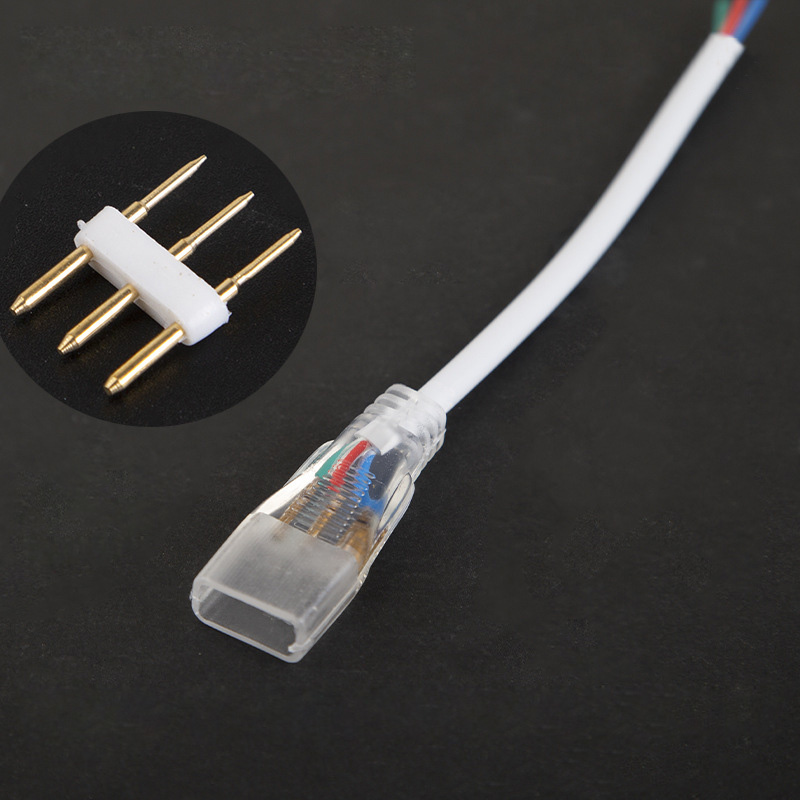
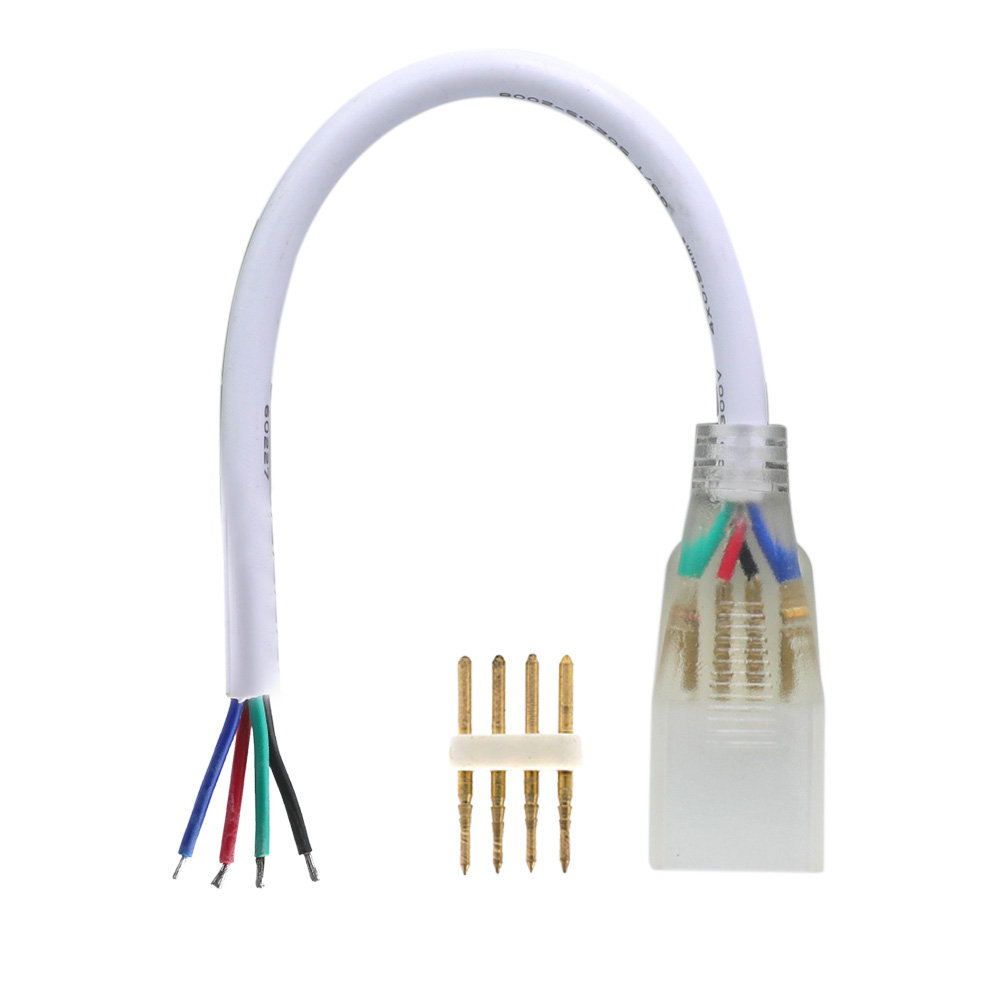
High Voltage 5050 LED Strip Connector - 2/4 Pin Fast Connect | 0.33-10Ft
10ft/3m LED Strip Extension Cord Connector | 4-Pin High Voltage
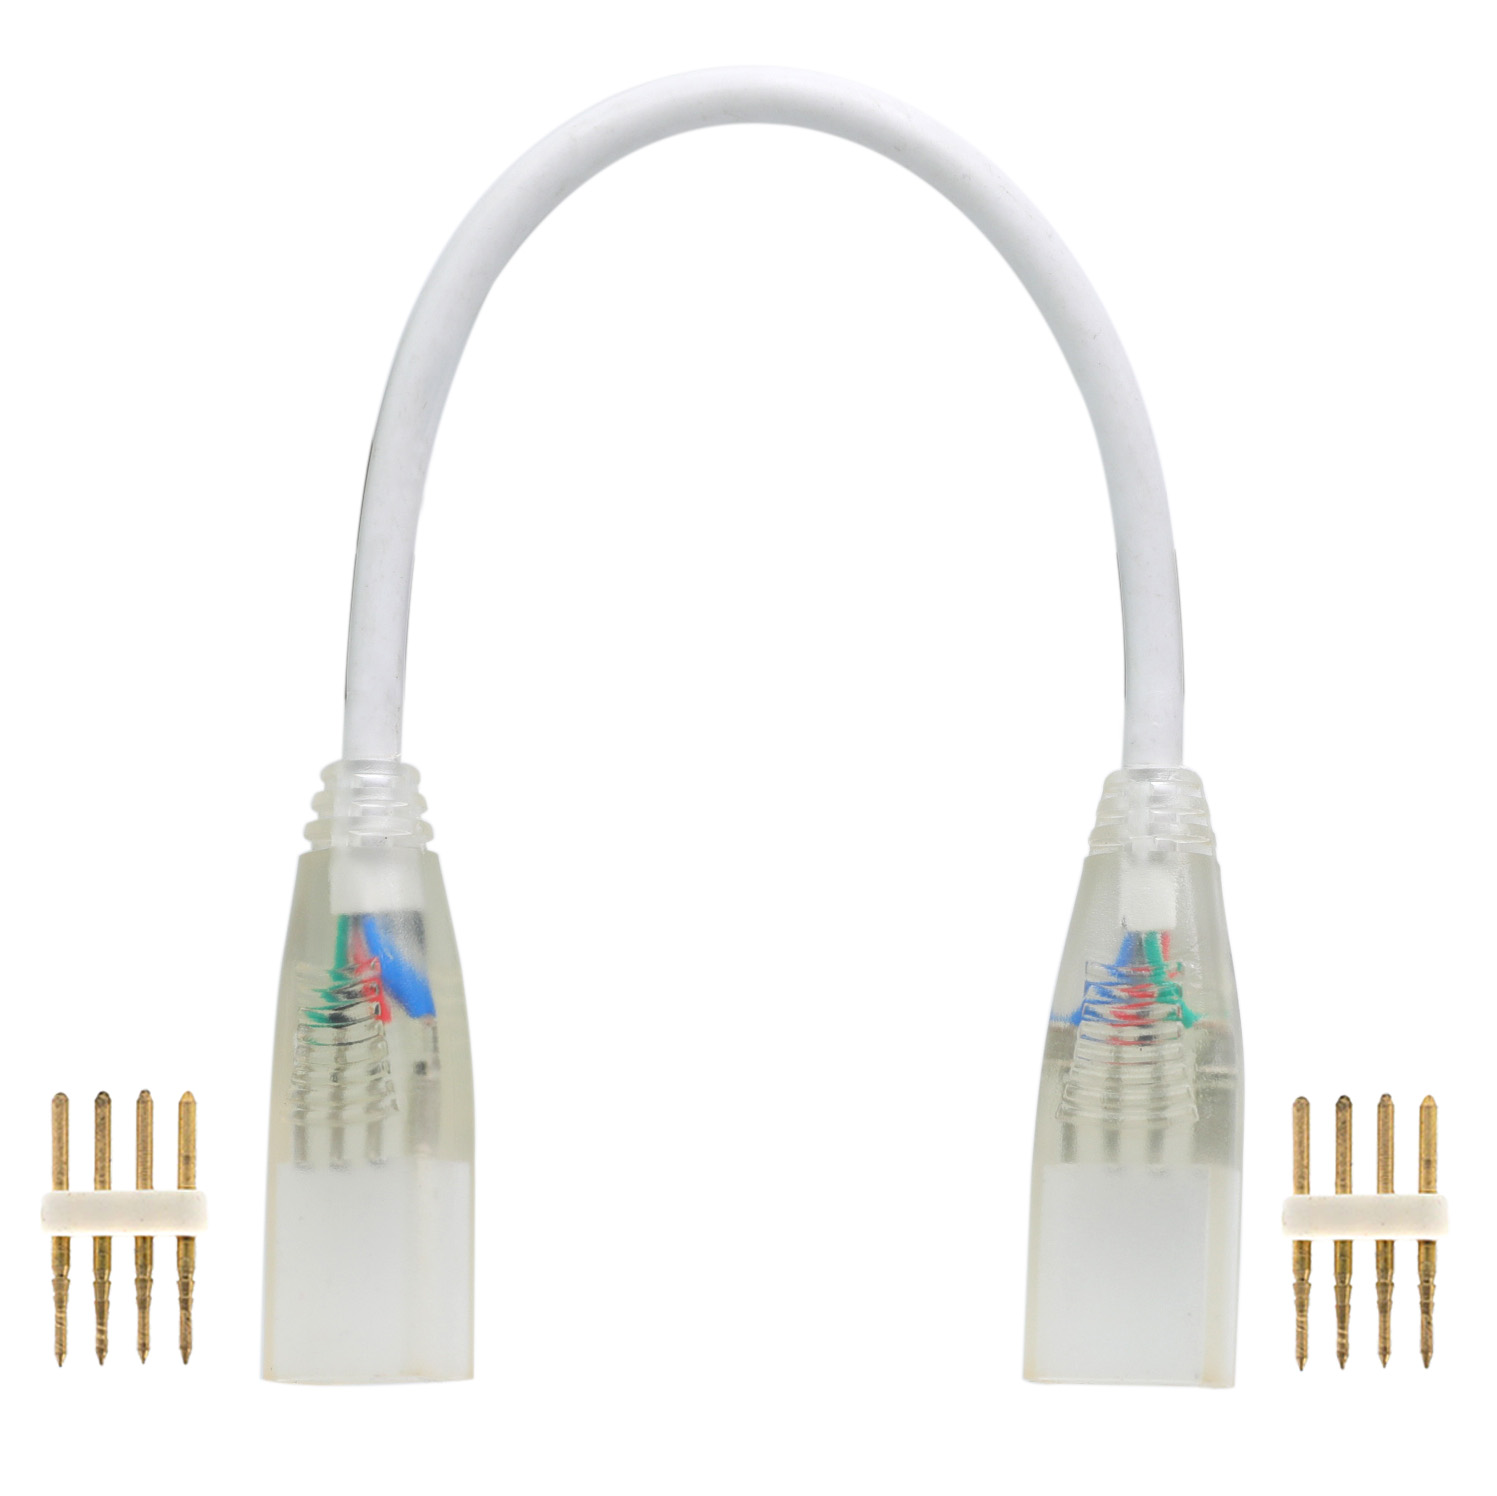
5050 RGB LED Strip Connector - High Voltage 4-Pin Double End Fast Connect
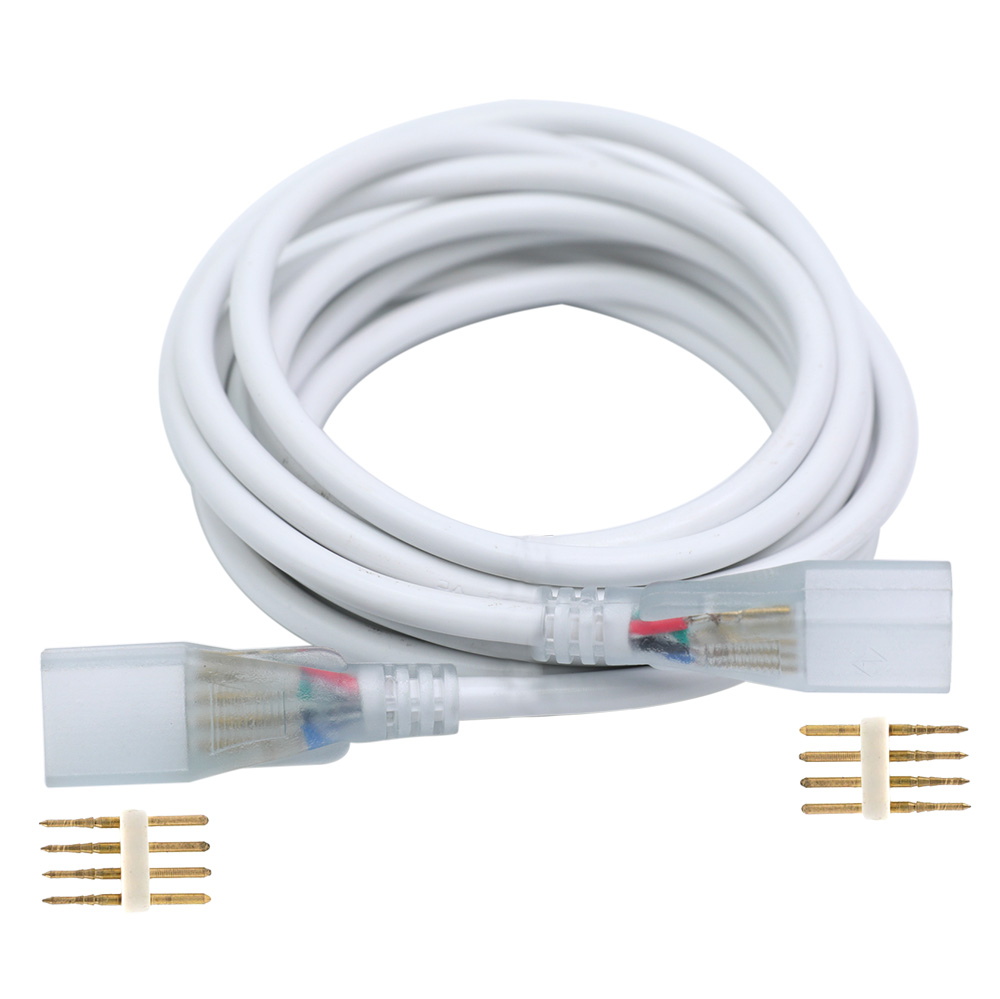
10ft High Voltage 4-Pin LED Strip Connector - Seamless Extension
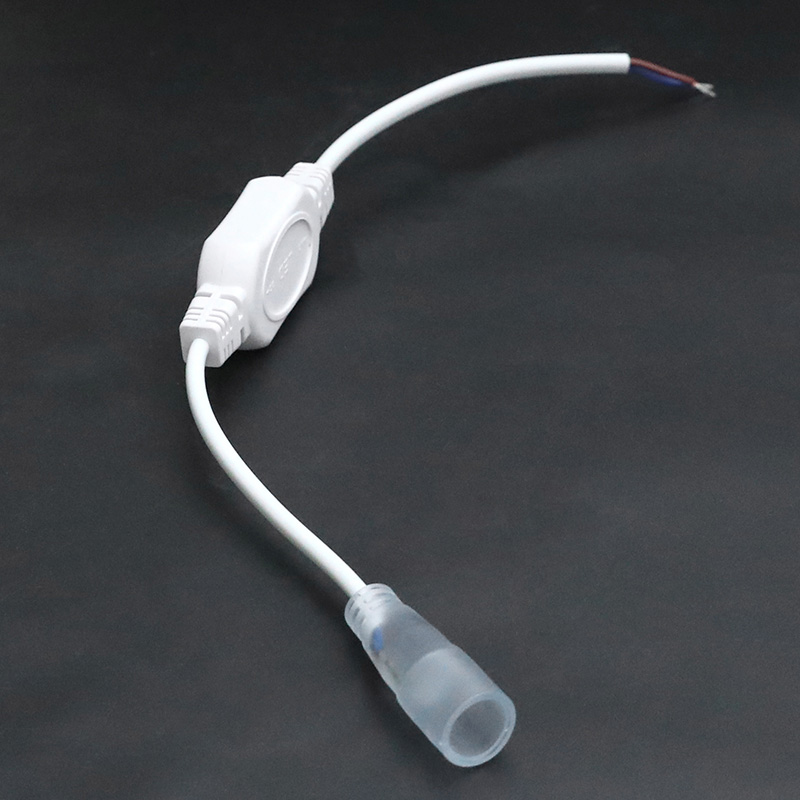
16mm Round LED Neon End Connector - 360 Degree High Voltage | Secure Fit
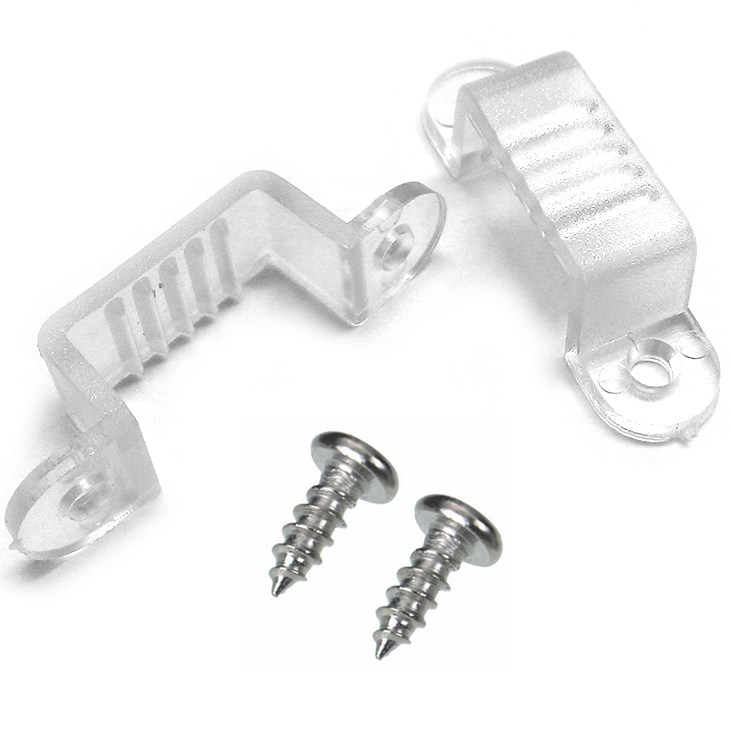
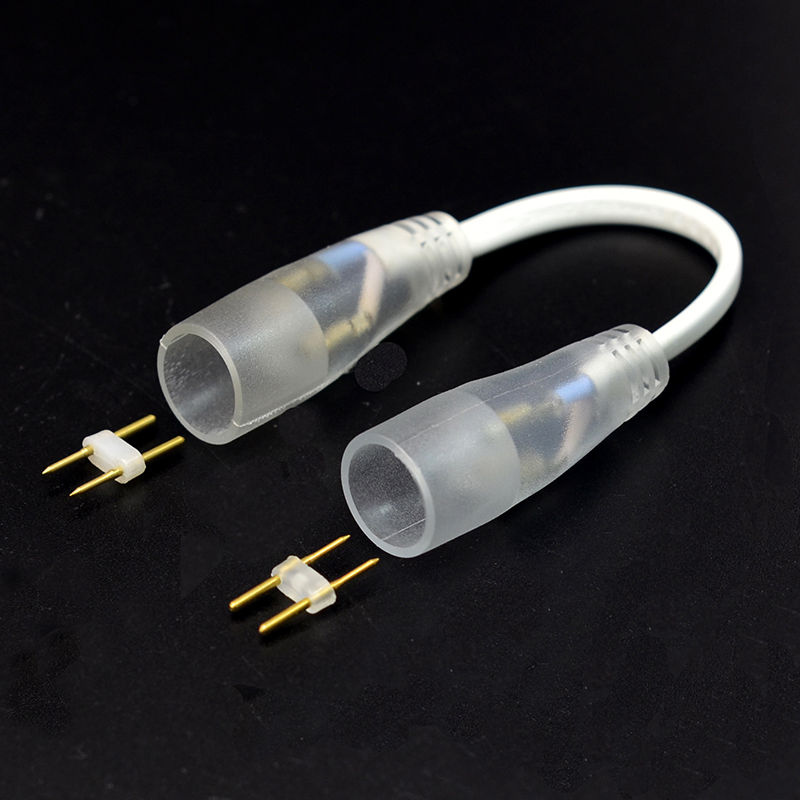
16mm LED Strip Mounting Clips - Double Head, 360° Rotation | 10-Pack

High Voltage LED Strip L-Shape Connector - 2-Pin Bifurcation | Neon Flex
16mm Round Bifurcation Connector - 2-Pin High Voltage LED Neon Strip
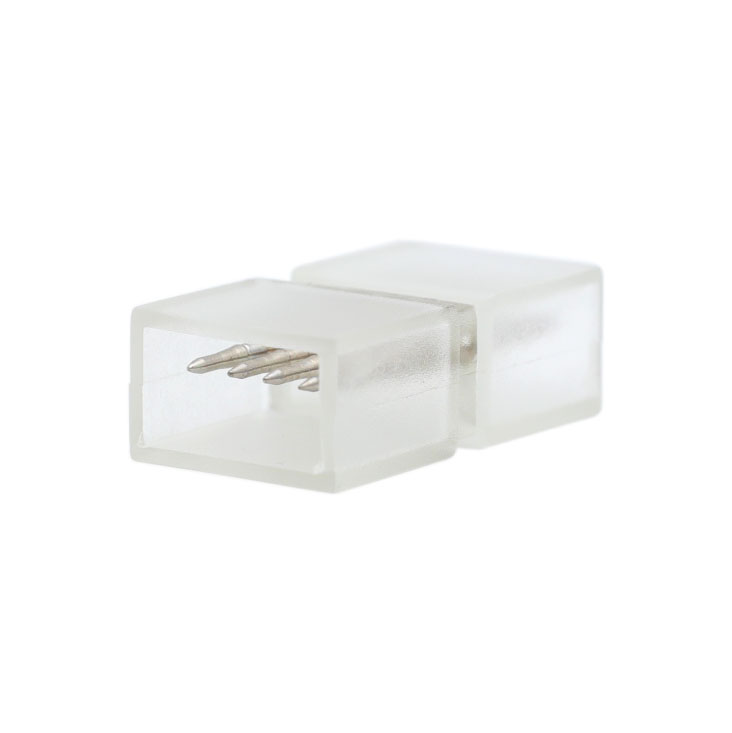
HV 2/3/4-Pin LED Tape Quick Connector - Casing Reconnection | Mini Splice
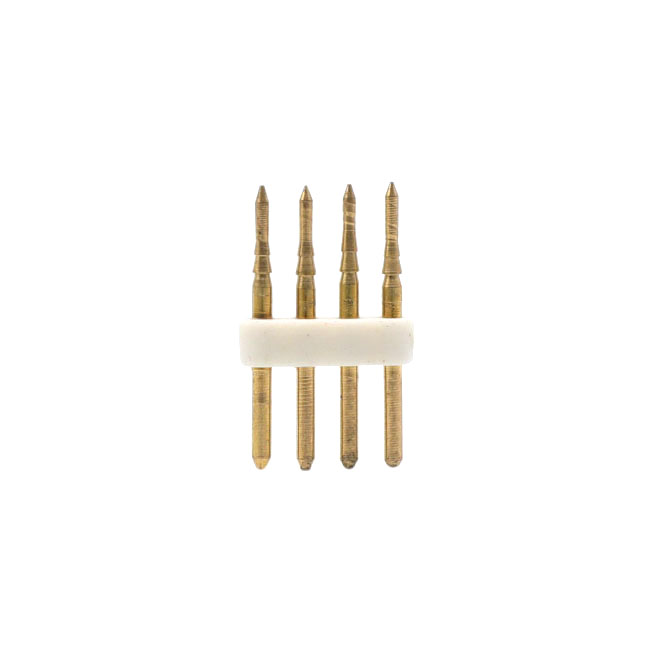
High Voltage LED Strip Fast Connector - 2-Pin/4-Pin for AC 110/220V RGB
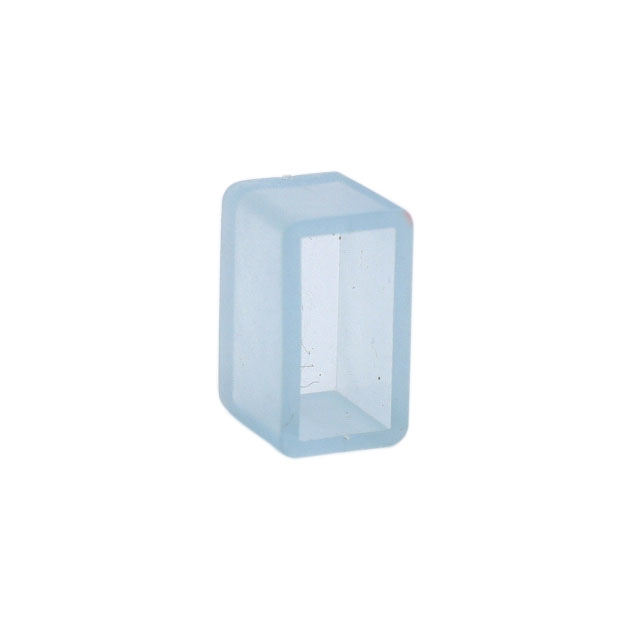
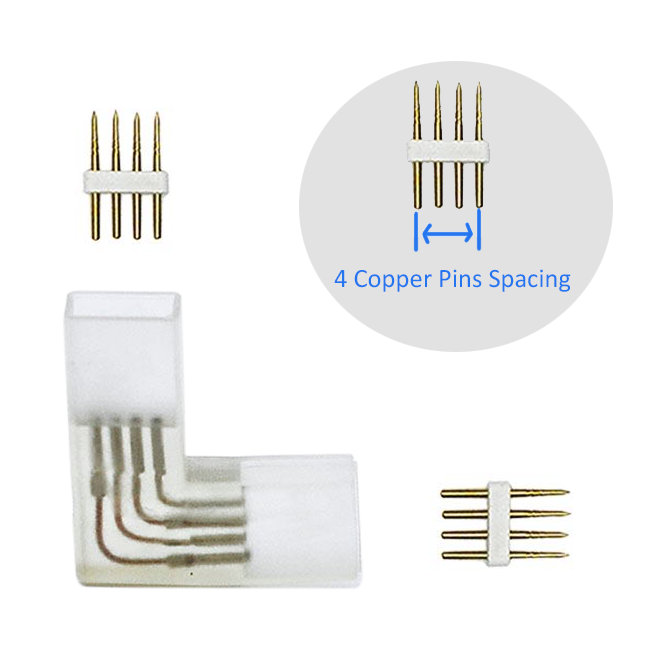
High Voltage RGB LED Strip Connector - L-Shape 1-to-2 Split | No Welding
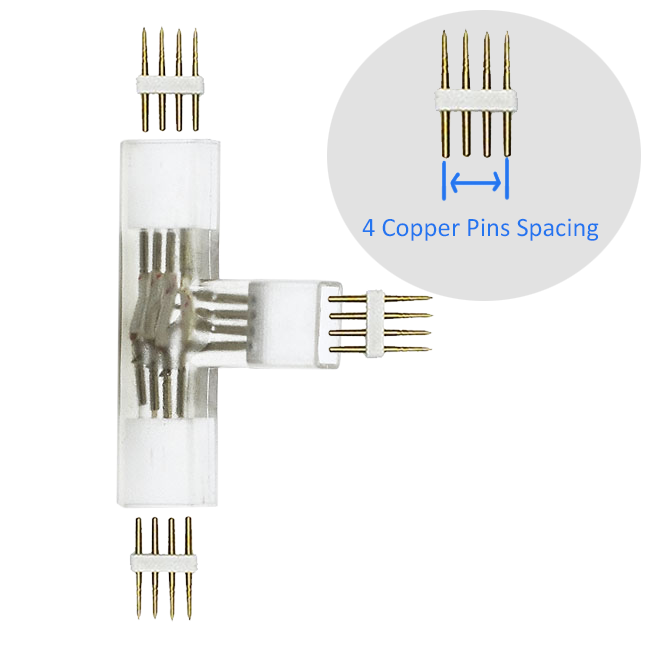
High Voltage RGB LED Strip T-Connector - No Soldering 1:2 Split
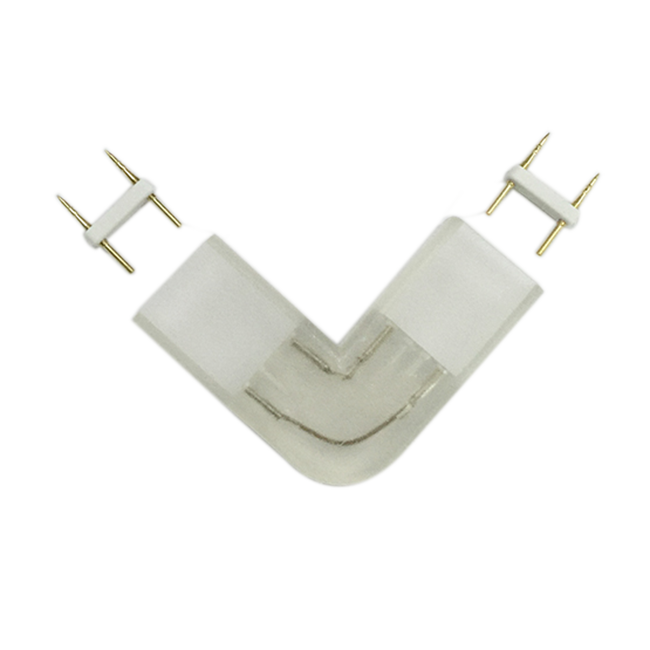
High Voltage LED Strip L-Connector - 1:1 Branch, No Welding, 4-Pin
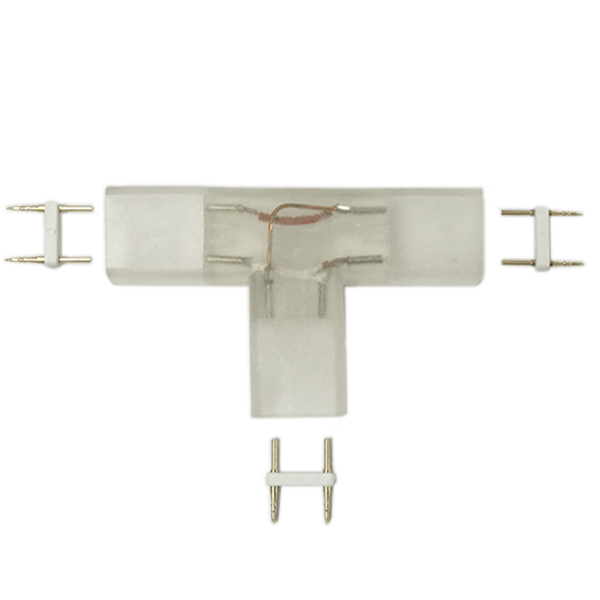
High Voltage LED Strip T-Connector - Single Color 1:1 Split | No Welding
Frequently Asked Questions About High Voltage LED Light Parts
Got questions about connecting your 110V or 220V strips? I've answered thousands of them. Here are the most common ones I hear every day.
It's all about what the strip can do. A 2 pin led strip connector is for simple 2 pin single color strips—just power and neutral. A 3 pin led strip connector is for CCT tunable white or some basic 3 pin CCT or addressable strips. And the 4 pin led strip connector is for 4 pin RGB strips, giving you control over red, green, and blue channels plus a common line. Using the wrong pin count just won't work.
Yes, if you're careful and follow the instructions to the letter. This high voltage led strip connector system is designed for install without soldering, but you're working with 110V/220V AC power. Always, *always* kill the power at the breaker before you start. Make sure all connections are snug and sealed, especially outdoors.
You'll need a specific power cord connector, not a strip-to-strip one. This part has a pin connector on one end for the LED strip and bare wires on the other to connect AC strip to power. Those bare wires go into your junction box or plug or controller, connecting to your home's main AC line. Make sure you get the pins lined up with the strip's contacts correctly.
Maybe the pins aren't making solid contact with the copper pads on the strip's circuit board. A bad connection is the #1 cause of flickering. Unplug everything, then carefully push the strip further into the high voltage led strip connector. You can also gently wiggle the pins to make sure they're seated properly. That usually fixes it.
For a straight strip to strip connect, you'll use a middle-connector or a short extension cable. You just push the cut end of each strip into either side of the connector. Make sure you align the polarity and that the pins pierce the strip's contacts all the way. It's how you connect in series after cutting the strip at the designated mark.
The connector itself should be rated for outdoor use, but for a truly bulletproof seal, you need silicone sealant. After you've made the pin connection and tested that it works, apply a generous bead of clear waterproof silicone adhesive where the strip enters the connector. Then, slide a piece of heat-shrink tubing over the whole assembly and heat it. Don't skip this. Water will find a way in otherwise.
It depends entirely on the specific connector model. We stock parts designed for SMD led strip AC and round led AC strip (like LED neon), and they are not interchangeable. The pin spacing and the shape of the housing are totally different. A flat SMD strip needs a flat, rectangular connector, while a round neon rope needs a round one. Check the product page specs carefully to match the connector to your strip.
Usually, the same 3 pin led strip connector works for both, as it's just physically passing three electrical lines. The key is what those lines are for: on a CCT strip, it's typically warm white, cool white, and a common positive. For an addressable strip, it's power, data, and ground. The connector doesn't care. To learn more, see our guide to addressable LEDs.
There isn't a hard limit, but every connection is a potential point of failure or resistance. For a long, critical installation, it's always better to use a single, continuous run of strip light if you can. If you have to use connectors, make sure they're high quality and properly sealed. Adding too many connection points can introduce subtle issues over a long distance.
With a 4 pin led strip connector, reversing the connection usually won't damage the strip, it just won't work correctly. Your color controls will be mixed up—pressing red on your remote might give you blue, for example. The 110V/220V common line is usually one of the outer pins, and the R, G, and B channels just get swapped. Unplug it, flip the strip 180 degrees, and plug it back in.