
5-Pin RGBW LED Strips Parts
31 products

When you're working with RGBW LED strip lights, you've got five conductors to manage. This requires a 5-pin connector to carry the separate signals: Red, Green, Blue, White, and the 12V/24V positive line. SuperLightingLED™ 5-pin LED strip light connectors let you cut, connect, and customize your lighting layout without ever touching a soldering iron.
Whether you're bridging a gap under a cabinet, running wire through a wall, or making a sharp 90-degree turn around a corner, our 5-pole solderless RGBW LED connector parts provide a secure, reliable color changing light connection.
Choose the Right 5-Pin Connector for Your RGBW LED Strip
Before purchasing, check your RGBW strip specifications and choose the connector style that best matches your installation.
-
5-Pin Piercing Connector: Uses metal contacts to pierce through the RGBW LED contact points for a secure electrical connection.
-
5-Pin Clip-On Connector: A convenient solderless connector that clips directly onto the RGBW LED light strip.
-
5-Pin HIPPO Connector: Simply insert the RGBW strip light and close the connector for fast installation without soldering; Available in IP20 and IP65 versions.
-
5-Pin JST-SM Connector: A plug-and-play male and female connector; Easy to disconnect and reconnect, Suitable for modular lighting installations and maintenance.
-
5-Pin Terminal Plug-In Connector: Easy wire connection using terminal-style plugs.
-
5-Pin Waterproof Connector: Designed for outdoor, damp, or weatherproof RGBW lighting installations.
Just remember, a good connection depends on a good match. Pay close attention to your RGBW light strip's PCB width (usually 10mm or 12mm) and whether it's an SMD or a COB RGBW strip, as the connectors are not interchangeable.
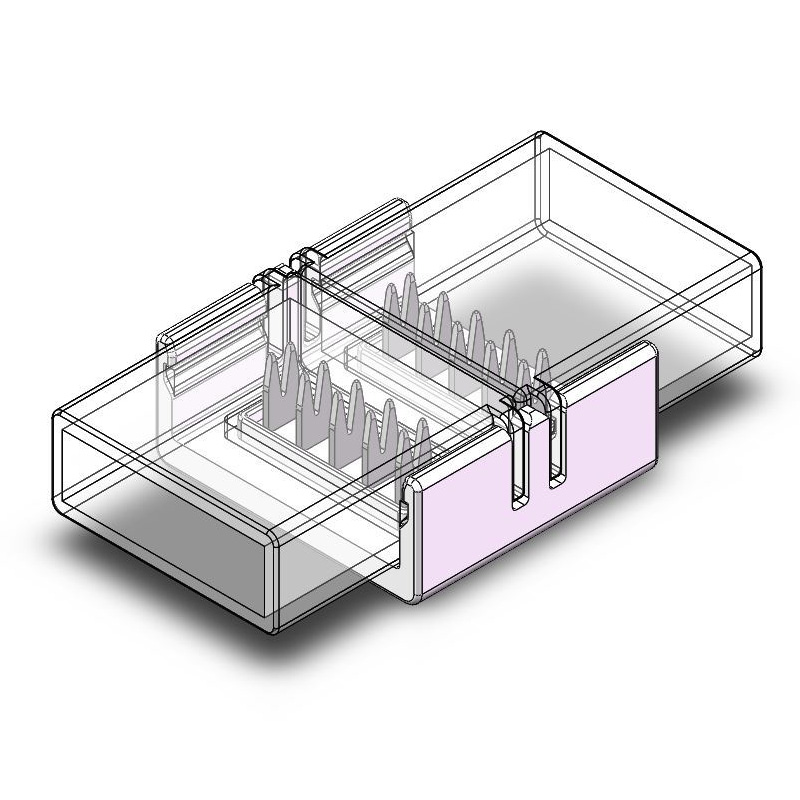
Waterproof 5-Pin LED Strip Connector | Solderless SMD RGBW
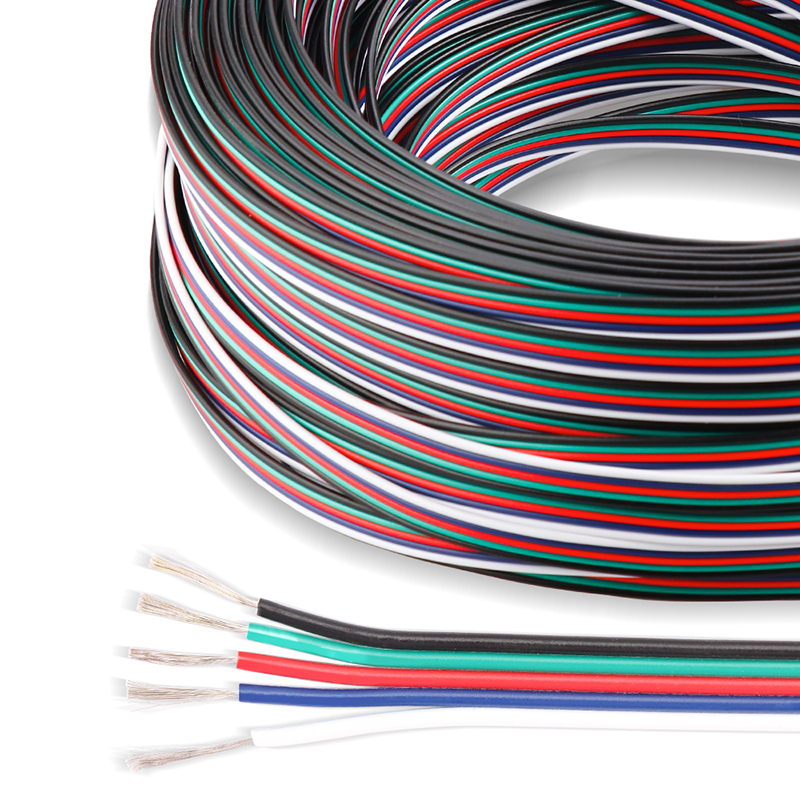
20/22AWG 5Pin Power Wire Cable 1m For RGBW Color Changing LED Strip Lights
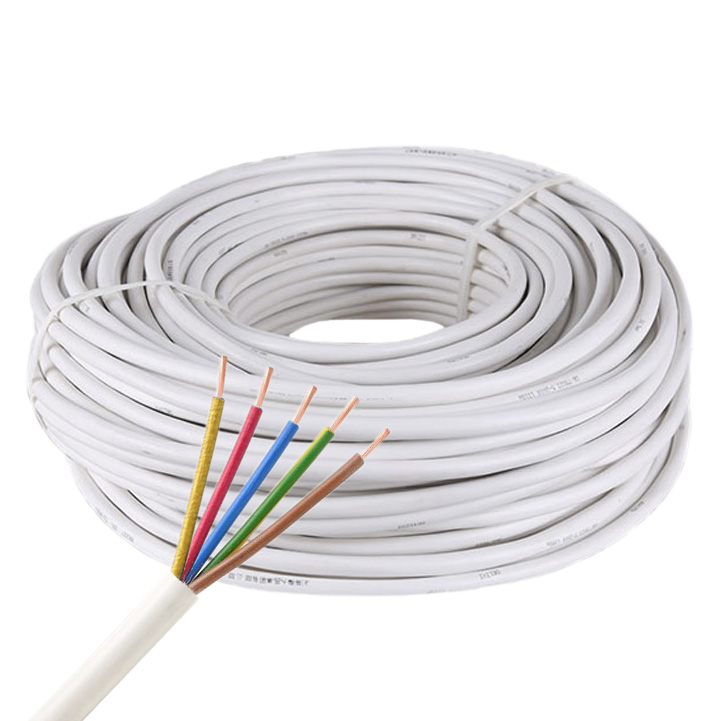
5-Pin 20/18AWG RGBW White Waterproof Power Cable 3.28Ft/1m
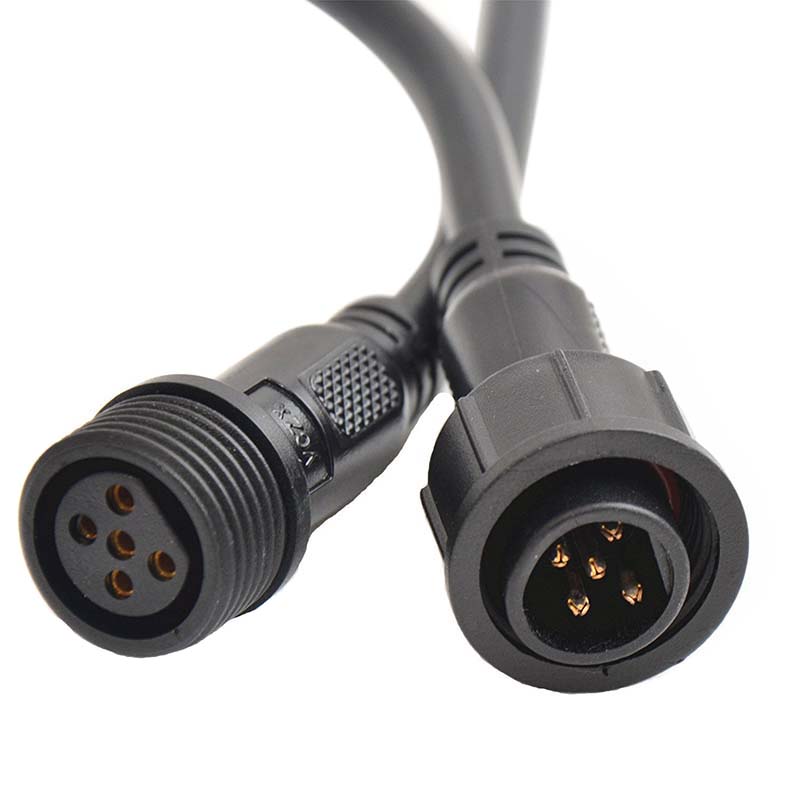
5-Pin RGBW 5*22AWG Male and Female Waterproof Connector
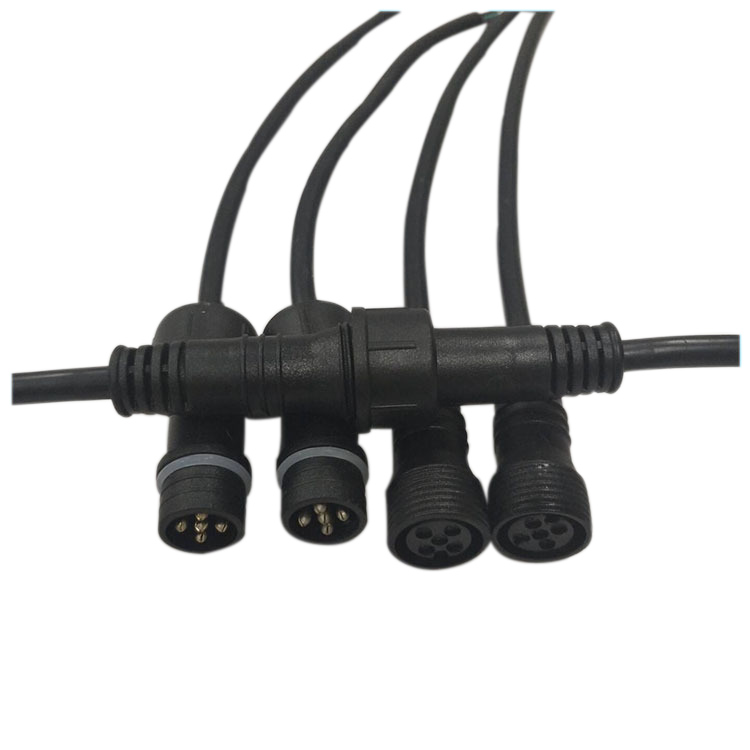
5PIN M18 Waterproof Wire Connector - Male & Female Terminal
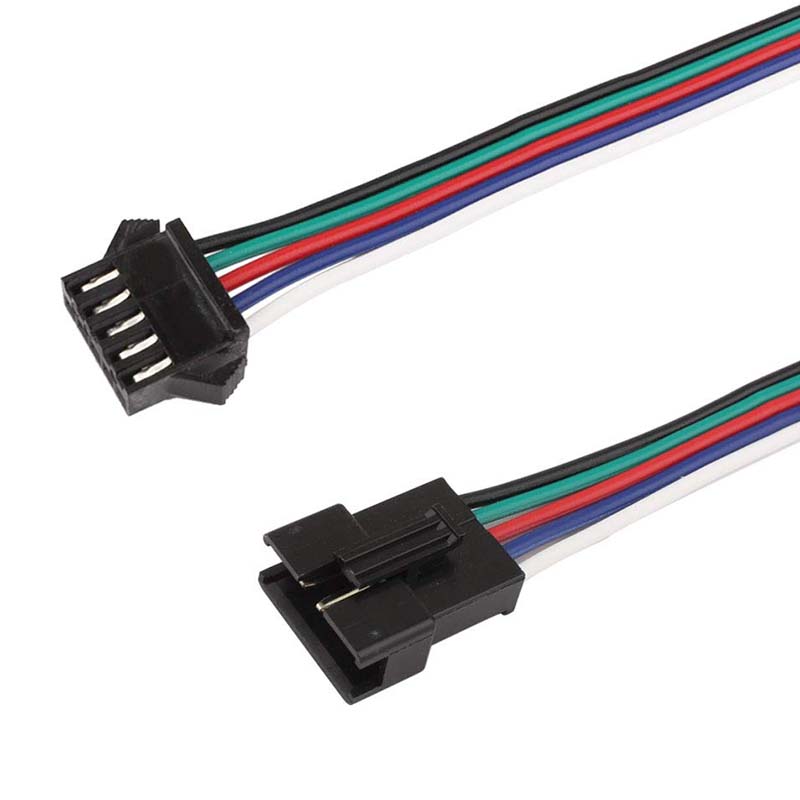
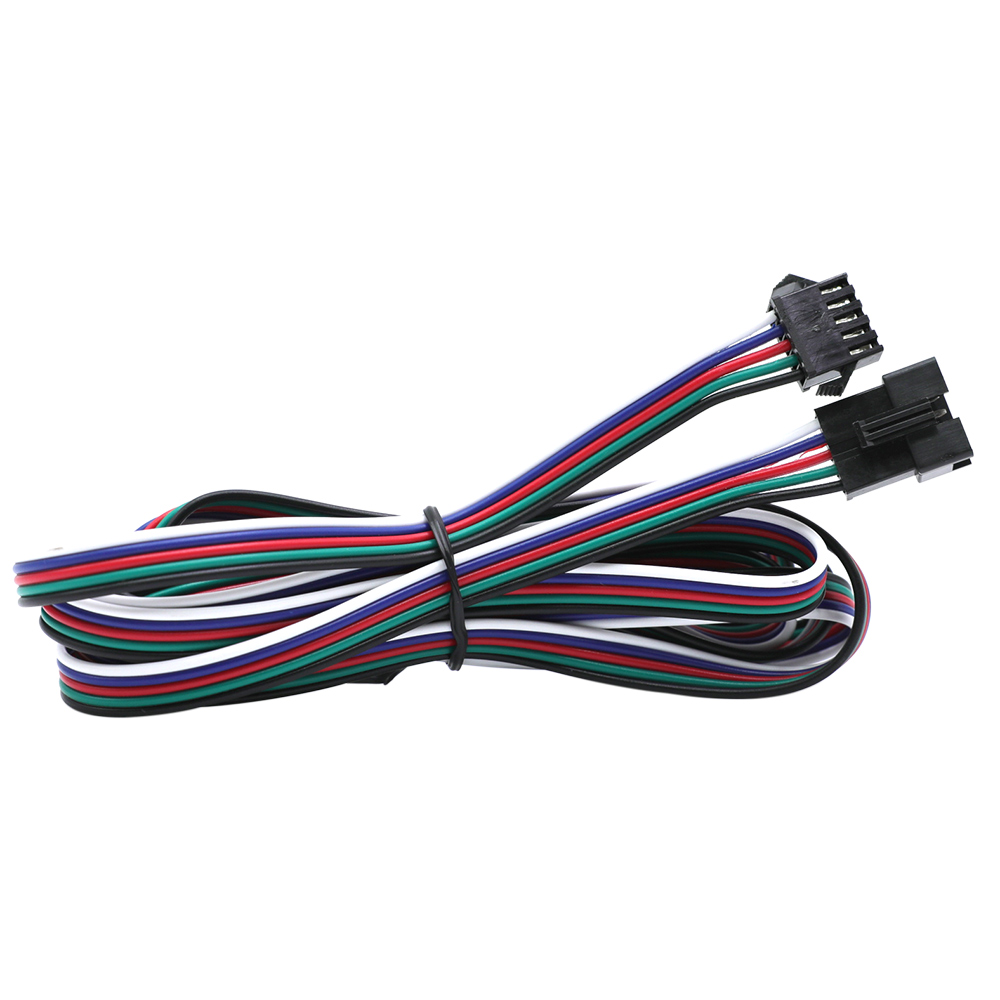
5-pin JST Extension Wire Connector For RGBW LED Strip Lights
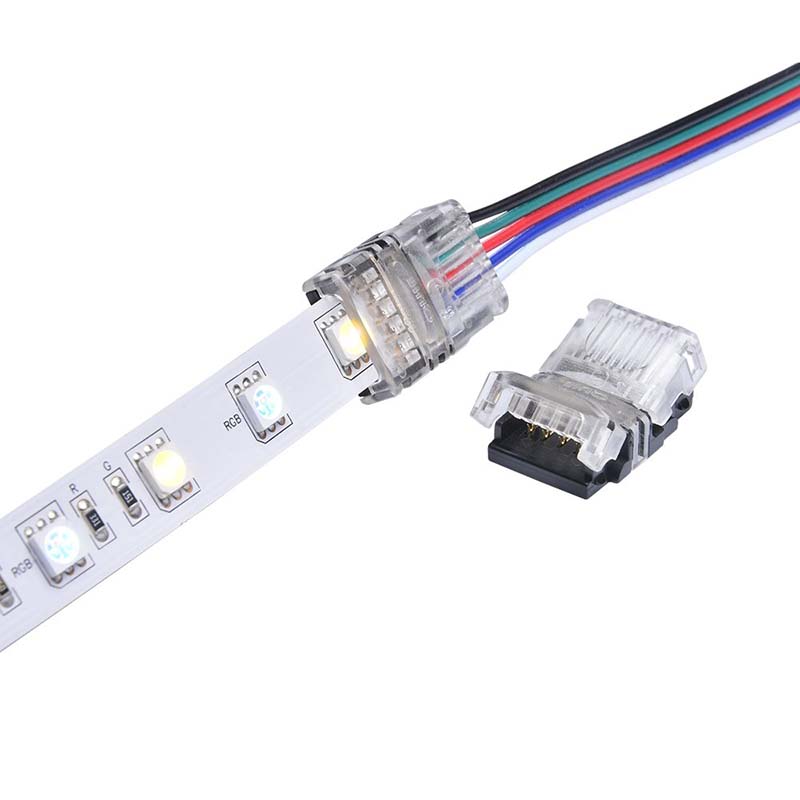
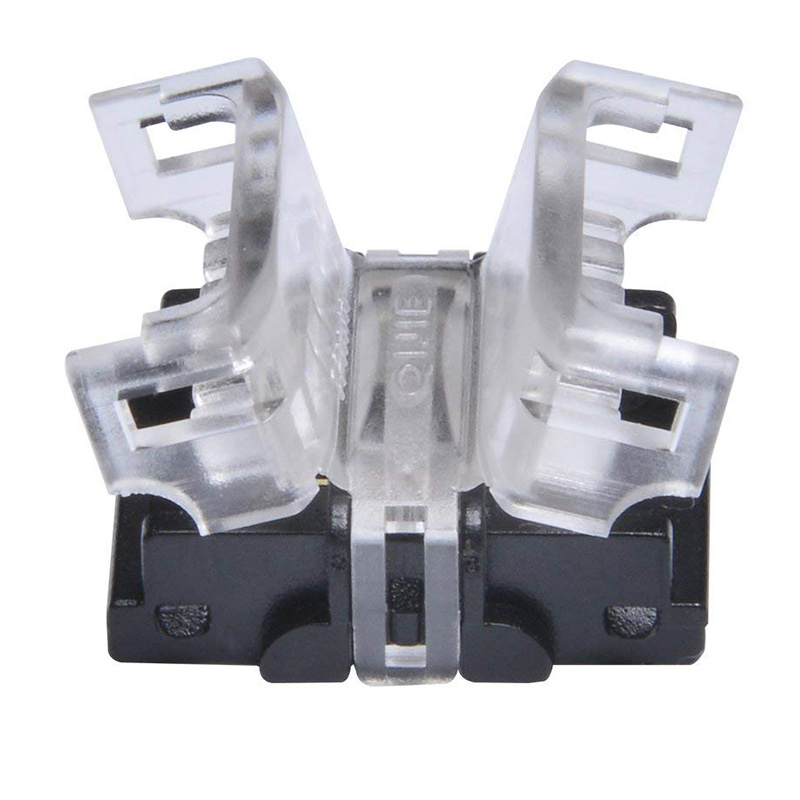
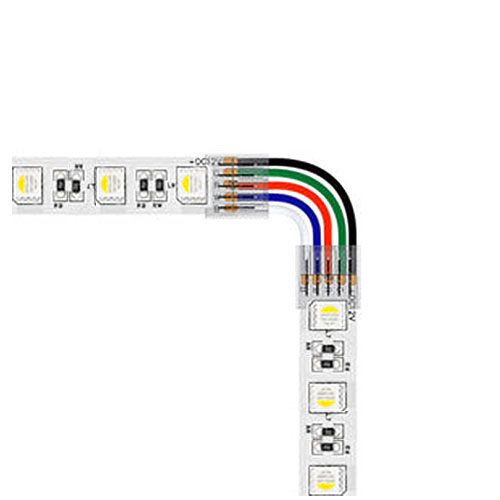
Special 5Pin Corner L-Shape SMD LED RGBW Connector
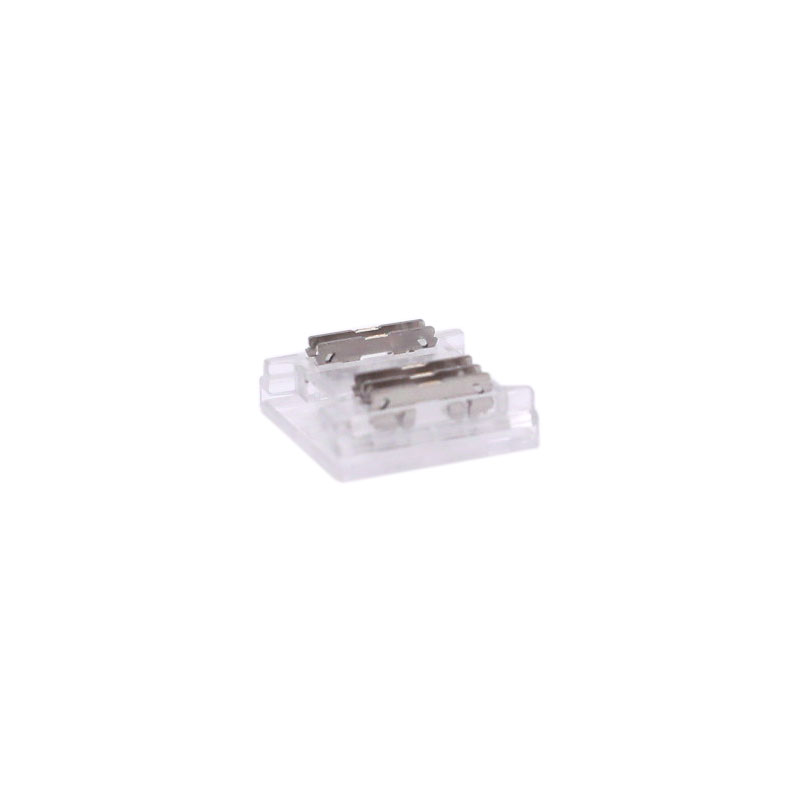
12mm 5 Pin RGBW COB LED Strip Connector - Board to Board
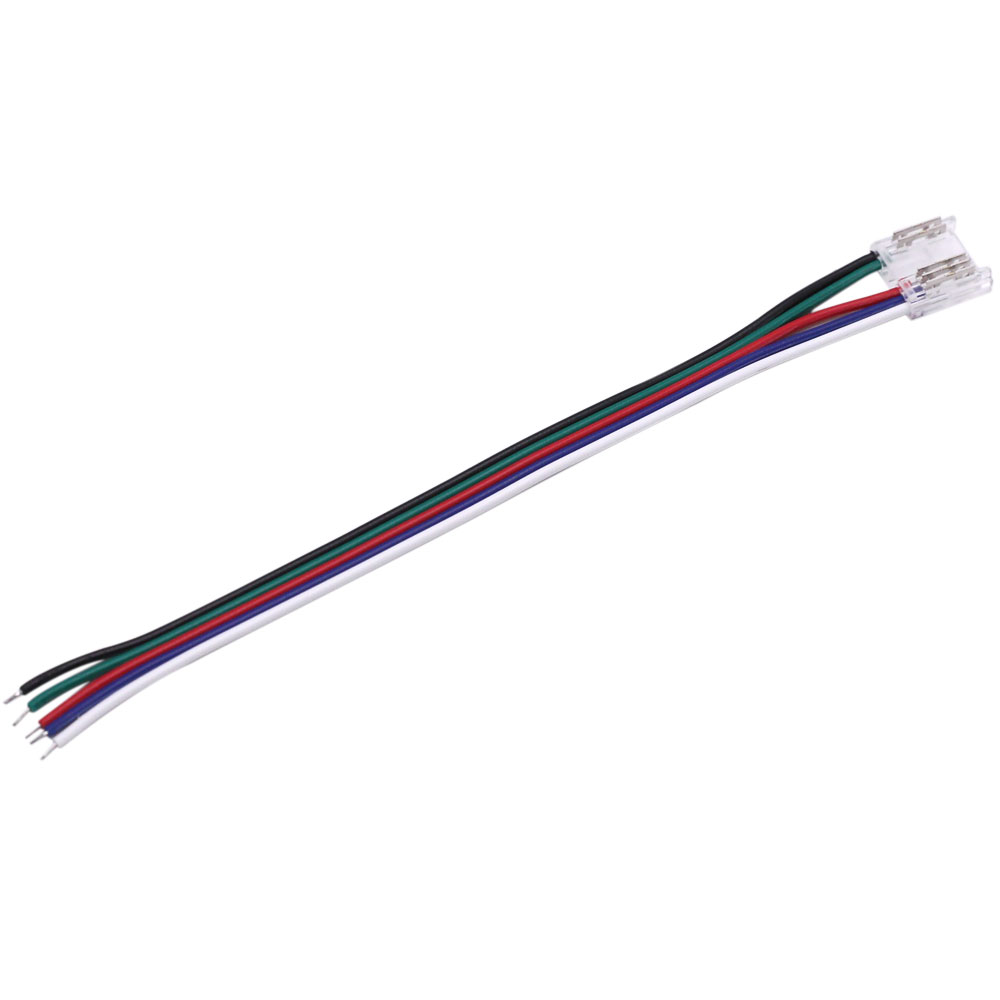
12mm COB RGBW LED Strip 5 Pin Connector - Strip to Wire Type
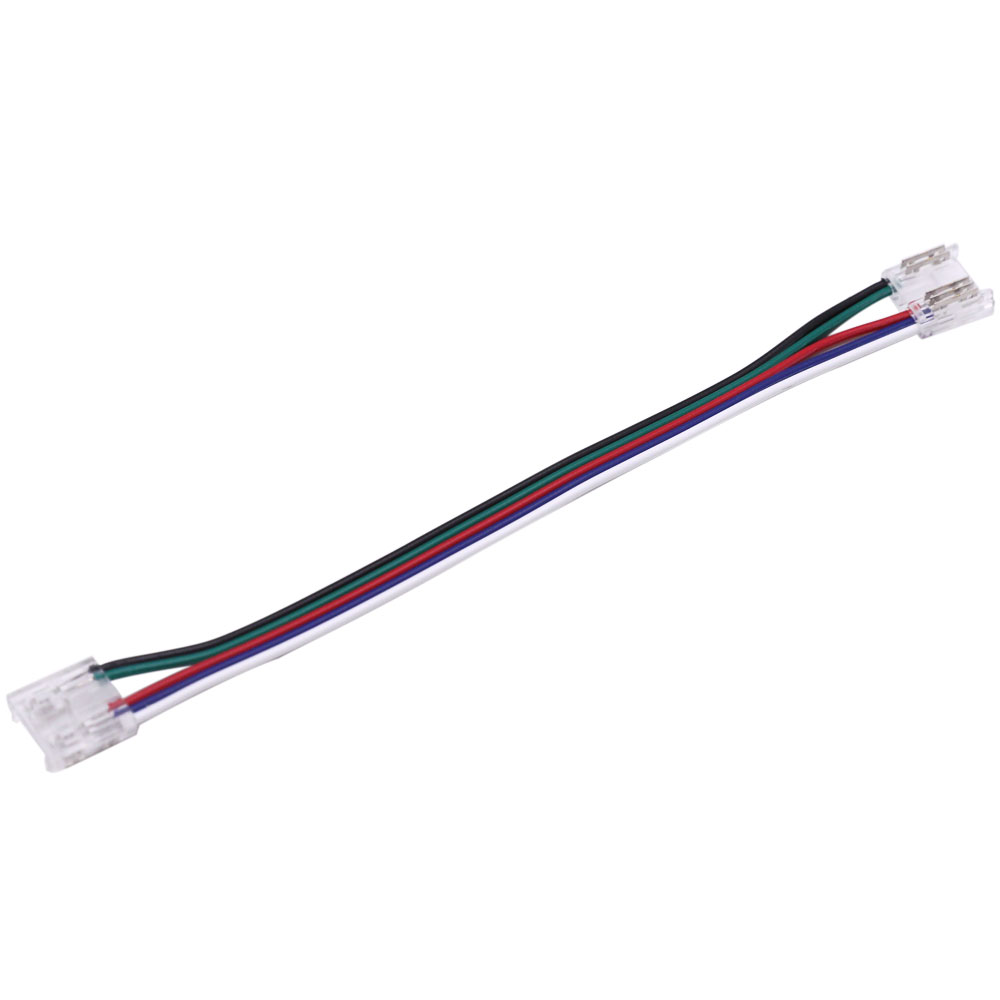
15cm Wire Length 5-Pin 12mm RGBW COB LED Connector
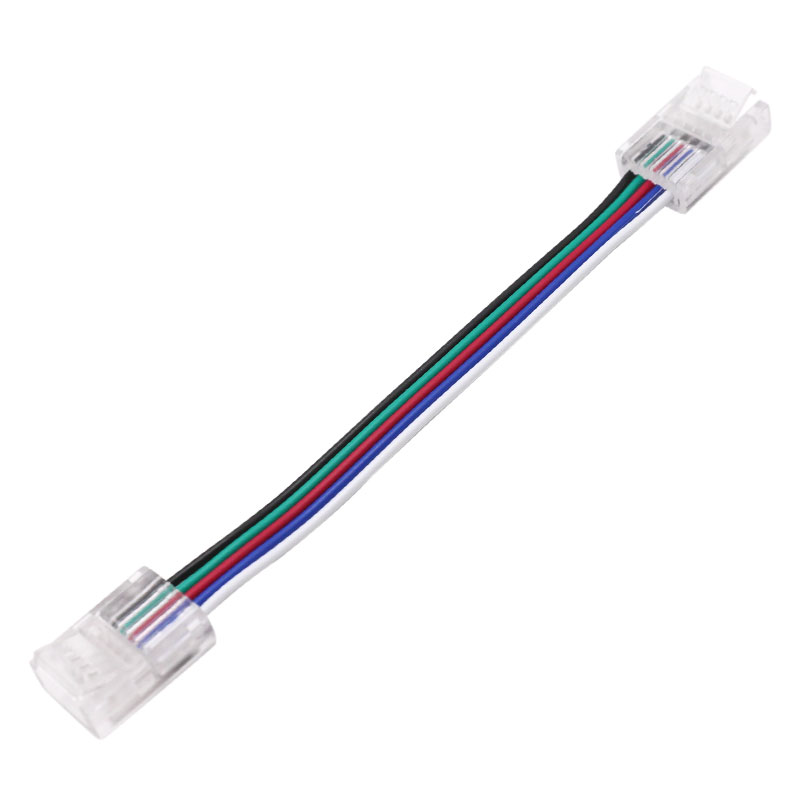
5 Pin LED Strip Connector - RGBW Extension | IP20/IP65 Compatible
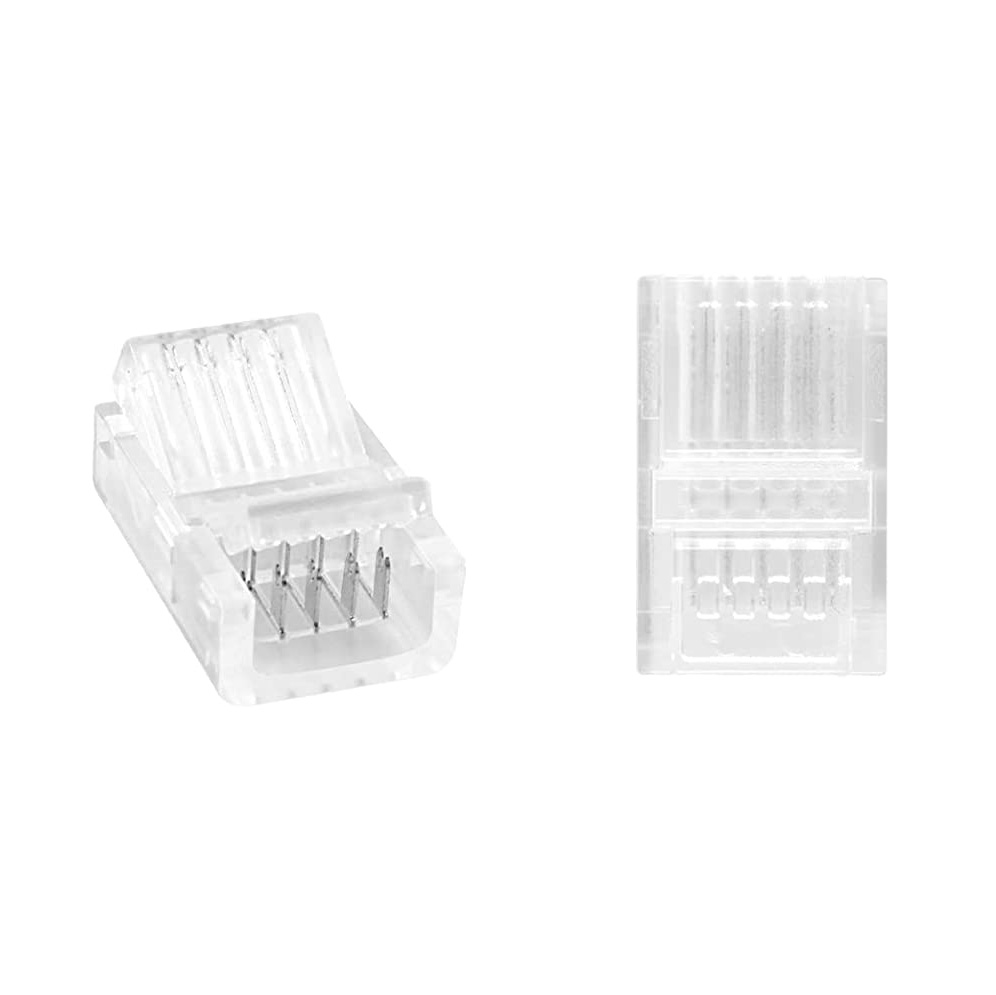
Solderless 5 Pin RGBW Connectors for 10/12mm LED Strips
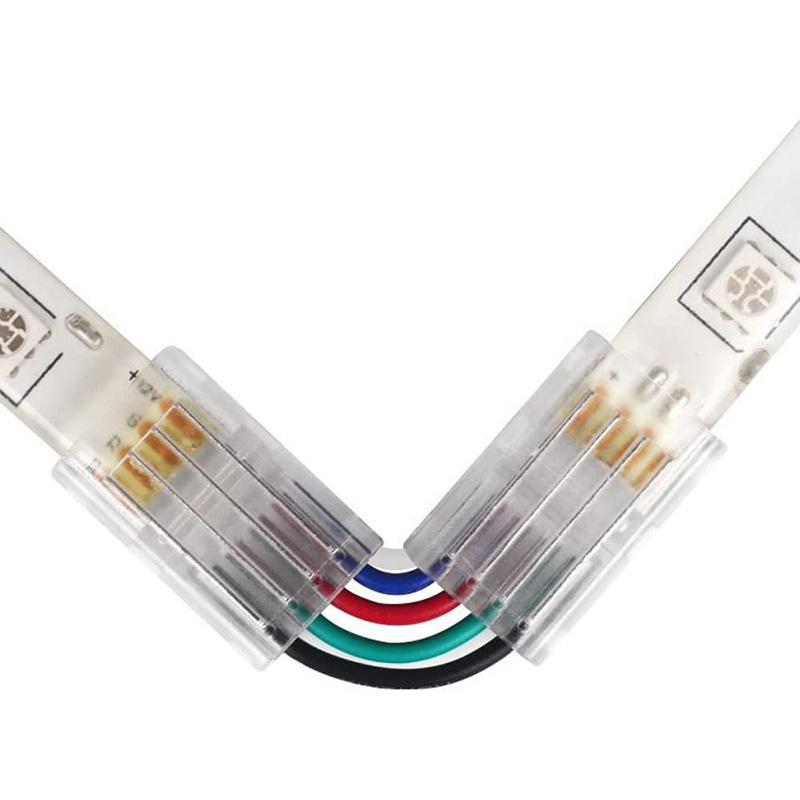
5 Pin L Shape RGBW LED Connectors for 10/12mm Strips
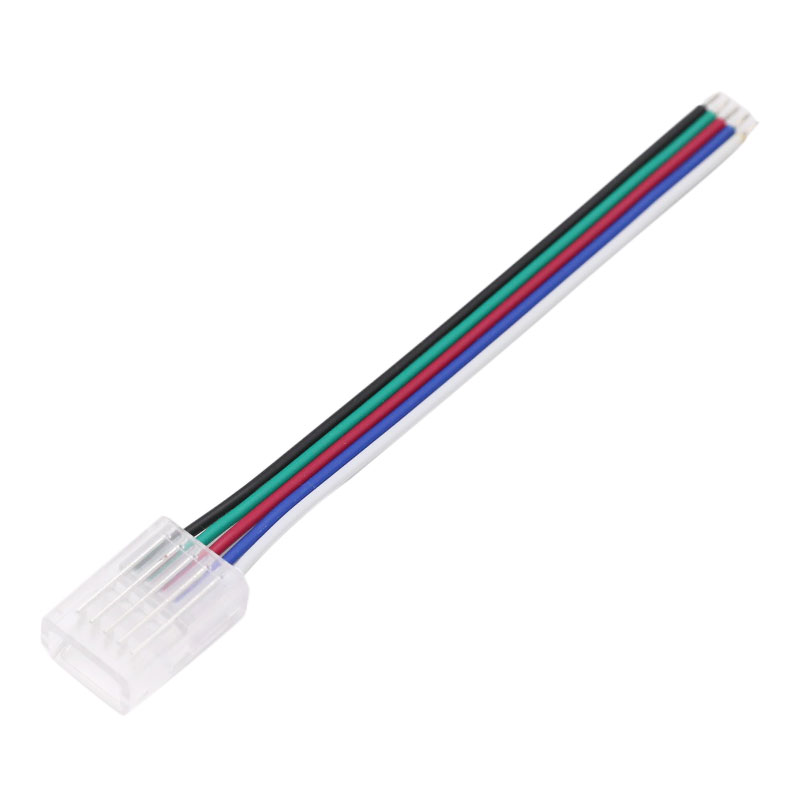
5 Pin RGBW LED Strip Connector - Easy Strip to Wire Connection
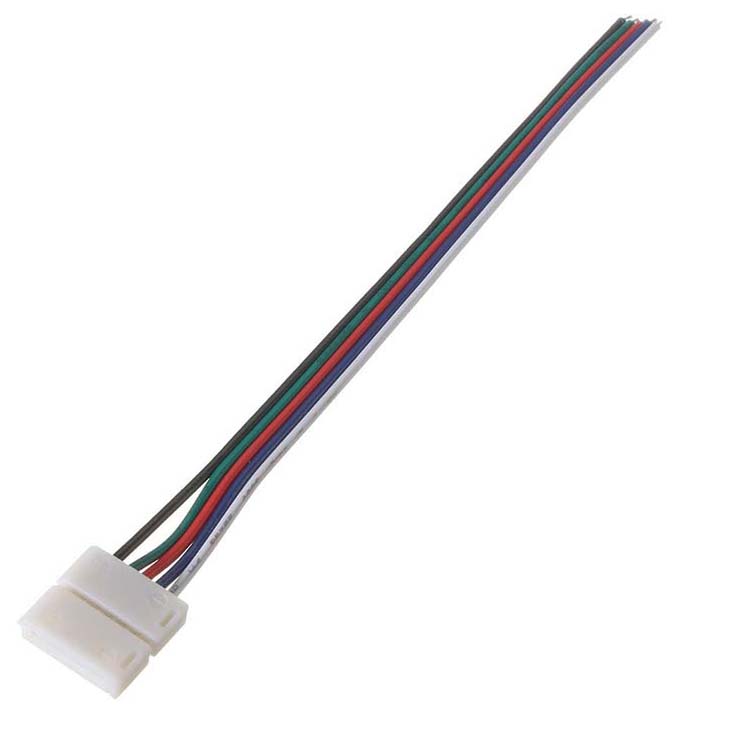
10/12mm 5pin RGBW LED Connector - Board to Wire
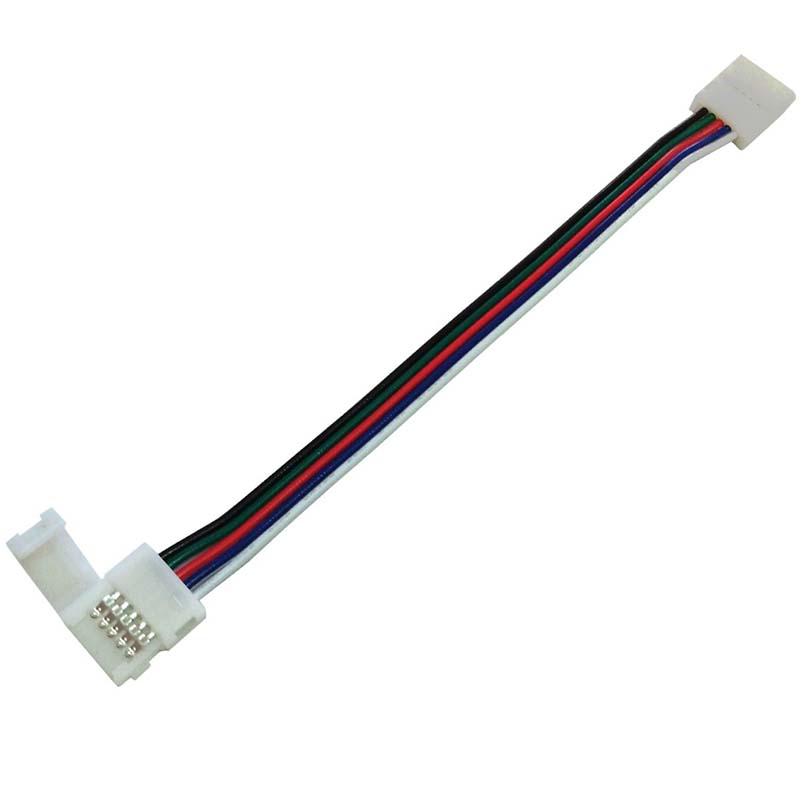
LED Strip Connector 5Pins 12mm For RGBW LED Strip Lights
How do you choose the right 5-pin RGBW LED connector?
The right 5-pin connector is the one that perfectly matches your LED strip's physical specs and your project's layout. Getting this wrong is the #1 reason for flickering lights or a connection that fails. Here’s how to get it right the first time.
1. Match the Connector to Your Strip Type: COB vs. SMD
First, identify your LED strip technology. SMD (Surface Mounted Device) strips have visible, spaced-out LED chips. COB (Chip on Board) strips have a continuous, seamless line of light. Because their contact points are designed differently, you can't use an SMD connector on a COB strip or vice-versa.
2. Check Your Strip's PCB Width and IP Rating
The width of the strip's printed circuit board (PCB) is critical. The most common widths for RGBW strips are 10mm and 12mm. A 10mm connector will not work on a 12mm strip. It's also vital to check the IP rating. Most of these connectors are for non-waterproof (IP20) strips. If your strip is waterproof (IP65/IP67), you must carefully remove the silicone coating from the contact pads before using a standard connector, or use one of our dedicated 5-pin waterproof connectors that can pierce the coating.
3. Pick the Right Connector Shape for the Job
Your project's layout will determine the connector you need:
- Strip-to-Wire Connectors: These have a clip on one end for the strip and bare wires on the other. They're perfect for connecting the start of your strip run to a power supply or an RGBW controller.
- Strip-to-Strip Jumpers: These are short, flexible cables with a connector on each end. Use them to connect two separate pieces of LED strip, creating a seamless run or jumping over small obstacles.
- L-Shape / Corner Connectors: Bending an LED strip at a sharp 90-degree angle can damage the circuitry. An L-shape connector allows you to create a perfect, clean corner turn without risking damage.
- T-Shape & X-Shape Connectors: For more complex layouts, these allow you to split one power input into two or three separate runs, branching your lighting out in different directions.
| Connection Method | Solderless 5-Pin Connectors | Soldering Wires |
| Speed | Very fast, typically under 30 seconds per connection. | Slower, requires prep, soldering, and cooling time. |
| Skill Required | Beginner-friendly. No special skills needed. | Requires practice with a soldering iron. |
| Reliability | Good to excellent, if the correct connector is used for the strip type and width. | Excellent. The most permanent and robust connection. |
| Best Use Case | Most indoor DIY and residential projects, quick repairs. | Permanent commercial installs, high-vibration areas. |
Your Project, Wired Your Way
Getting your lighting project right comes down to having the right parts for the job. We stock a huge range of 5-pin connectors because we know every installation is different. All our product pages clearly list the compatible PCB width and strip type, taking the guesswork out of your purchase. If you're planning a complex layout and aren't sure which parts you need, just send our engineers a quick sketch. We'll send back a complete wiring diagram and parts list, usually within 12 hours, with zero obligation. For more installation details, see our complete guide on how to wire RGBW LED strips.
Frequently Asked Questions for 5-Pin RGBW LED Strip Connectors
Got a question about getting your RGBW strips connected? After 12 years on the support desk, I've heard them all. Here are the most common ones.
The standard 5 pin connector wiring is +V, R, G, B, W. The +V (usually 12V, 24V, or 48V) is your common positive, and the other four are the negative channels for Red, Green, Blue, and White. Getting this wrong is the number one reason colors don't match your controller. Always check the markings on your strip's PCB before clamping down the connector; some manufacturers swap the order.
Yes, you absolutely do. A 5 pin LED strip light connector is built for a specific PCB width. Trying to use a 10mm connector on a 12mm strip will cause the pins to misalign and lead to a bad connection. Always measure your strip's width with calipers before you order.
The wires inside the 5 wire connector aren't matched to the correct pads on the strip. It's an easy mistake. You likely have the green wire hitting the blue pad, or something similar. Open the connector, double-check that the physical wire order matches the R, G, B, W, and +V markings printed on the LED strip itself, and then clamp it down again. It's almost never a faulty connector, just a simple alignment issue.
Yes, and that limit is dictated by voltage drop. The longer the RGBW wire, the more resistance, and the less voltage reaches the next strip section. With 22AWG wire on a 12V system, I'd hesitate to go more than 2-3 meters (6-10 ft). On a 24V system, you can probably stretch that to 5-6 meters (16-20 ft). Go further and you'll see colors shift and brightness drop at the far end. For more on this, see our guide on long runs.
Most of the simple, clear plastic 5 conductor connectors are IP20, meaning they are for indoor, dry locations only. Exposing them to moisture or humidity will lead to corrosion and failure. For any outdoor or damp application (like a bathroom or under a soffit), you must use a dedicated IP65 or IP67 rated connector that is designed to seal out water. The product description will always state the IP rating clearly.
A properly installed 5 pin LED strip light connector will have a negligible, unnoticeable impact on brightness. However, a poor connection absolutely will. If the contacts aren't perfectly aligned or the clip isn't fully closed, you create resistance. That resistance causes voltage to drop right at the connector, which dims the rest of the strip and can generate heat. A solid, secure connection is key.
Yes, we build custom assemblies like this all the time. A huge part of our business is shipping parts that are built to a customer's drawing and never appear on the website. Just send us a sketch or a description of what you need—for example, 'a 3.5-meter 5 wire extension with a male IP67 connector on one end and a female on the other.' An engineer will send back a spec, a price, and a wiring diagram, usually within 12 hours. There's no fee for the consultation and no obligation to order.