
Single Color Dimmer Series
70 productsSingle color LED strip lights can be directly connected to power supply. However, if you want to dim the lights (adjust the brightness), a dimmer controller is required.
A simple touch dimmer switch is sometimes all you need. Knob dimming is also a good idea. RF remote control, mobile APP control, and touch panel control are also available. For more intelligent lighting control, that would have to be PIR motion sensor controller, automatically turn the lights on and off by detecting your movements. Choose the one you like.
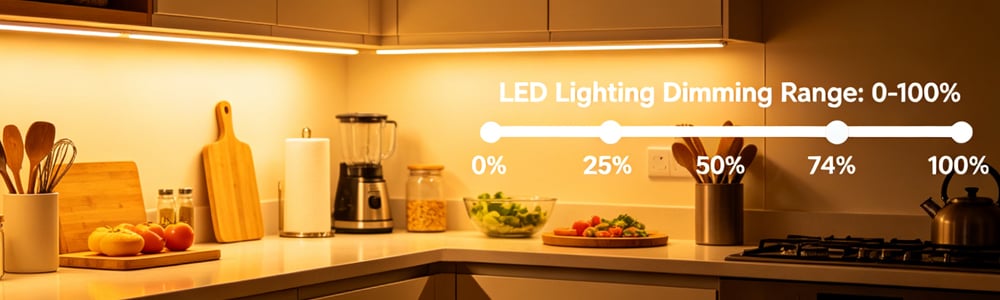
Know the wiring here: How to wire single color led strip lights?
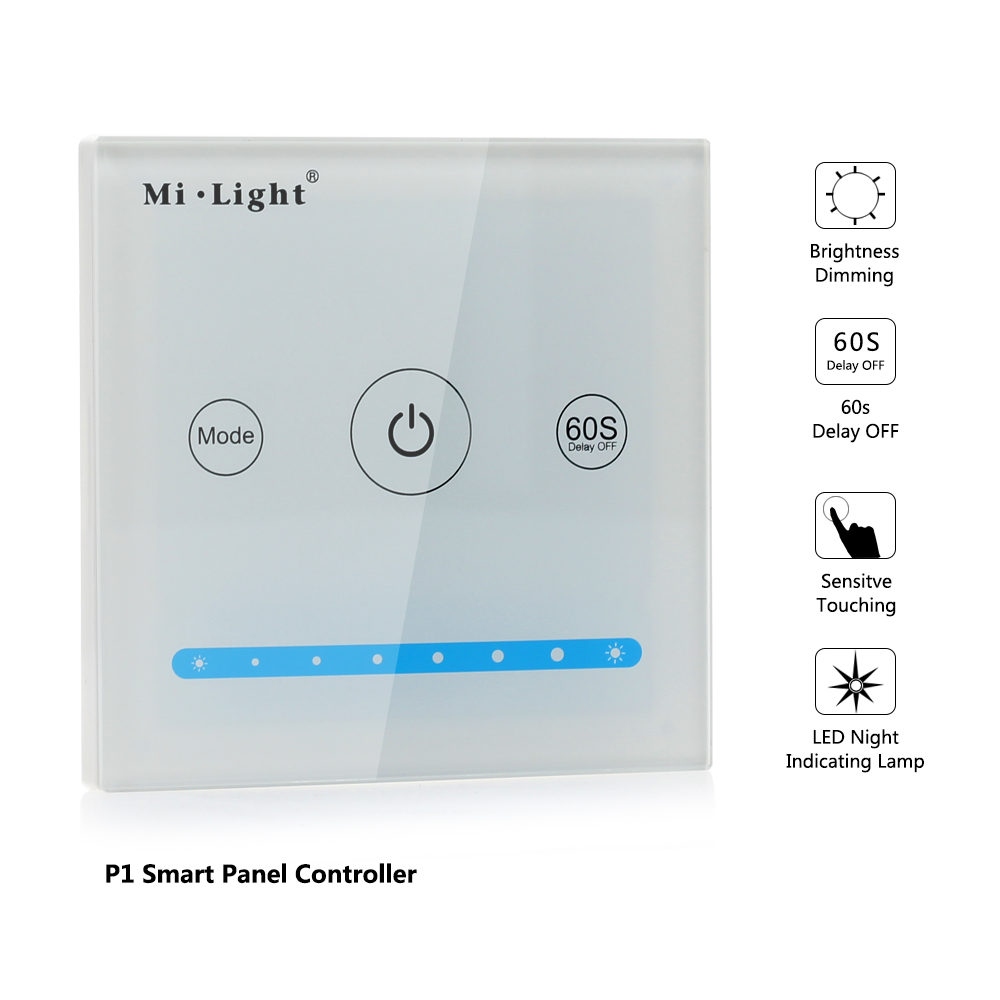
P1 LED Smart Panel Controller - Single Color Strip Dimmer | 12-24V, 15A Max
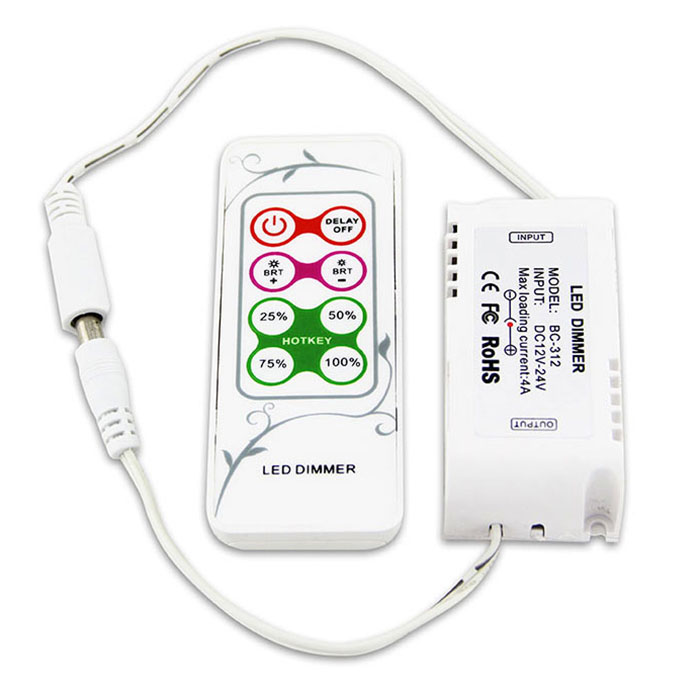
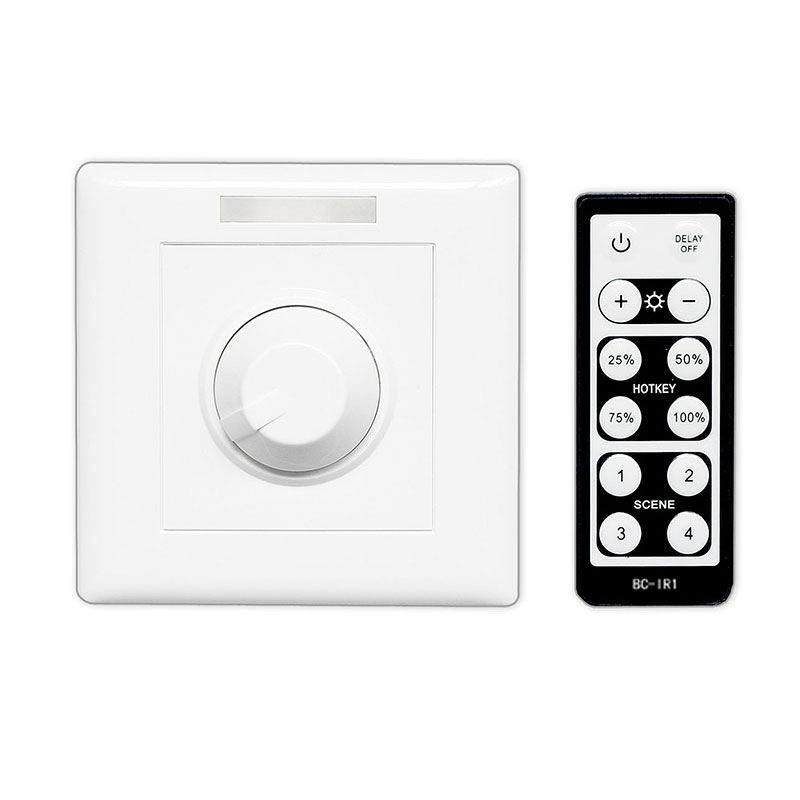
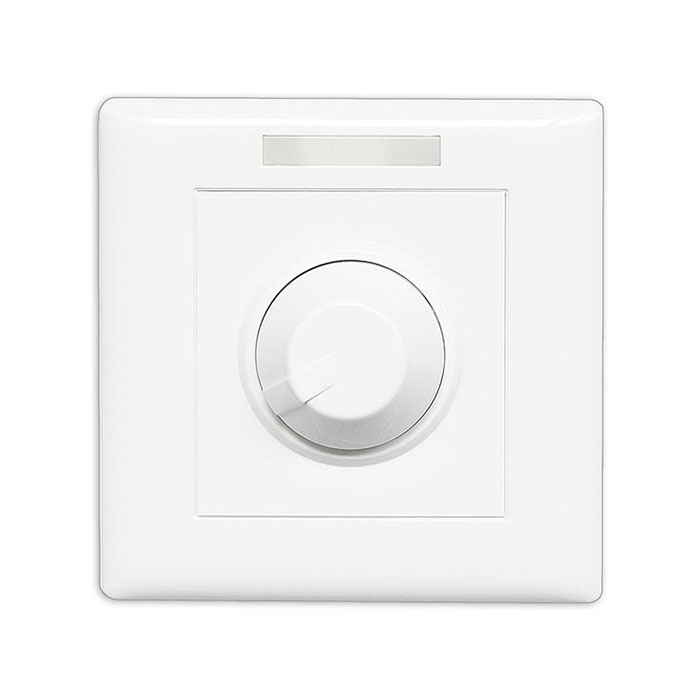
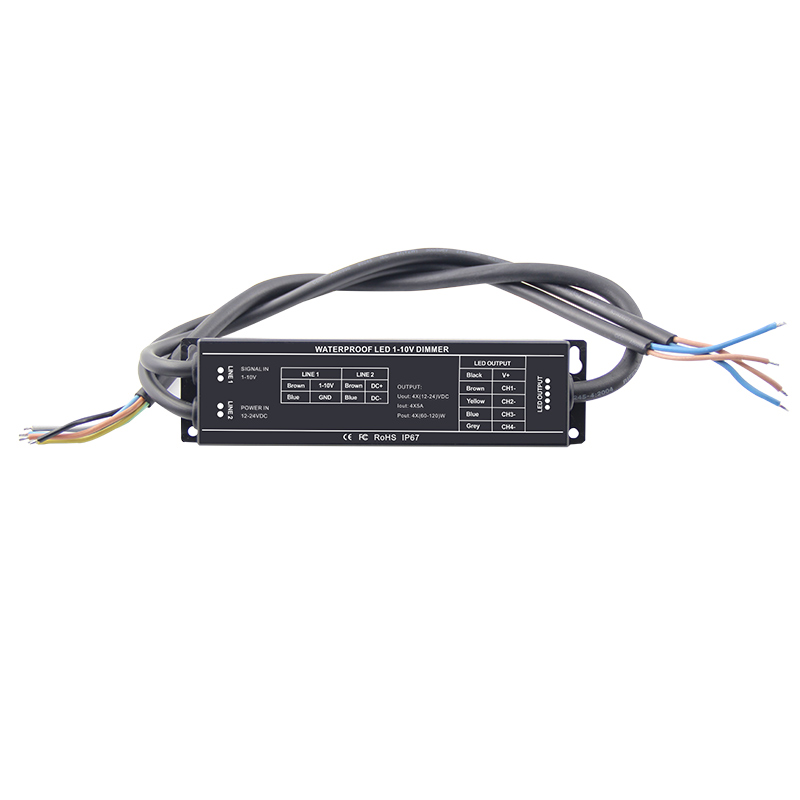
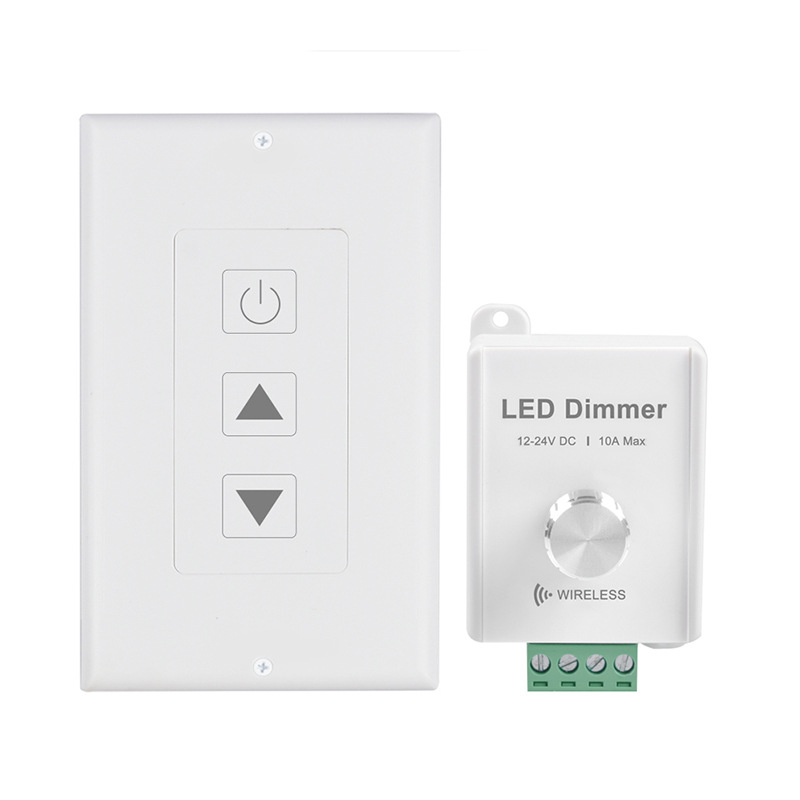
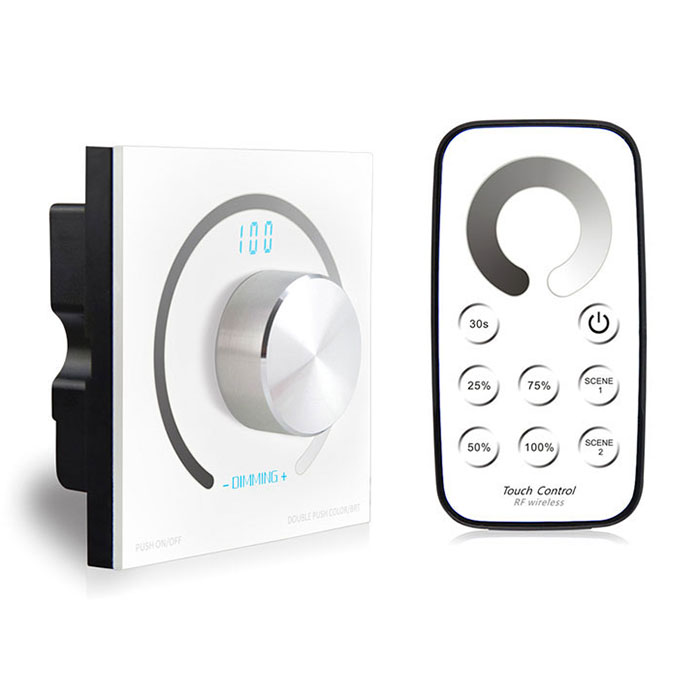
10Amp High Power LED Dimmer With Wireless Wall Panel Controller
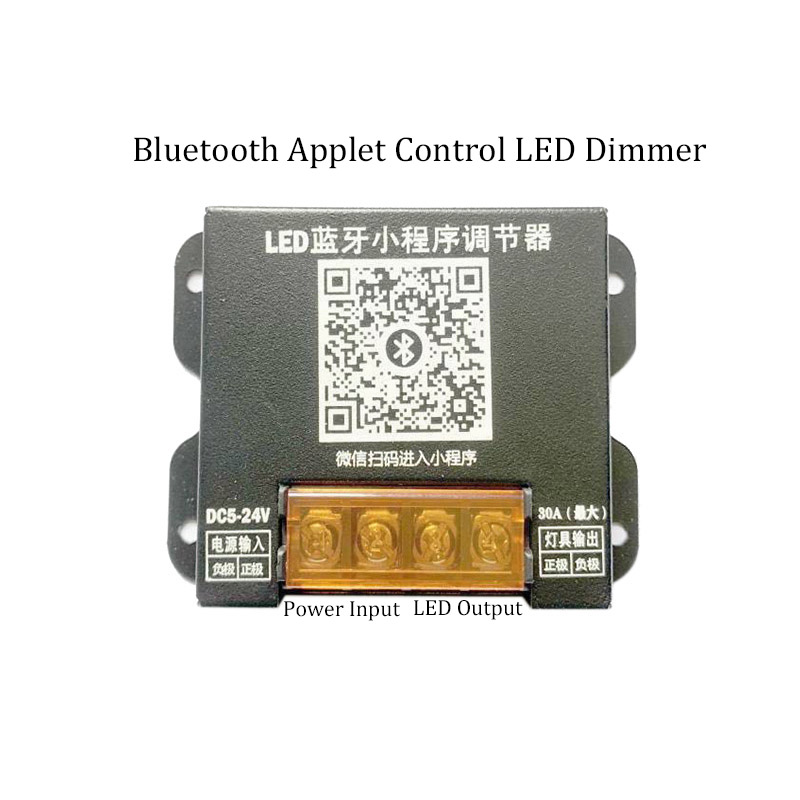
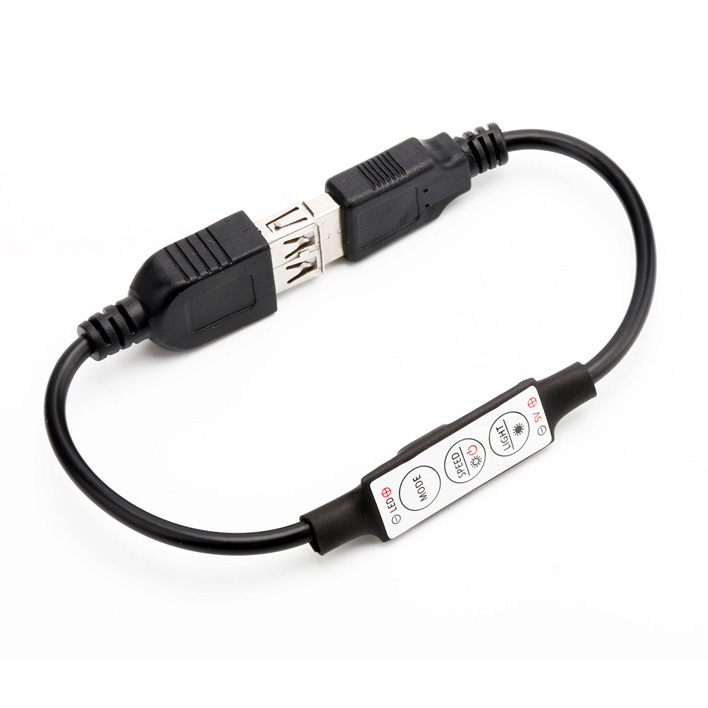
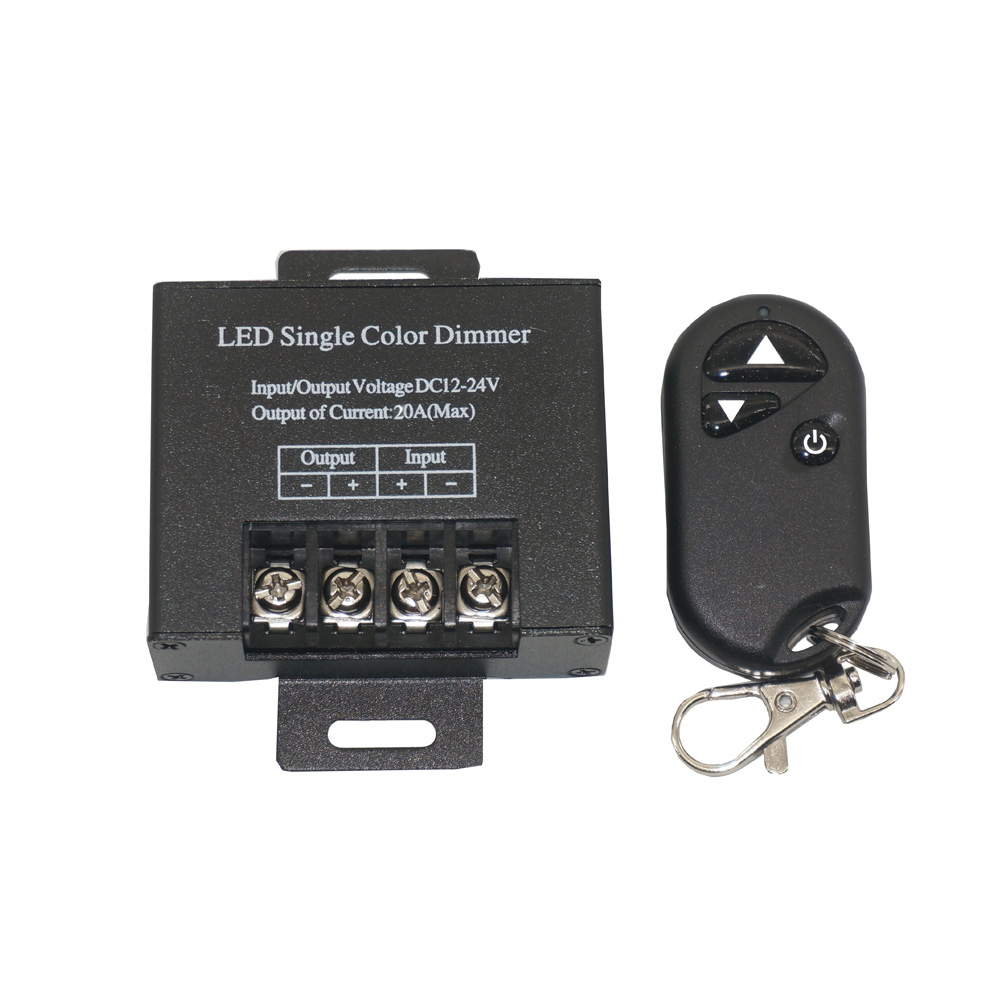
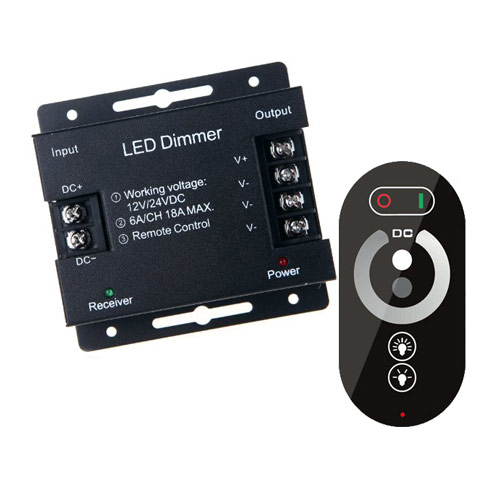

DC12-24V 18A Single Color LED Strip Controller | RF Touch Remote Dimmer
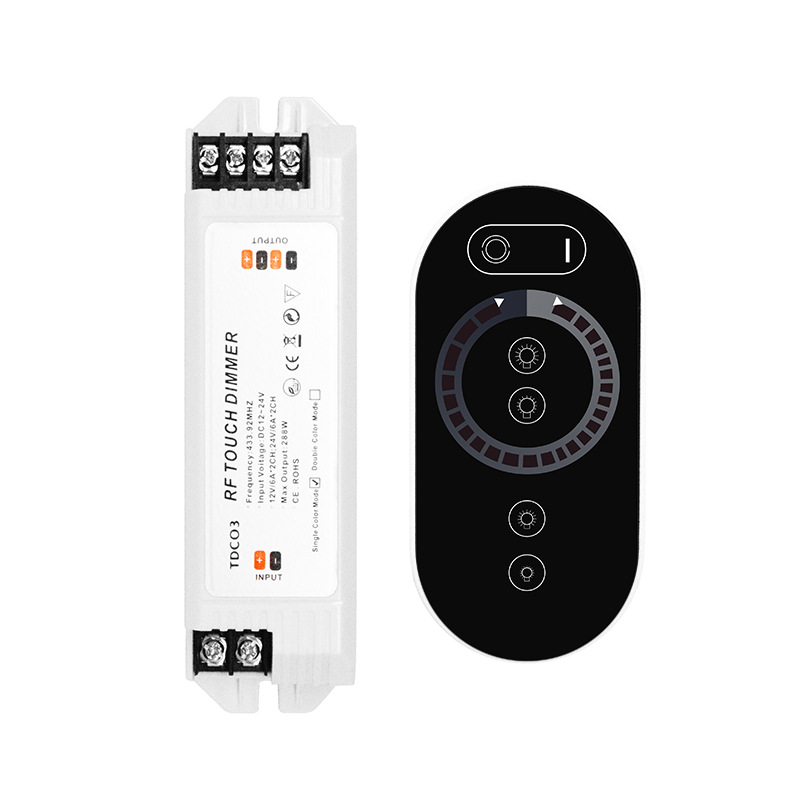
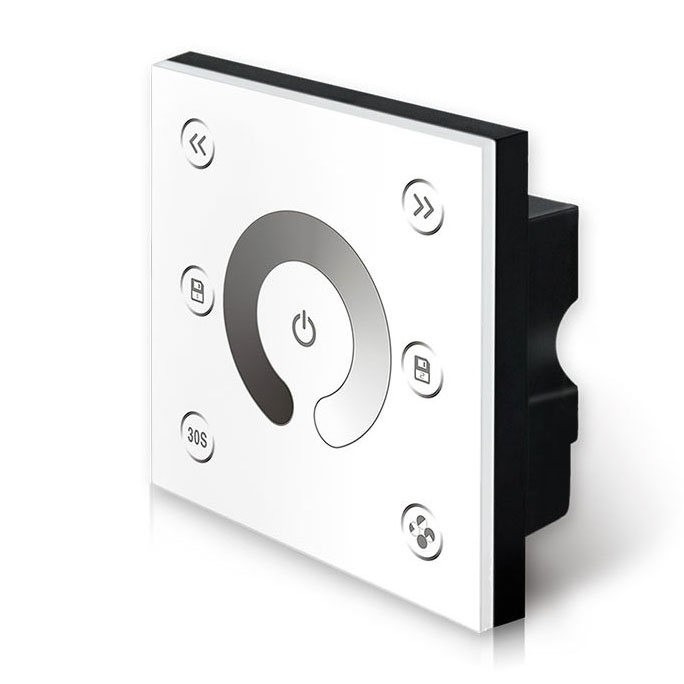
6-Key RF Touch Dimmer for LED Strip Lights 12-24V | Car & Decor Lighting
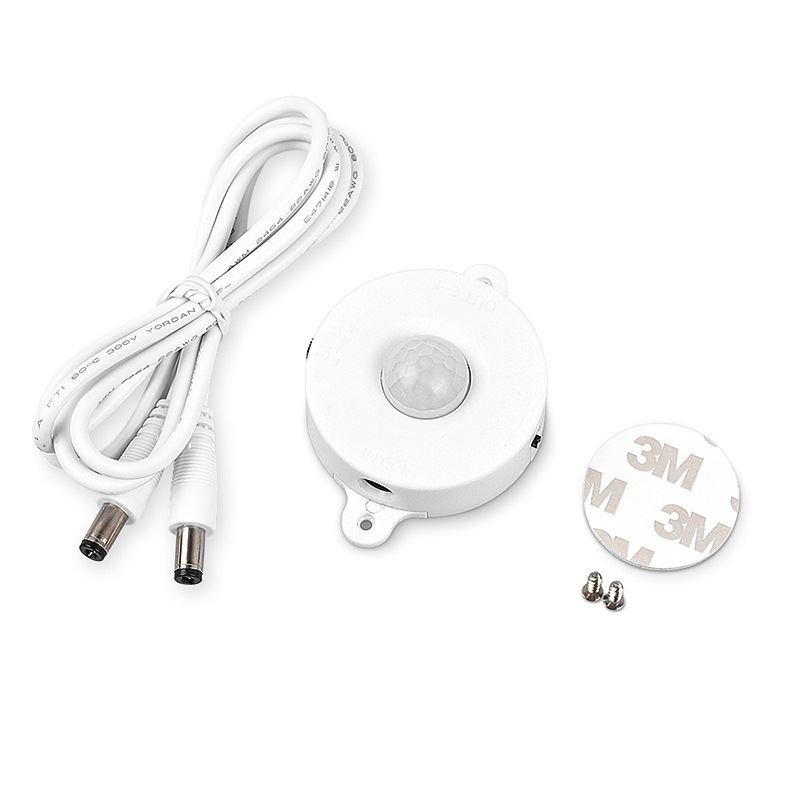
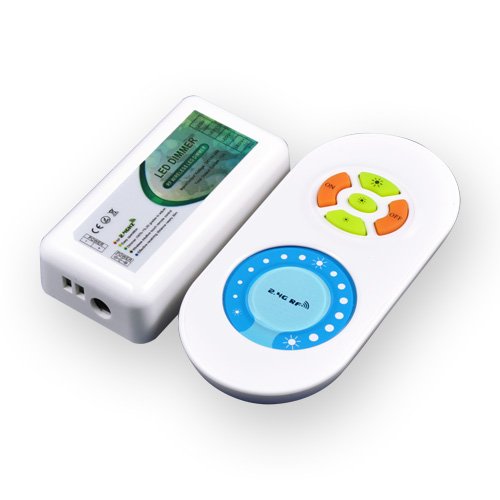
DC12/24V Wireless RF LED Controller - 6A 2-CH Single Color Dimmer
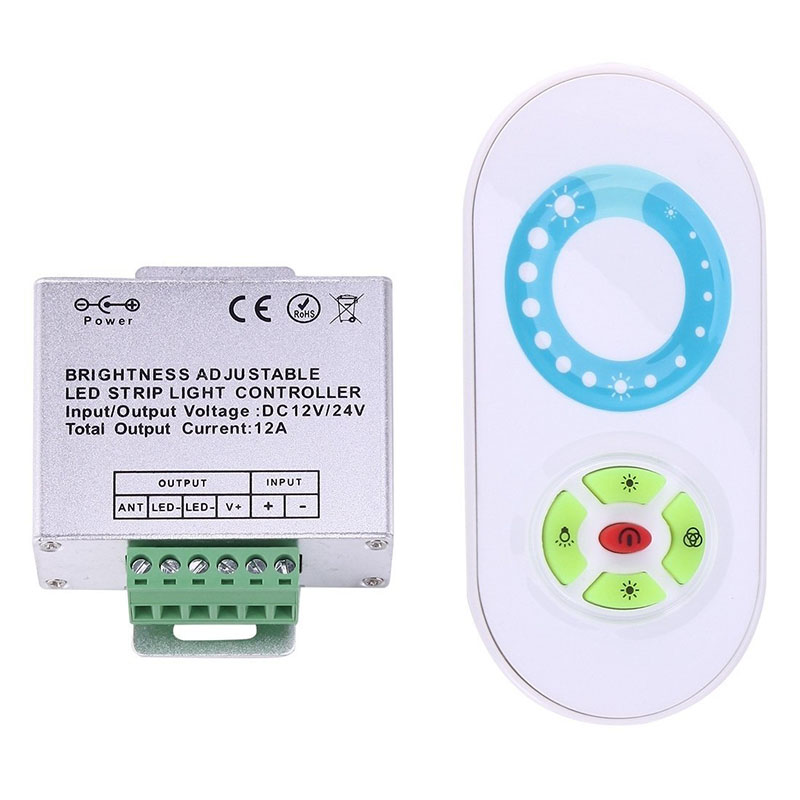
RF Wireless LED Strip Controller 12-24V - Half-Touch Remote Dimmer
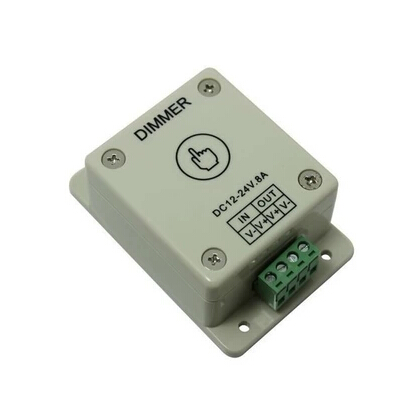
DC12-24V Touch Dimmer for Quad Row LED Strips - 1 Channel 8A Controller
How to Choose the Right Dimmer Switch for LED Strip Lights
Picking the right dimmer controller for LED lights comes down to two main factors: how you want to interact with the lights, and the electrical load of your LED strips. Getting both right ensures your lighting is reliable and easy to use.
1. Select Your Control Method
We offer four primary types of control, each suited for different applications:
- Rotary Knob & Push-Button: The most straightforward option. These hard-wired dimmers provide simple, reliable, tactile control. Perfect for under-cabinet lighting, workshops, or any place you want a dedicated physical controller. We carry models rated from 2A up to a hefty 30A.
- RF Remote Control: For wireless control without needing WiFi. An RF (Radio Frequency) remote lets you adjust brightness from up to 20 meters away, even through walls. It's a great choice for living rooms, bedrooms, and architectural lighting where you don't want to run wires to a switch.
- In-line Touch Switch: These are minimalist switches, often with a metal or aluminum shell, that you can hide easily within cabinetry or furniture. A simple tap or touch turns the lights on/off or adjusts brightness.
- WiFi, Bluetooth & Smart Control: The most versatile option. Control your lights from anywhere with an app on your phone, or integrate them with Alexa and Google Home for voice commands. Ideal for smart home setups and creating automated lighting schedules.
2. Match Voltage and Amperage
This is critical. The dimmer's voltage must match your LED strip (e.g., a 12V dimmer for a 12V strip). Then, calculate the total power draw of your strip (Watts) and convert it to Amps (Amps = Watts / Volts). Your dimmer's amperage rating must be at least 20% higher than the strip's total draw to prevent overheating and ensure longevity. A controller rated for 10A should not run more than an 8A load.
LED Dimmer Types: A Quick Comparison
| Feature | Knob / Wall Panel | RF Remote | WiFi / Smart Dimmer |
| Control Range | Physical access only | Up to 20 meters (65 ft) | Anywhere with internet |
| Installation | Wired between power and strip | Receiver wired in; remote is wireless | Receiver wired in; connects to WiFi |
| Best For | Task lighting, dedicated control | Room-scale ambient lighting | Smart home automation, voice control |
| Smart Home Ready? | No | No | Yes (Alexa, Google, Tuya) |
Why PWM Frequency Matters for Flicker-Free Light
Most of our LED dimmers use Pulse Width Modulation (PWM) to adjust brightness. This means the controller turns the LEDs on and off extremely rapidly, faster than your eye can see. The ratio of 'on' time to 'off' time determines the perceived brightness. A lower-quality dimmer might have a low PWM frequency (e.g., a few hundred Hz), which can sometimes cause visible flicker, especially in video recordings or to people sensitive to it.
We stock high-frequency PWM controllers, like the V1-K with a 2,000Hz frequency, to guarantee a completely smooth, flicker-free dimming curve. This is essential for professional architectural installations, film/photography studios, or any application where light quality is paramount.
Frequently Asked Questions About Single Color LED Dimmers
Got questions about dimming your LED strips? You're in the right place. Here are the straight answers from our engineering desk.
It's all about how you want to control the lights. A knob dimmer is simple, physical control—turn to dim, push to turn off. An RF remote gives you wireless control from across the room. A WiFi or Bluetooth dimmer connects to an app on your phone, giving you control from anywhere and often letting you set schedules or integrate with smart home systems like Alexa or Google Home.
Simple math. Find the watts per metre on your LED strip's spec sheet. Multiply that by the total metres you're connecting to the dimmer. That gives you total watts. Then, divide by your voltage (usually 12V or 24V) to get total amps. Always choose a dimmer that can handle at least 20% more amps than your calculation. Overloading a dimmer will cause it to overheat and fail early.
Nine times out of ten, this isn't a faulty strip. It's an incompatibility issue. If you're using a wall dimmer with a dimmable driver, they might be fighting (e.g., a leading-edge dimmer with a trailing-edge driver). If you're using one of our DC dimmers, the flickering could be from an overloaded power supply or dimmer. Low-quality dimmers also use low-frequency PWM, which can be visible. Our high-frequency controllers, like the 20KHz models, eliminate that visible flicker completely.
The dimmer always goes on the low-voltage side. The correct order is: Wall Outlet (AC) -> Power Supply (converts AC to DC) -> DC Dimmer -> LED Strip. The power supply provides the correct 12V or 24V DC power, and the dimmer then controls the brightness of the strip. Connecting it anywhere else is a recipe for a dead dimmer, a dead strip, or both.
PWM stands for Pulse Width Modulation. Instead of reducing voltage, the dimmer turns the LEDs on and off extremely fast. Your eye just sees this as a change in brightness. With standard PWM frequencies (around 500-1000 Hz), some people can perceive flicker, and it often shows up on video recordings. That's why we stock high-frequency controllers (up to 20KHz) which are so fast the flicker is completely imperceptible to humans and cameras.
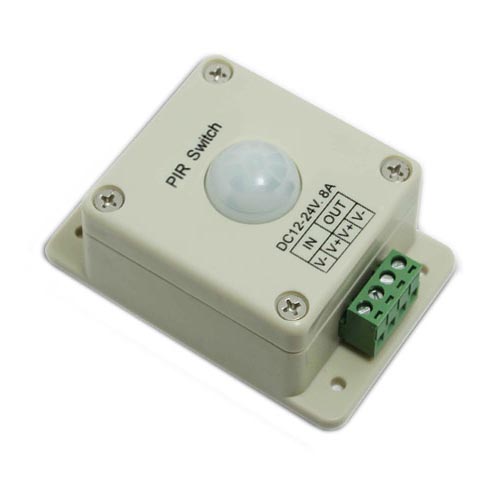
A PIR (Passive Infrared) sensor detects body heat and motion. When you enter its range, like walking into a pantry or down a staircase, it automatically turns the lights on to a preset brightness. After you leave and it no longer detects motion for a set time (usually adjustable), it fades the lights back off. It’s a great 'set it and forget it' solution for hands-free lighting control.
Yes, easily. Most of our RF systems allow you to pair one remote to multiple receivers. You can have the receivers in different zones or rooms. You can also do the opposite: pair multiple remotes (like one by each door) to control the same single set of lights. Just follow the pairing instructions for your specific model to link them up.
You need three main parts. First, the single color LED strip light itself. Second, a non-dimmable DC power supply with the correct voltage (12V or 24V) and enough wattage for your strip length. Third, one of our single color dimmers, which goes between the power supply and the strip. Don't forget any 2-pin connectors or wire you might need to link them all together.
You have to check the IP rating. IP67, like our V1-WPM, means it's protected against temporary submersion in shallow water and is totally dust-tight. It's perfect for outdoor decks, landscape lighting, or humid areas. IP68 would be for continuous submersion. Anything less than IP65 is not meant for direct exposure to rain. We have a full range of outdoor waterproof LED controllers to match any job.
Start with the simple stuff. First, check the battery in the remote. It's the most common cause. Second, make sure you're within range (typically 15-30 meters with no major obstacles). If those don't work, the remote may have lost its pairing with the receiver. Just repeat the pairing process from the product's instruction sheet. It usually involves pressing a button on the receiver and then a button on the remote.